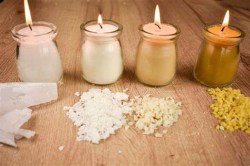
Lately in my perusing online and on social media for influence, I’ve seen quite a few ideas with wax.
This one in particular caught my eye. It’s creating images and using wax to pretty much make it stand out more. They end up looking similar to a photo negative or vellum.
You can use these images in a journal or on the cover of the journal. I’ll get into more details later on in the post.
Supplies needed:
• Grater – you will be shredding the wax. (If you don’t have a grater you can use a knife, just do it ahead of time if involving your kiddos )
• Wax Grated– I saved leftover wax from candles.
• Napkins – napkins with pictures ( flowers, people, trees, etc)
• Parchment paper – 1 large and 1 small. (They will be on bottom and top of your project)
• Iron
• Card stock – something to go with your images. (Plain colors, abstract, etc)
• Scissors or Xacto knife
• Craft glue
Optional:
• Paper cutter/trimmer
Step 1:
You will want to start by prepping everything. Really this is the most time consuming part.
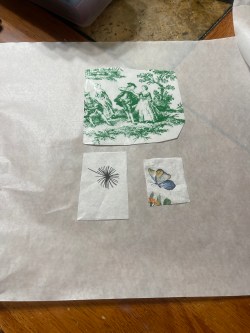
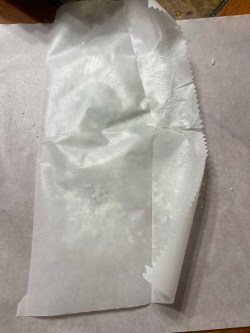
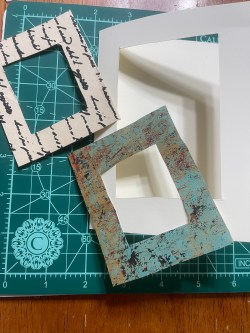
If your napkin is 2 or 3 ply, you will want to separate the extra layers from the main layer (image). Then cut the image of choice out, leaving a little extra napkin around the image as you will be using the card stock for the border. Set aside.
See image 👇
Step 2:
Next , you’ll want to grate or cut up the wax into really small bits.
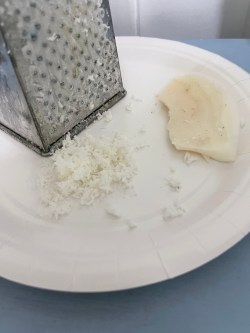
I use leftover candle wax. Stuck the candle jar in the freezer for 1-2 hrs, when you take it out of the freezer, the wax will come right out. You may have to loosen it around the edge a tiny bit.
Step 3:
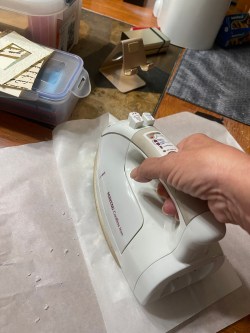
Start the iron and let it warm up.
While you’re waiting on the iron to warm up, lay a piece of parchment down on your work area. I use tape on the corners to hold it in place.
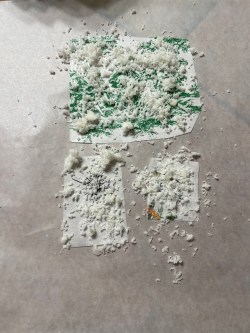
Place an image from the napkin on the parchment paper. Then sprinkle a little wax on top of the image.
Place a smaller piece of parchment paper on top of that.
So you’ll have- parchment, image, then wax and parchment on top.
Now take your iron and gently iron on top of the parchment.
See the pictures below for the steps 👇

Step 4:
After you ironed the napkin pictures, wait 1-2 seconds to give the wax time to harden. Then pick up the top parchment paper.
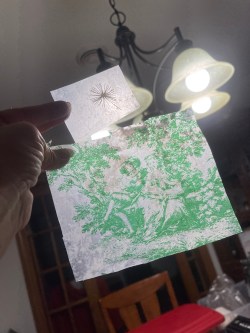
Pictures really don’t do it justice. It pretty much feels like wax paper. You just created Faux vellum.
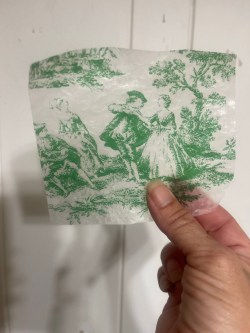
Now, I could still see some wax on mine. Maybe because I used too much wax, not sure. If that’s the case with yours…
Take your finger and rub it over the picture to smooth out the wax. (Sounds silly but trust me)
Sandwich your vellum picture(s) between two parchment papers again and iron them/it. This time do not add more wax.
Once you’re done, your vellum pictures with look see through.
* PART 2 *
Now that you have your vellum pictures, you’re most likely wondering what you can do with them….?
Well, some people turn them into what looks like photo negatives.
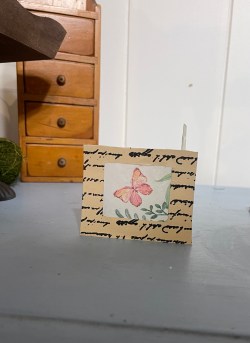
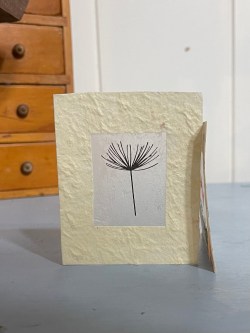
You can also use them in greeting cards
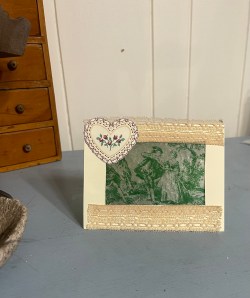
Other ideas:
Junk journals
Mixed media collages
As gift tags
Vision boards
Art projects
Fun projects for kids (with adult help)
I’m sure there are many more ideas.💡
A little creativity can go a long way.
I hope you enjoyed this lengthy but fun project!
Till next time,
~ Mel

Leave a reply to Swamigalkodi Astrology Cancel reply