Most of us have an ongoing stash of napkins from parties and/or tissue paper from birthday parties and Christmas or other holiday gatherings. Besides the obvious reusing tissue paper for gifts and saving the extra unused napkins for another party, I’m going to share with you a fun, quick, easy way to use up some of your stash. A project kids would have fun with too! The project itself takes less than half hour to make. The longest time is the dry time.
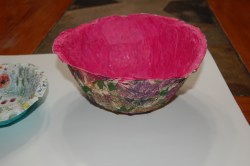
Decorative bowl
Supplies Needed:
Bowl or item of choice to use as a mold
aluminum foil or parchment paper
paint brush
tissue paper and/or napkins
Mod Podge or PVA glue
placemat or old tablecloth to cover your table

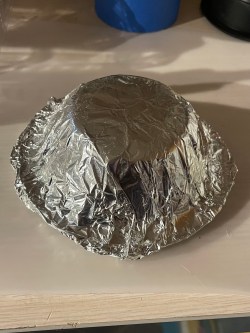
Step 1
After you have covered your surface, start by turning your bowl (or item of choice) upside down and covering it with the aluminum foil. Normally, when I do projects like this, I use parchment paper. This time I had no problems getting the decorative bowl off the foil without tears.
Step 2
If you are using PVA glue, you are going to want to water it down a little as this is a thick glue. In my experience using PVA glue on tissue paper, not only is it too thick but I’ve torn the paper trying to wipe it on. It does a great job hardening the paper! I used a clear sauce squirt bottle we have previously bought and never used. Pour in about 1/4 of the bottle with the PVA glue and then fill water about halfway up the bottle. Replace lid & shake.
With your paintbrush, put the glue on the aluminum foil that is covering your mold.
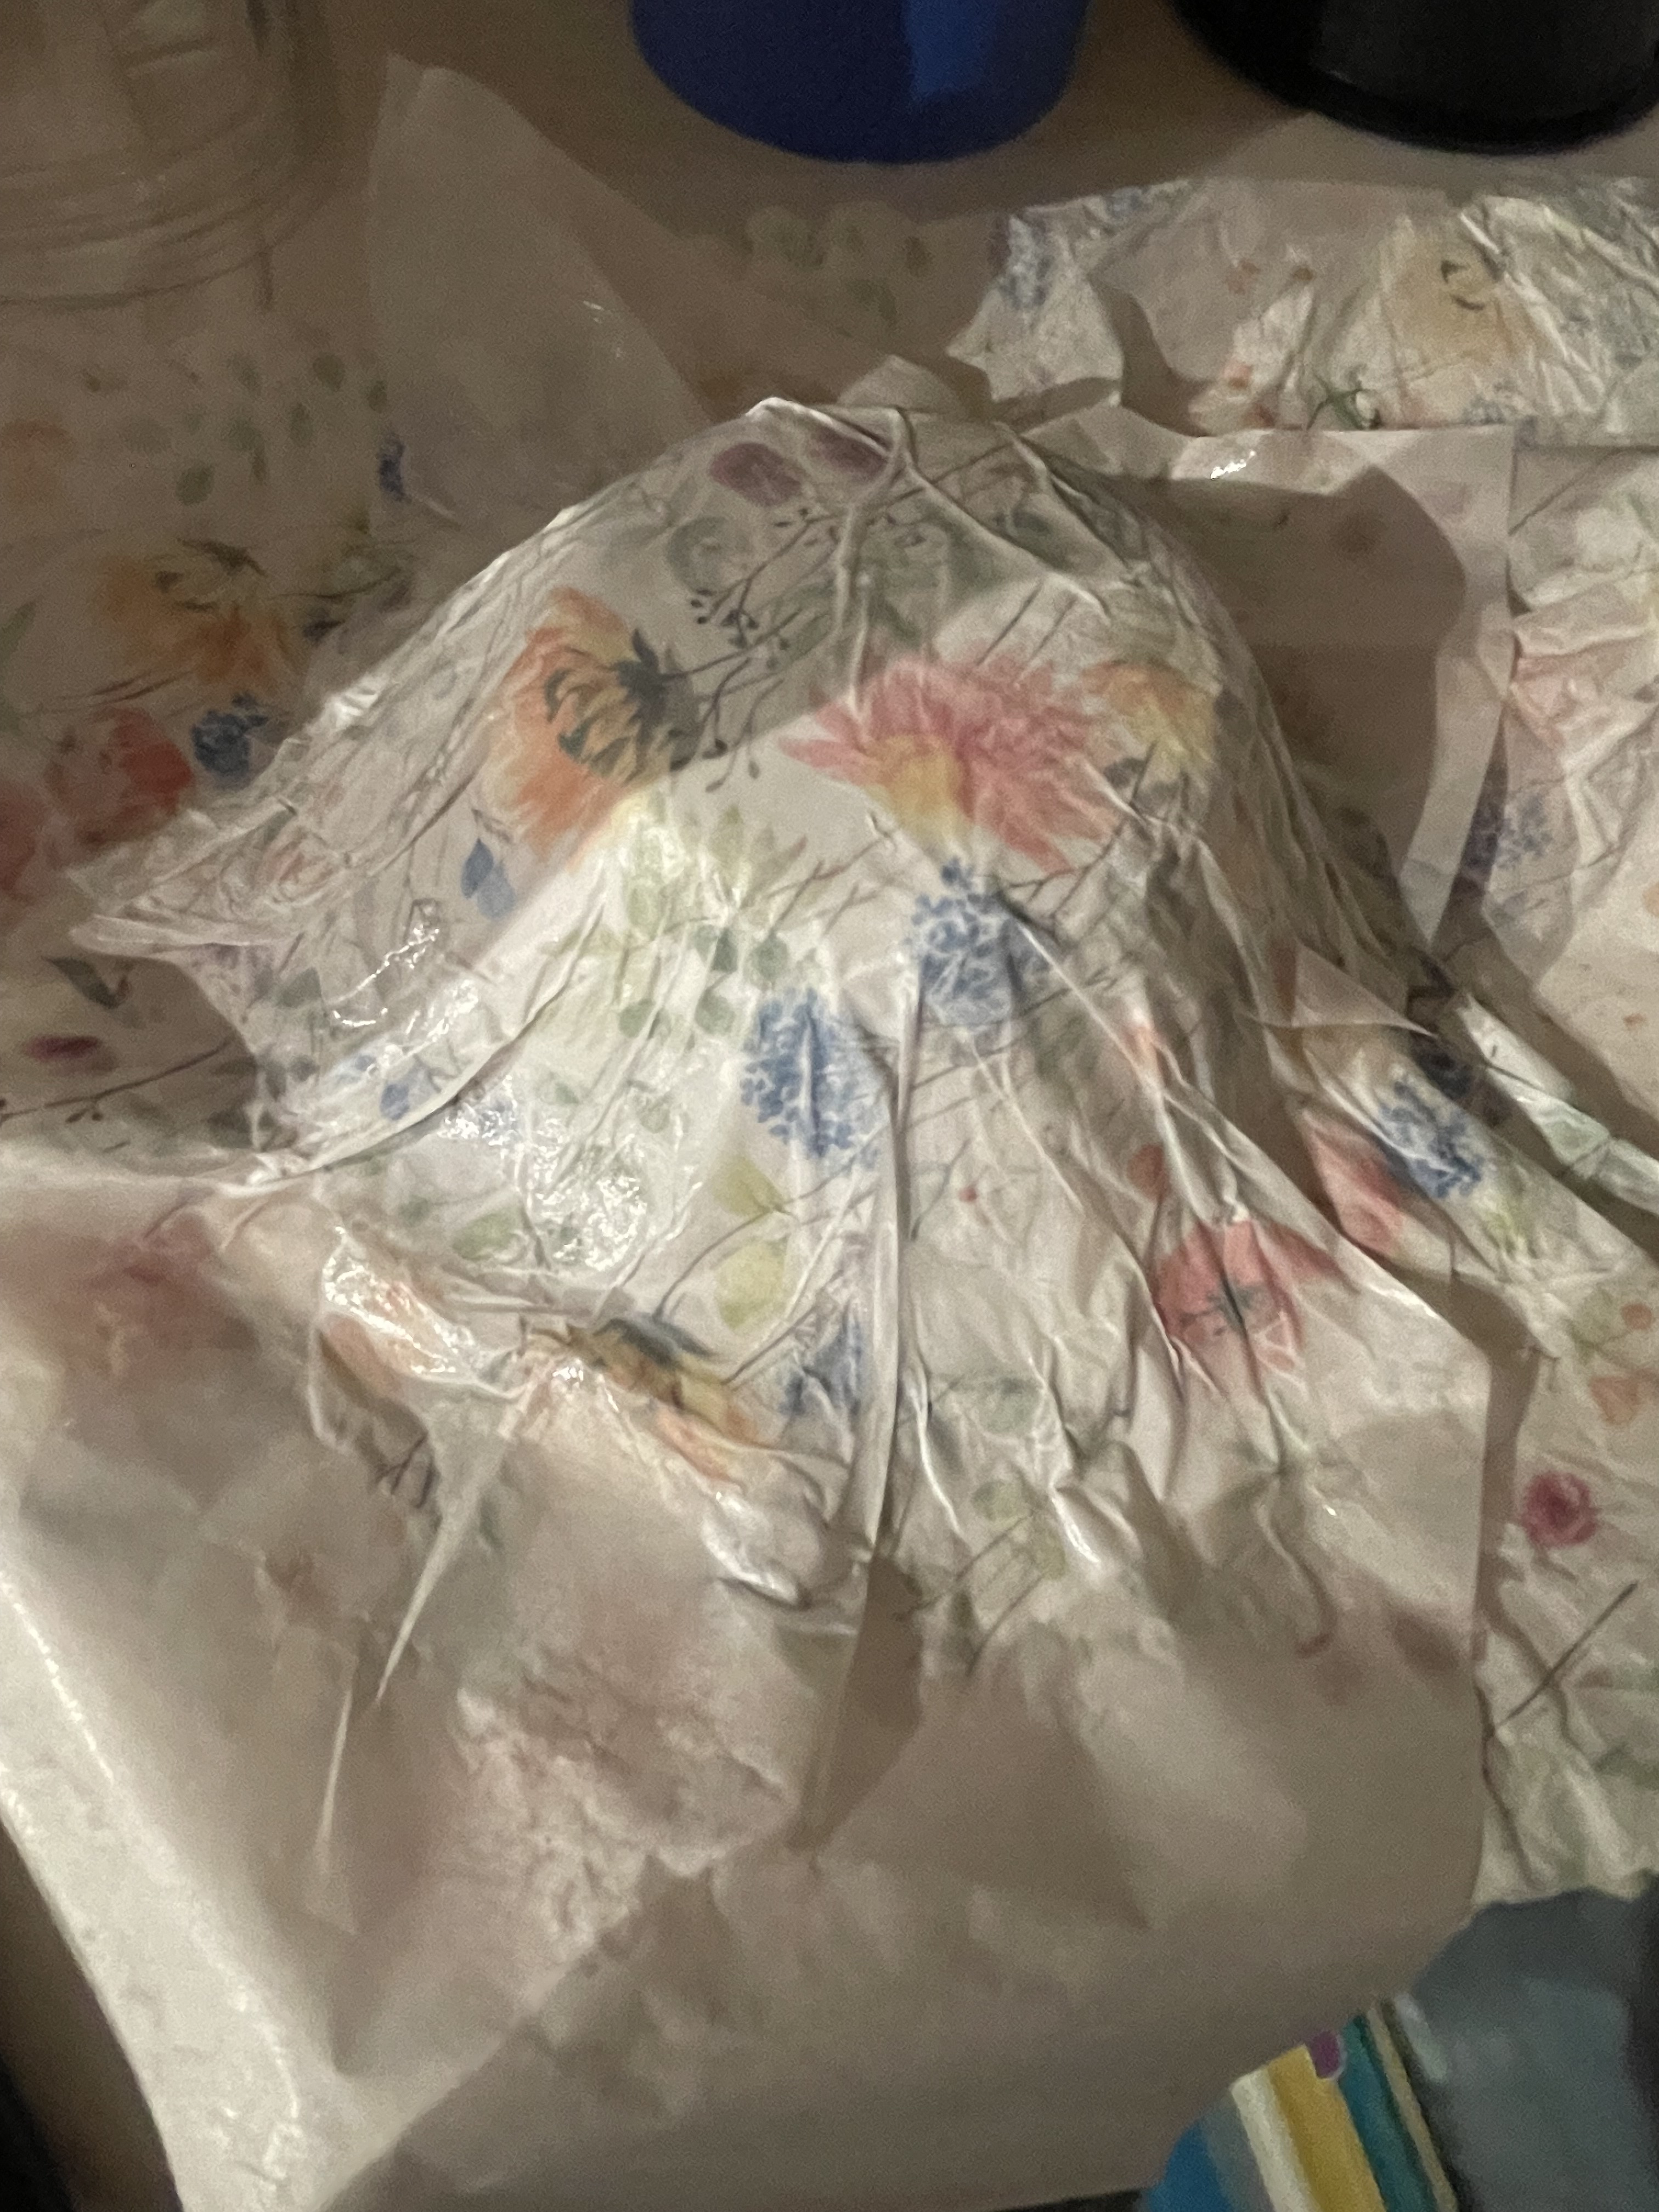
Step 3
Now you are going to gently lay a piece of the tissue paper or napkin over the glue. DO NOT worry about wrinkles in the paper. In the end it gives it character.
With the paint brush, go over the tissue paper you laid on the foil. Now, you can either put some of the glue on your paint brush first and then brush it on the paper OR put the glue on the paper first then brush it on. If you use the brush too hard on the paper it can tear. Be gentle. No worries though, you an always add more paper on top of it.
Since I used the squirt bottle, I gently squirted the glue on the paper and brushed as I went. Making sure to get over all the paper that is covering the bowl/mold.
Yes, you will have extra tissue paper or napkin hanging off the bowl/mold. No worries though, at the very end, when the glue is completely dry, you can cut off the extra paper.

Step 4
Take another
piece of tissue paper or a napkin and put it on top of the paper you glued on. Again, with your paint brush, brush over the paper or napkin and then put glue on and repeat.
Step 5
REPEAT STEPS 3 & 4.
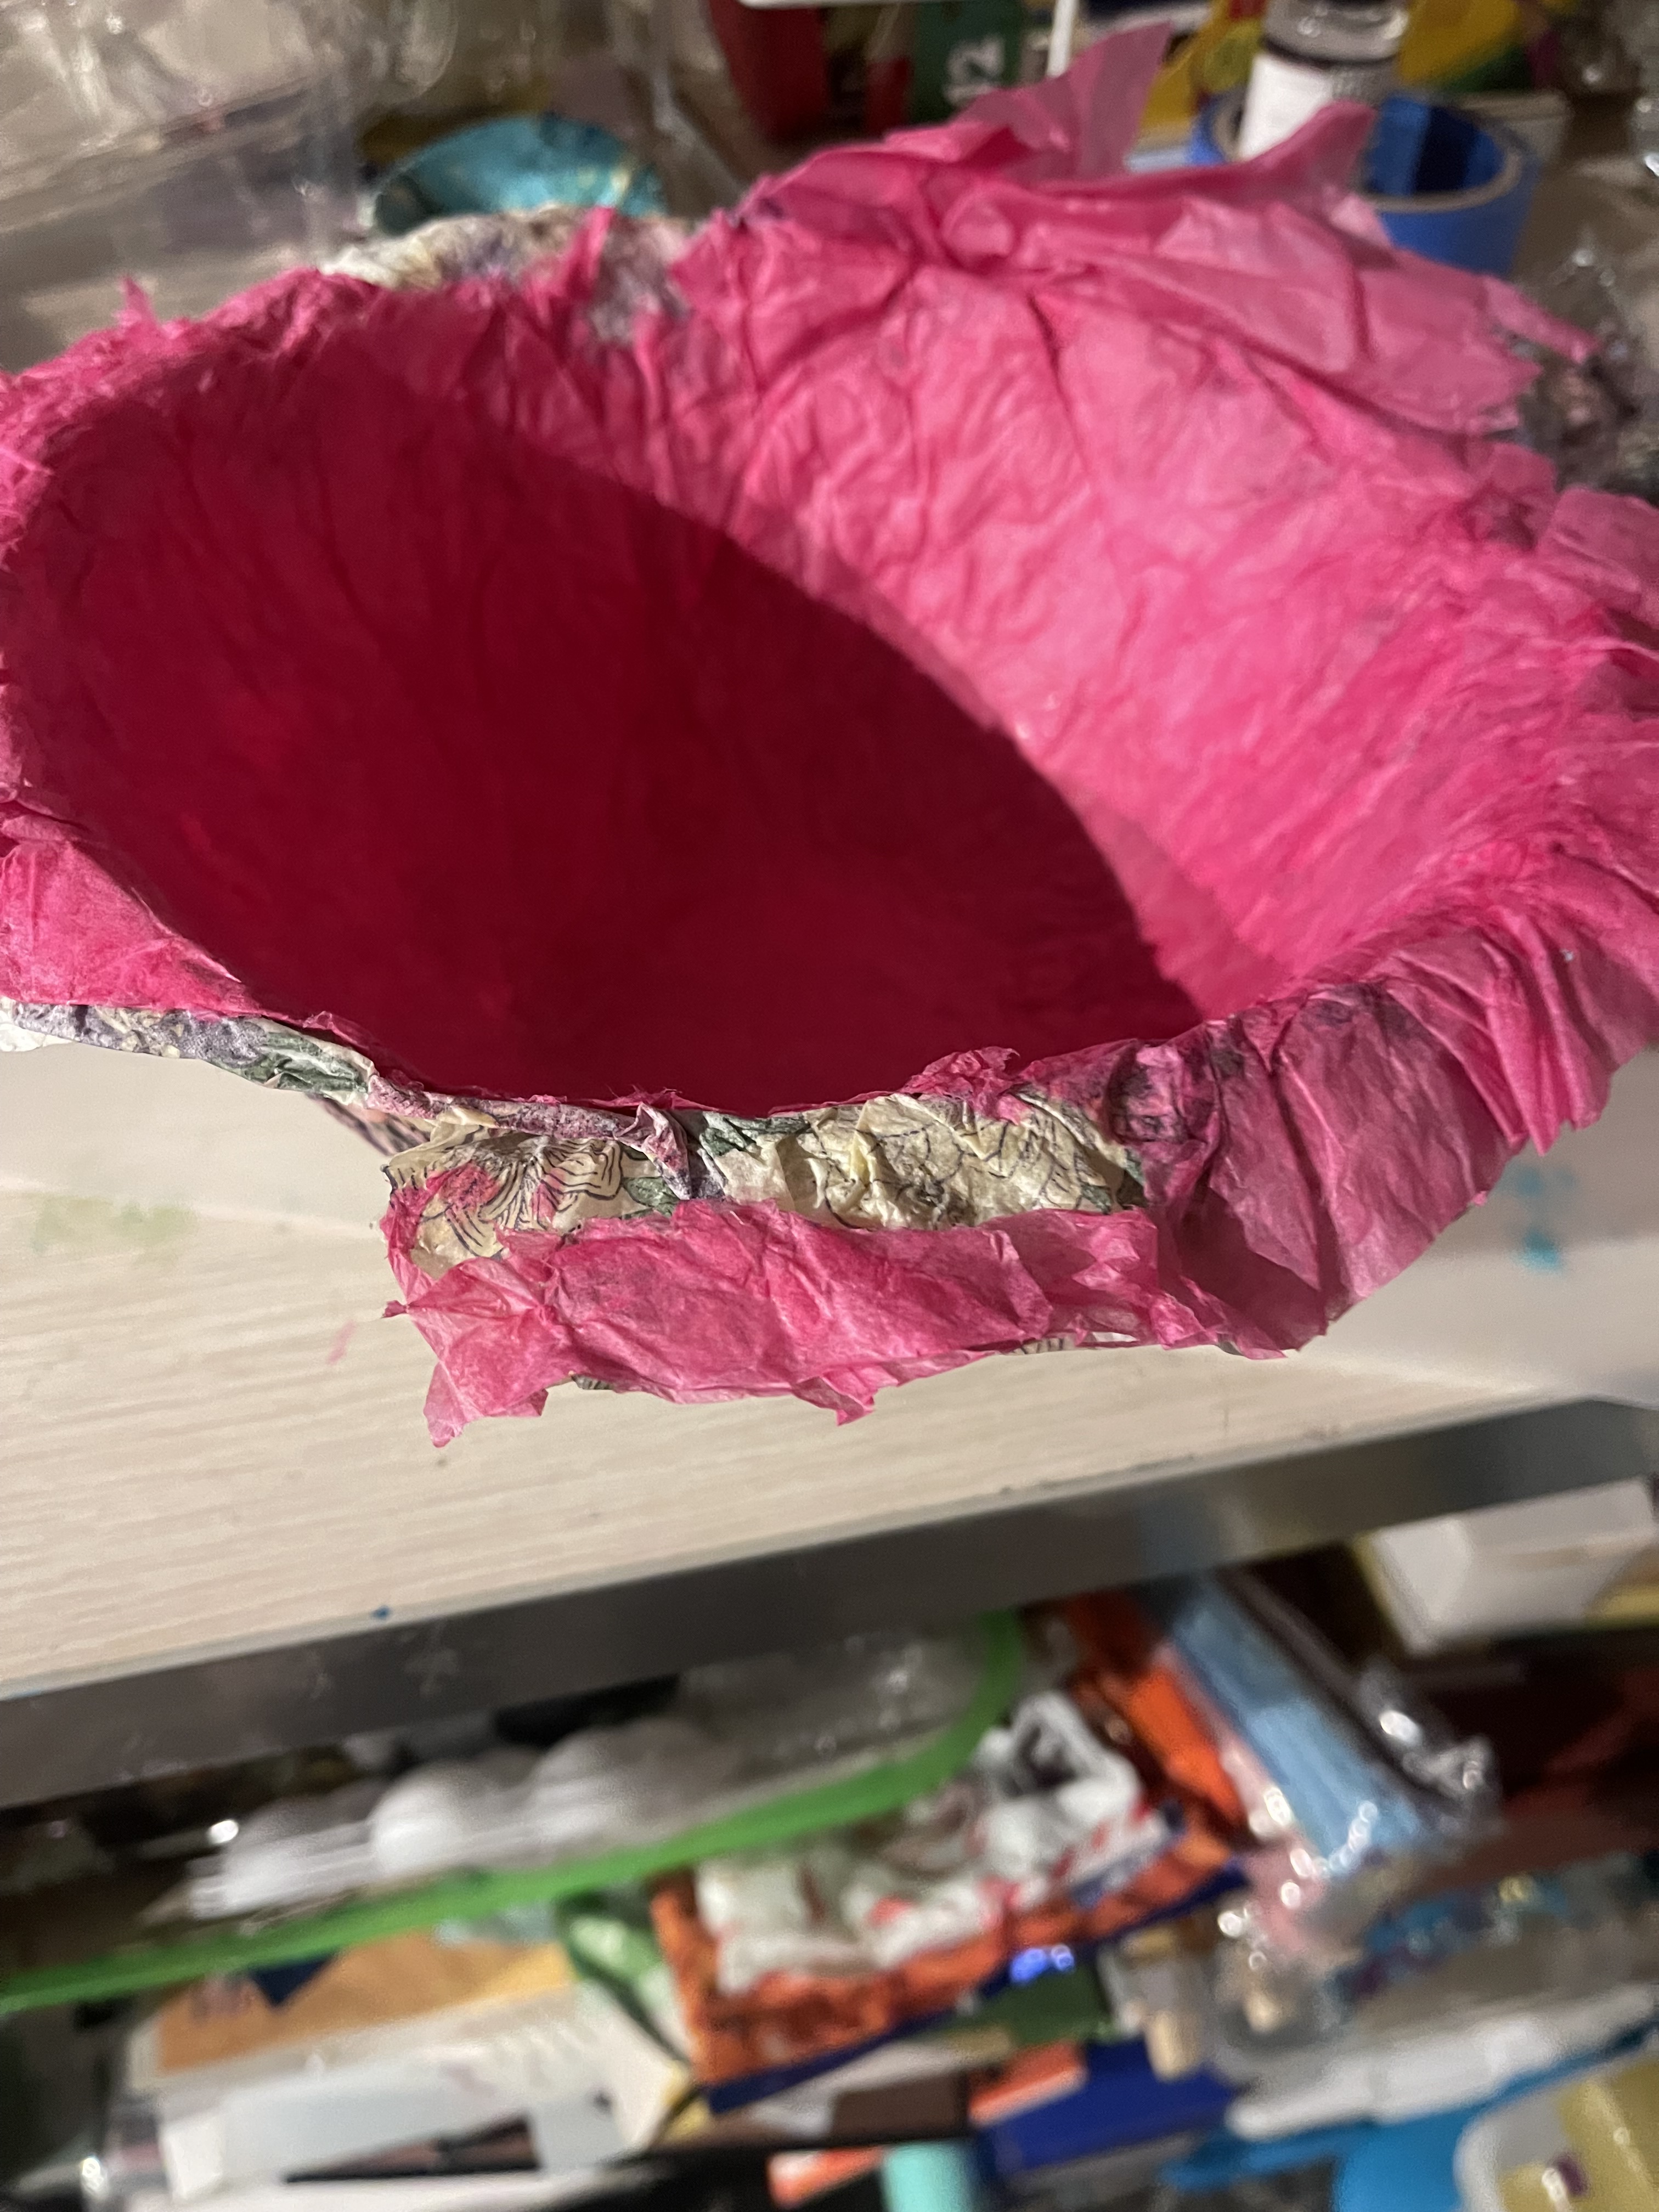
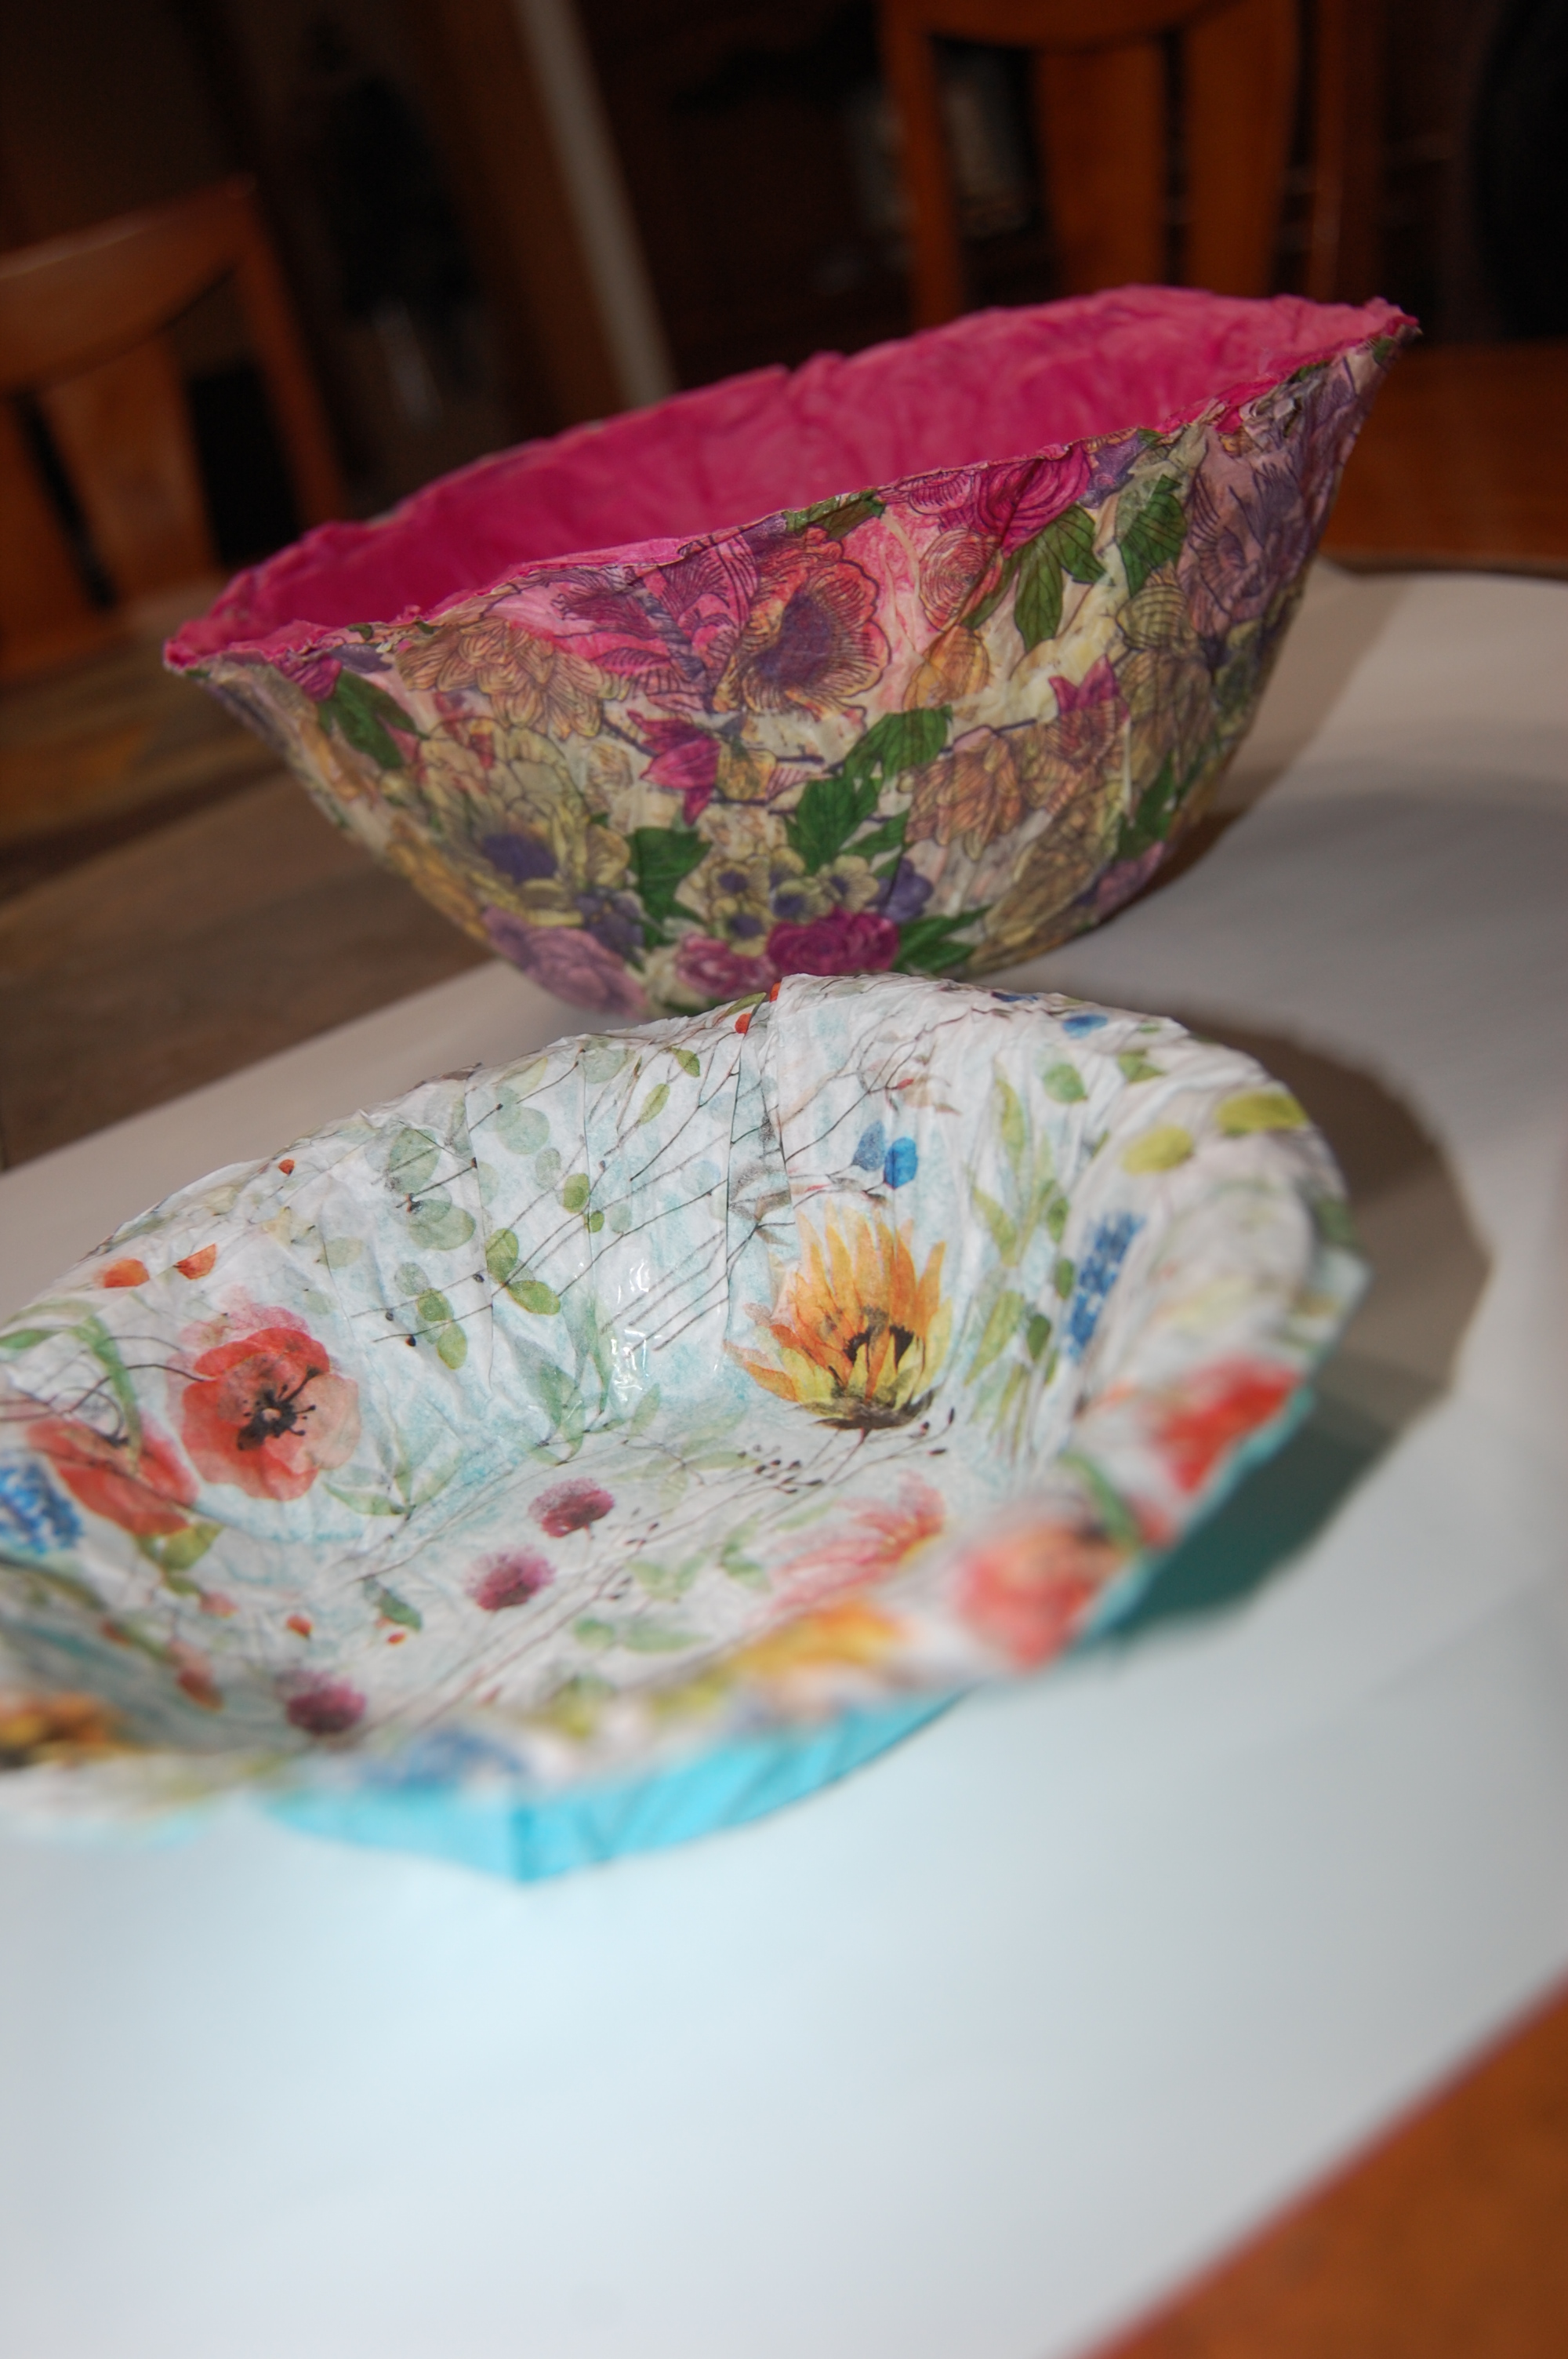
The more layers of napkins and/or tissue paper you use, the sturdier the bowl will be. You can layer then any way you’d like. In my pictures below, I made one bowl using the yellowed flower napkins on the outer side and a solid pink on the inside. Then I did the opposite for the other bowl but using tissue paper.
If you would like, you can let the tissue paper/napkins dry between sheets. I personally did not and it turned out good. Overall drying time….I let it dry overnight. The next day I cut the access paper off and touched up if needed.


Tips
- Use as many pieces of tissue paper or napkins as you’d like. I used 8 on the large bowl and 5 on the smaller.
- Use your imagination 🙂 Be colorful
- When cutting the access paper off, do not cut too close to your bowl/mold. You can always trim more off later.
- The edges of the finished item will look rigid or unfinished. I like the look, but if you don’t you can add a border along the edge in a color of your choice, you could use hot glue and apply it along the edge, or you can brush on some of the Mod Podge glue or PVA glue.
Links
PVA GLUE https://a.co/d/4v5YWRx
Mod Podge Matte https://a.co/d/3EGfLM2
Mod Podge Gloss https://a.co/d/5x7oycO
Fun Napkins!! https://decoupagenapkins.com/

Leave a reply to mel23h Cancel reply