Once again the wheels in my head started spinning on things I can make from scratch. My eldest daughter loves baking. For Christmas we bought her a ice cream maker. She absolutely loves making ice cream. The recipes that came with the ice cream maker calls for heavy whipping cream, so needless to say we always have it now. Back to the subject at hand… the other day I asked her to think of something that we can make. She choose butter. The only other time we’ve made butter were when we’ve gone to Heritage Fest. They have tons of things for kids to do.
Butter. Butter is a dairy product made from the fat & protein components of churned cream. It is a solid emulsion at room temperature consisting of approx. 75-80% butterfat. It can be used as a spread, melted as a condiment, used in baking, sauce making and so much more!
Without further ado, let’s make butter!
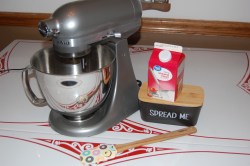
Supplies Needed:
electric or hand mix master
spatula
2 bowls
strainer or cheese cloth
Heavy Whipping Cream
Salt (optional)
Step 1:
**You do have the option to make this by hand. It will be a lot of hand work though and your arms will be tired as this process takes about 30 minutes. **
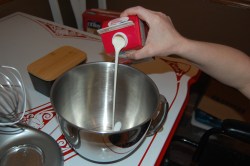
Start with pouring the heavy whipping cream into the bowl and turn it on low. That’s it, leave it for about 10-15 minutes. The cream will start to become creamer looking similar to whip cream.
Step 2:
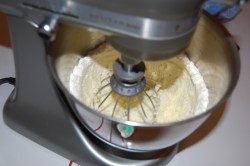
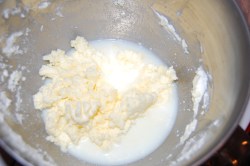
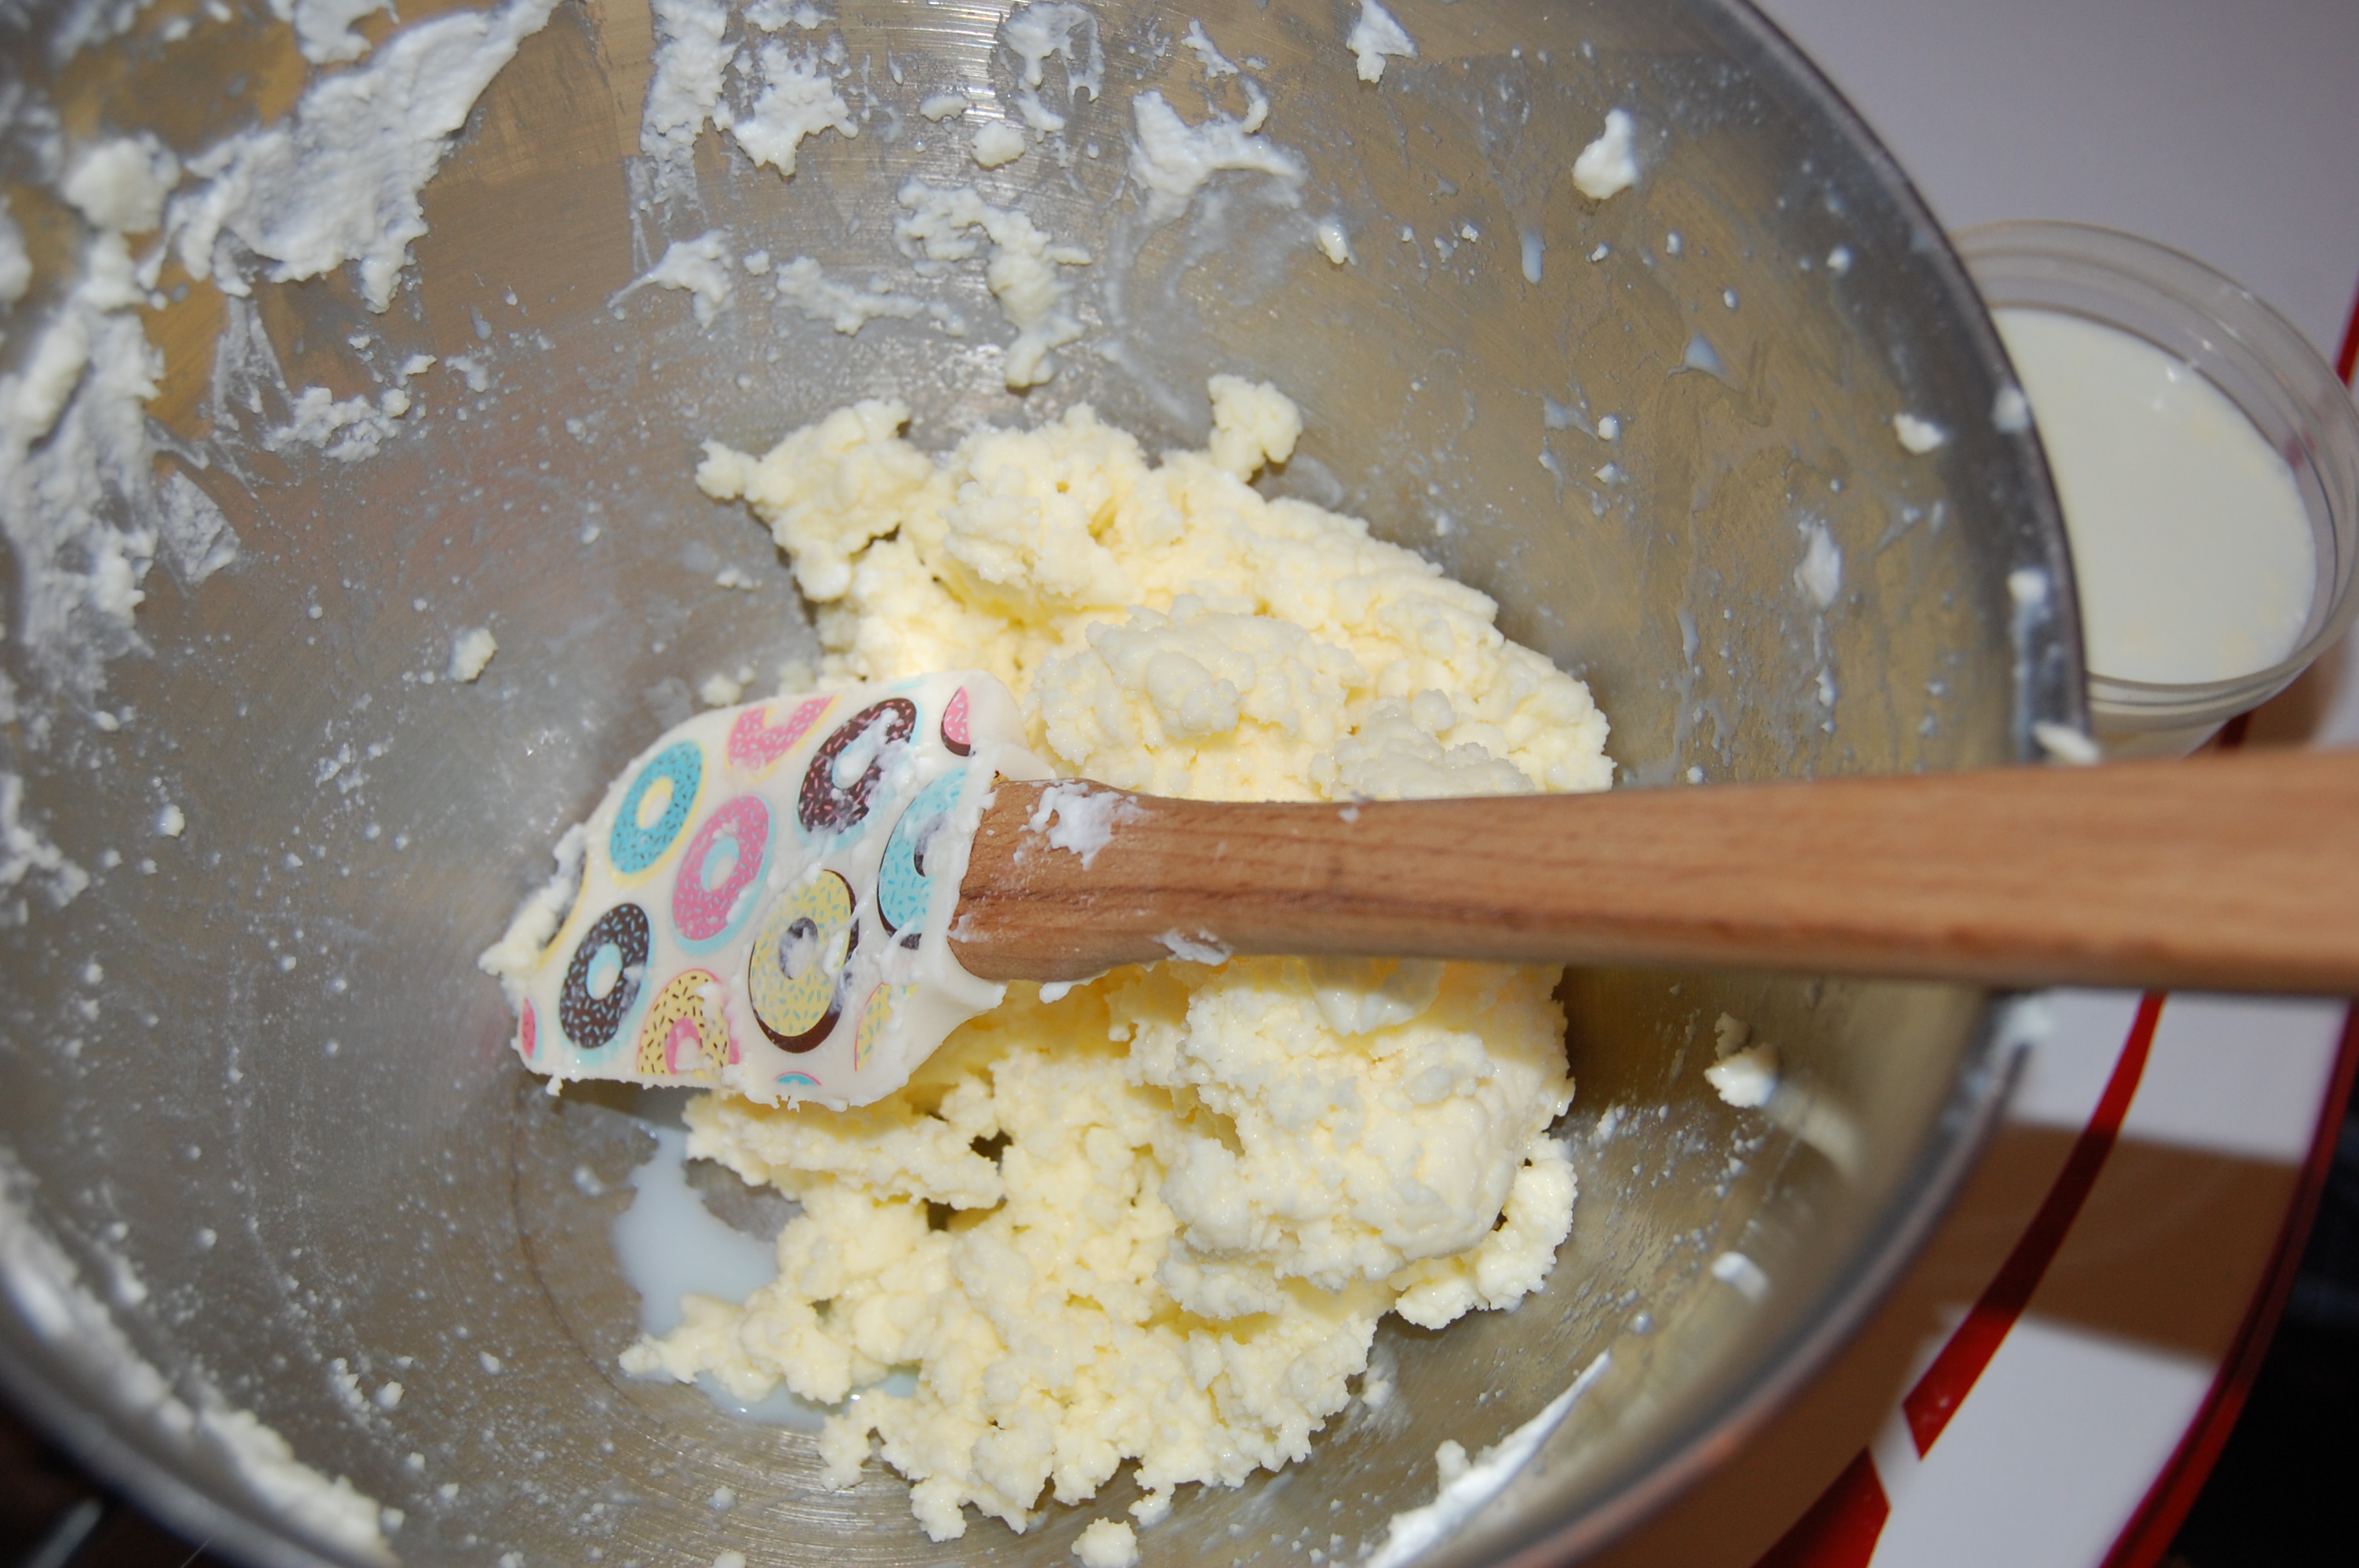
Turn the mixer to medium setting. (On my Kitchen Aid it is a number 3 or4). After about another 5-8 minutes, the cream will now start to become chunks. (It will look something similar to cottage cheese or cheese curds. At this point, you can turn the mixer off long enough to scrap the sides of the bowl and get all the chunks of cream/butter back into the middle of the bowl. Turn the mixer back on to the medium setting until the cream becomes butter. I’m sure majority of us know what butter looks like, so you will know when it is done. what were chunks before are now formed all together. At this point, you will notice a bit of some liquid in the bowl with the butter. This liquid is buttermilk.
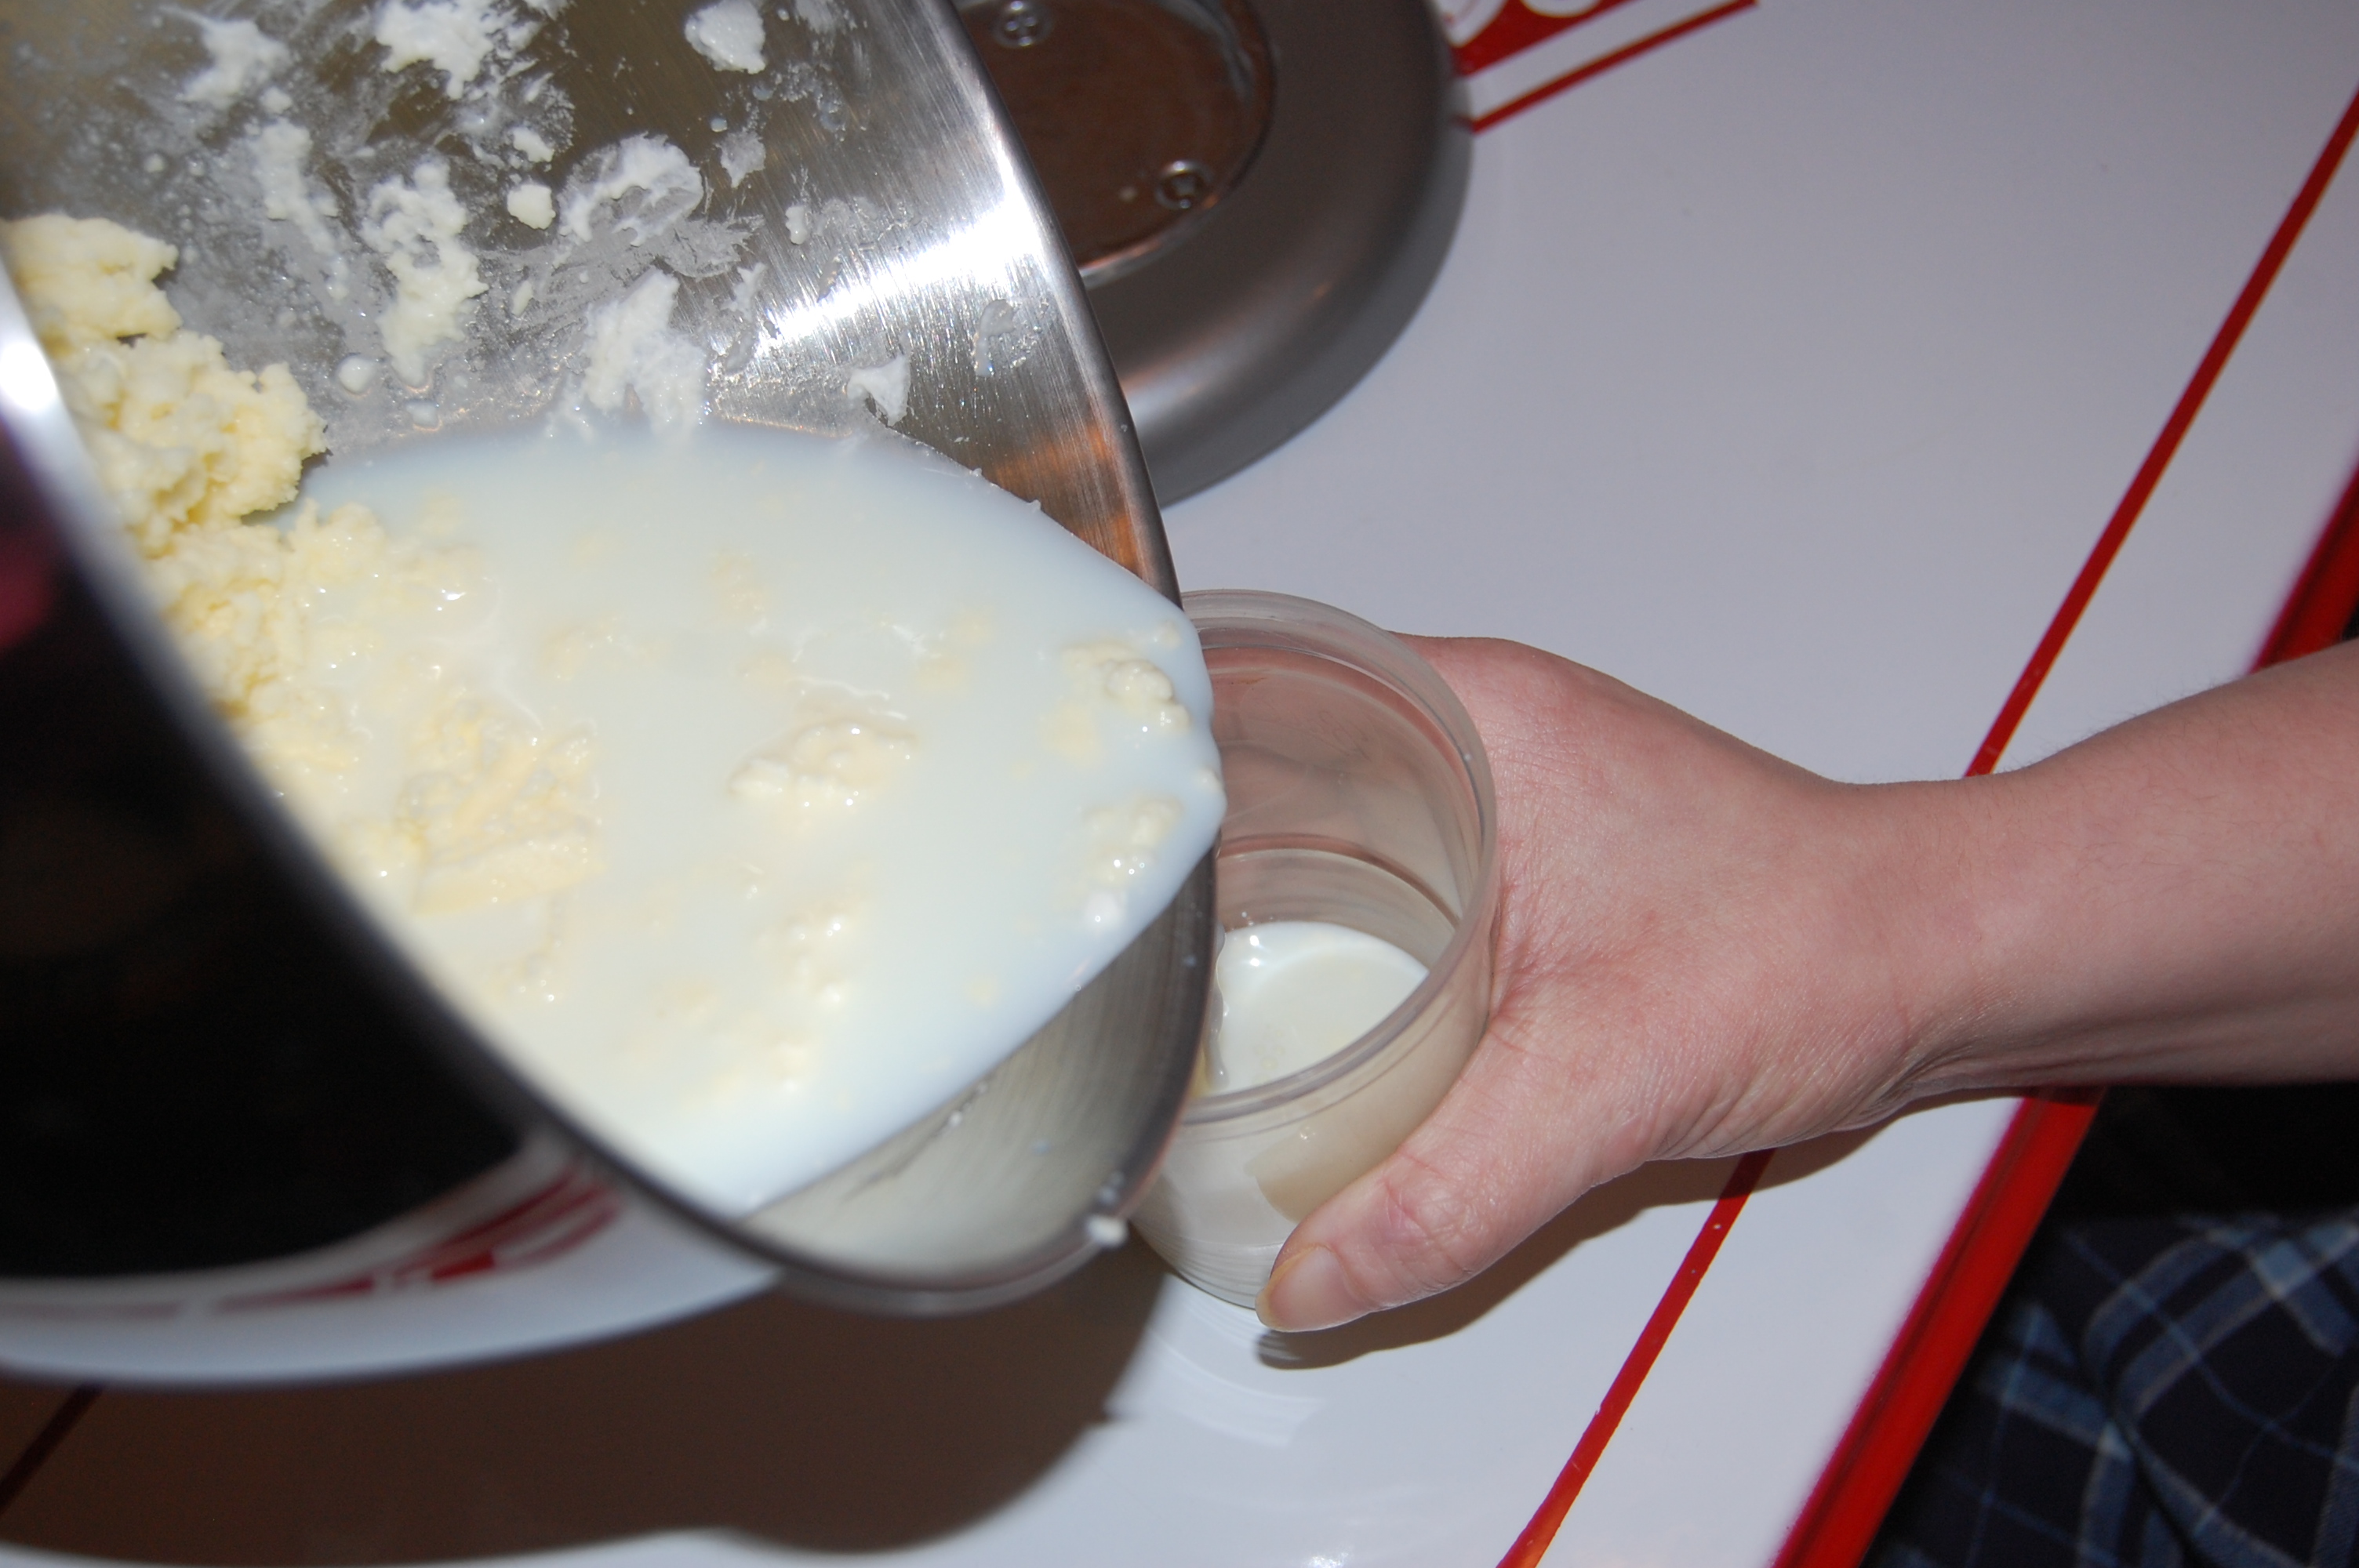
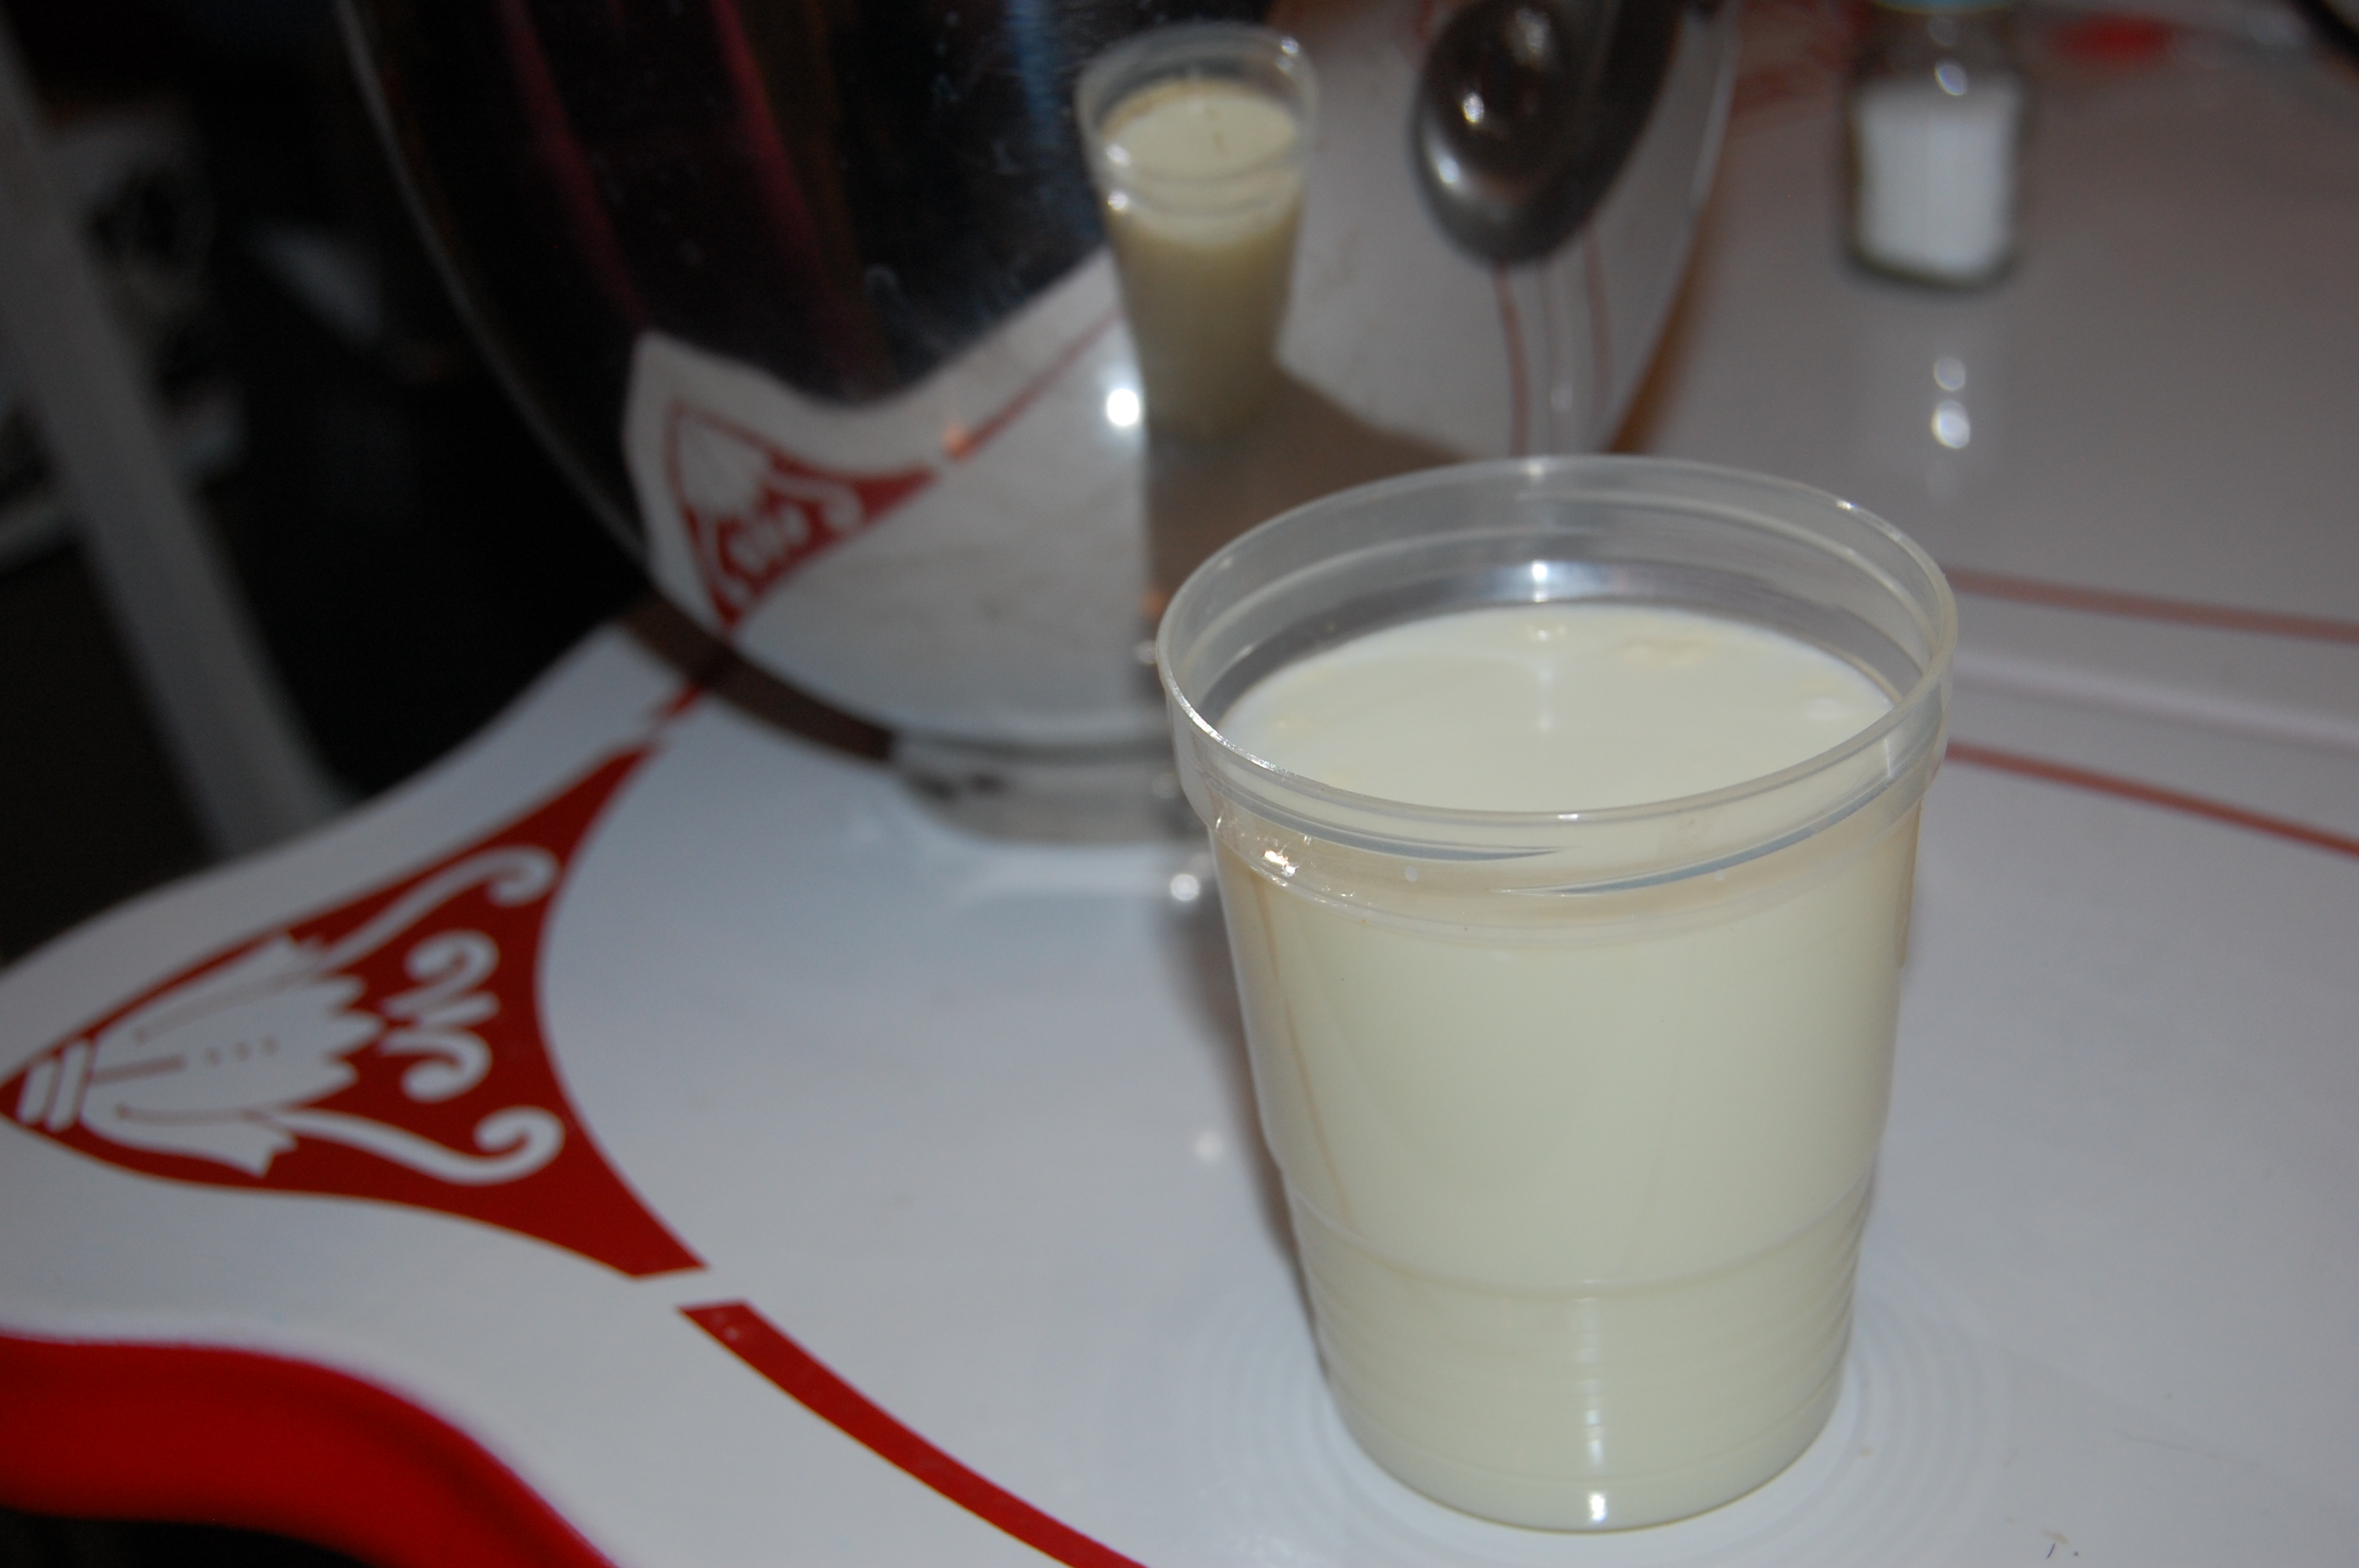
Now you are going to want to strain the butter. There are numerous ways to do this. Take a bowl and hold your strainer above the bowl. Just hovering over so the liquid doesn’t splash. Carefully pour the butter & buttermilk into the strainer, the buttermilk will drain into the bowl under the strainer. Buttermilk can be used in so many many different recipes. You can store the buttermilk in a container and put it in your fridge or give it to a neighbor or family member that likes to bake. I’m sure they will be pleased to get it! Groceries are not cheap now a days, OR you can just dump the buttermilk down the drain if you don’t want it.
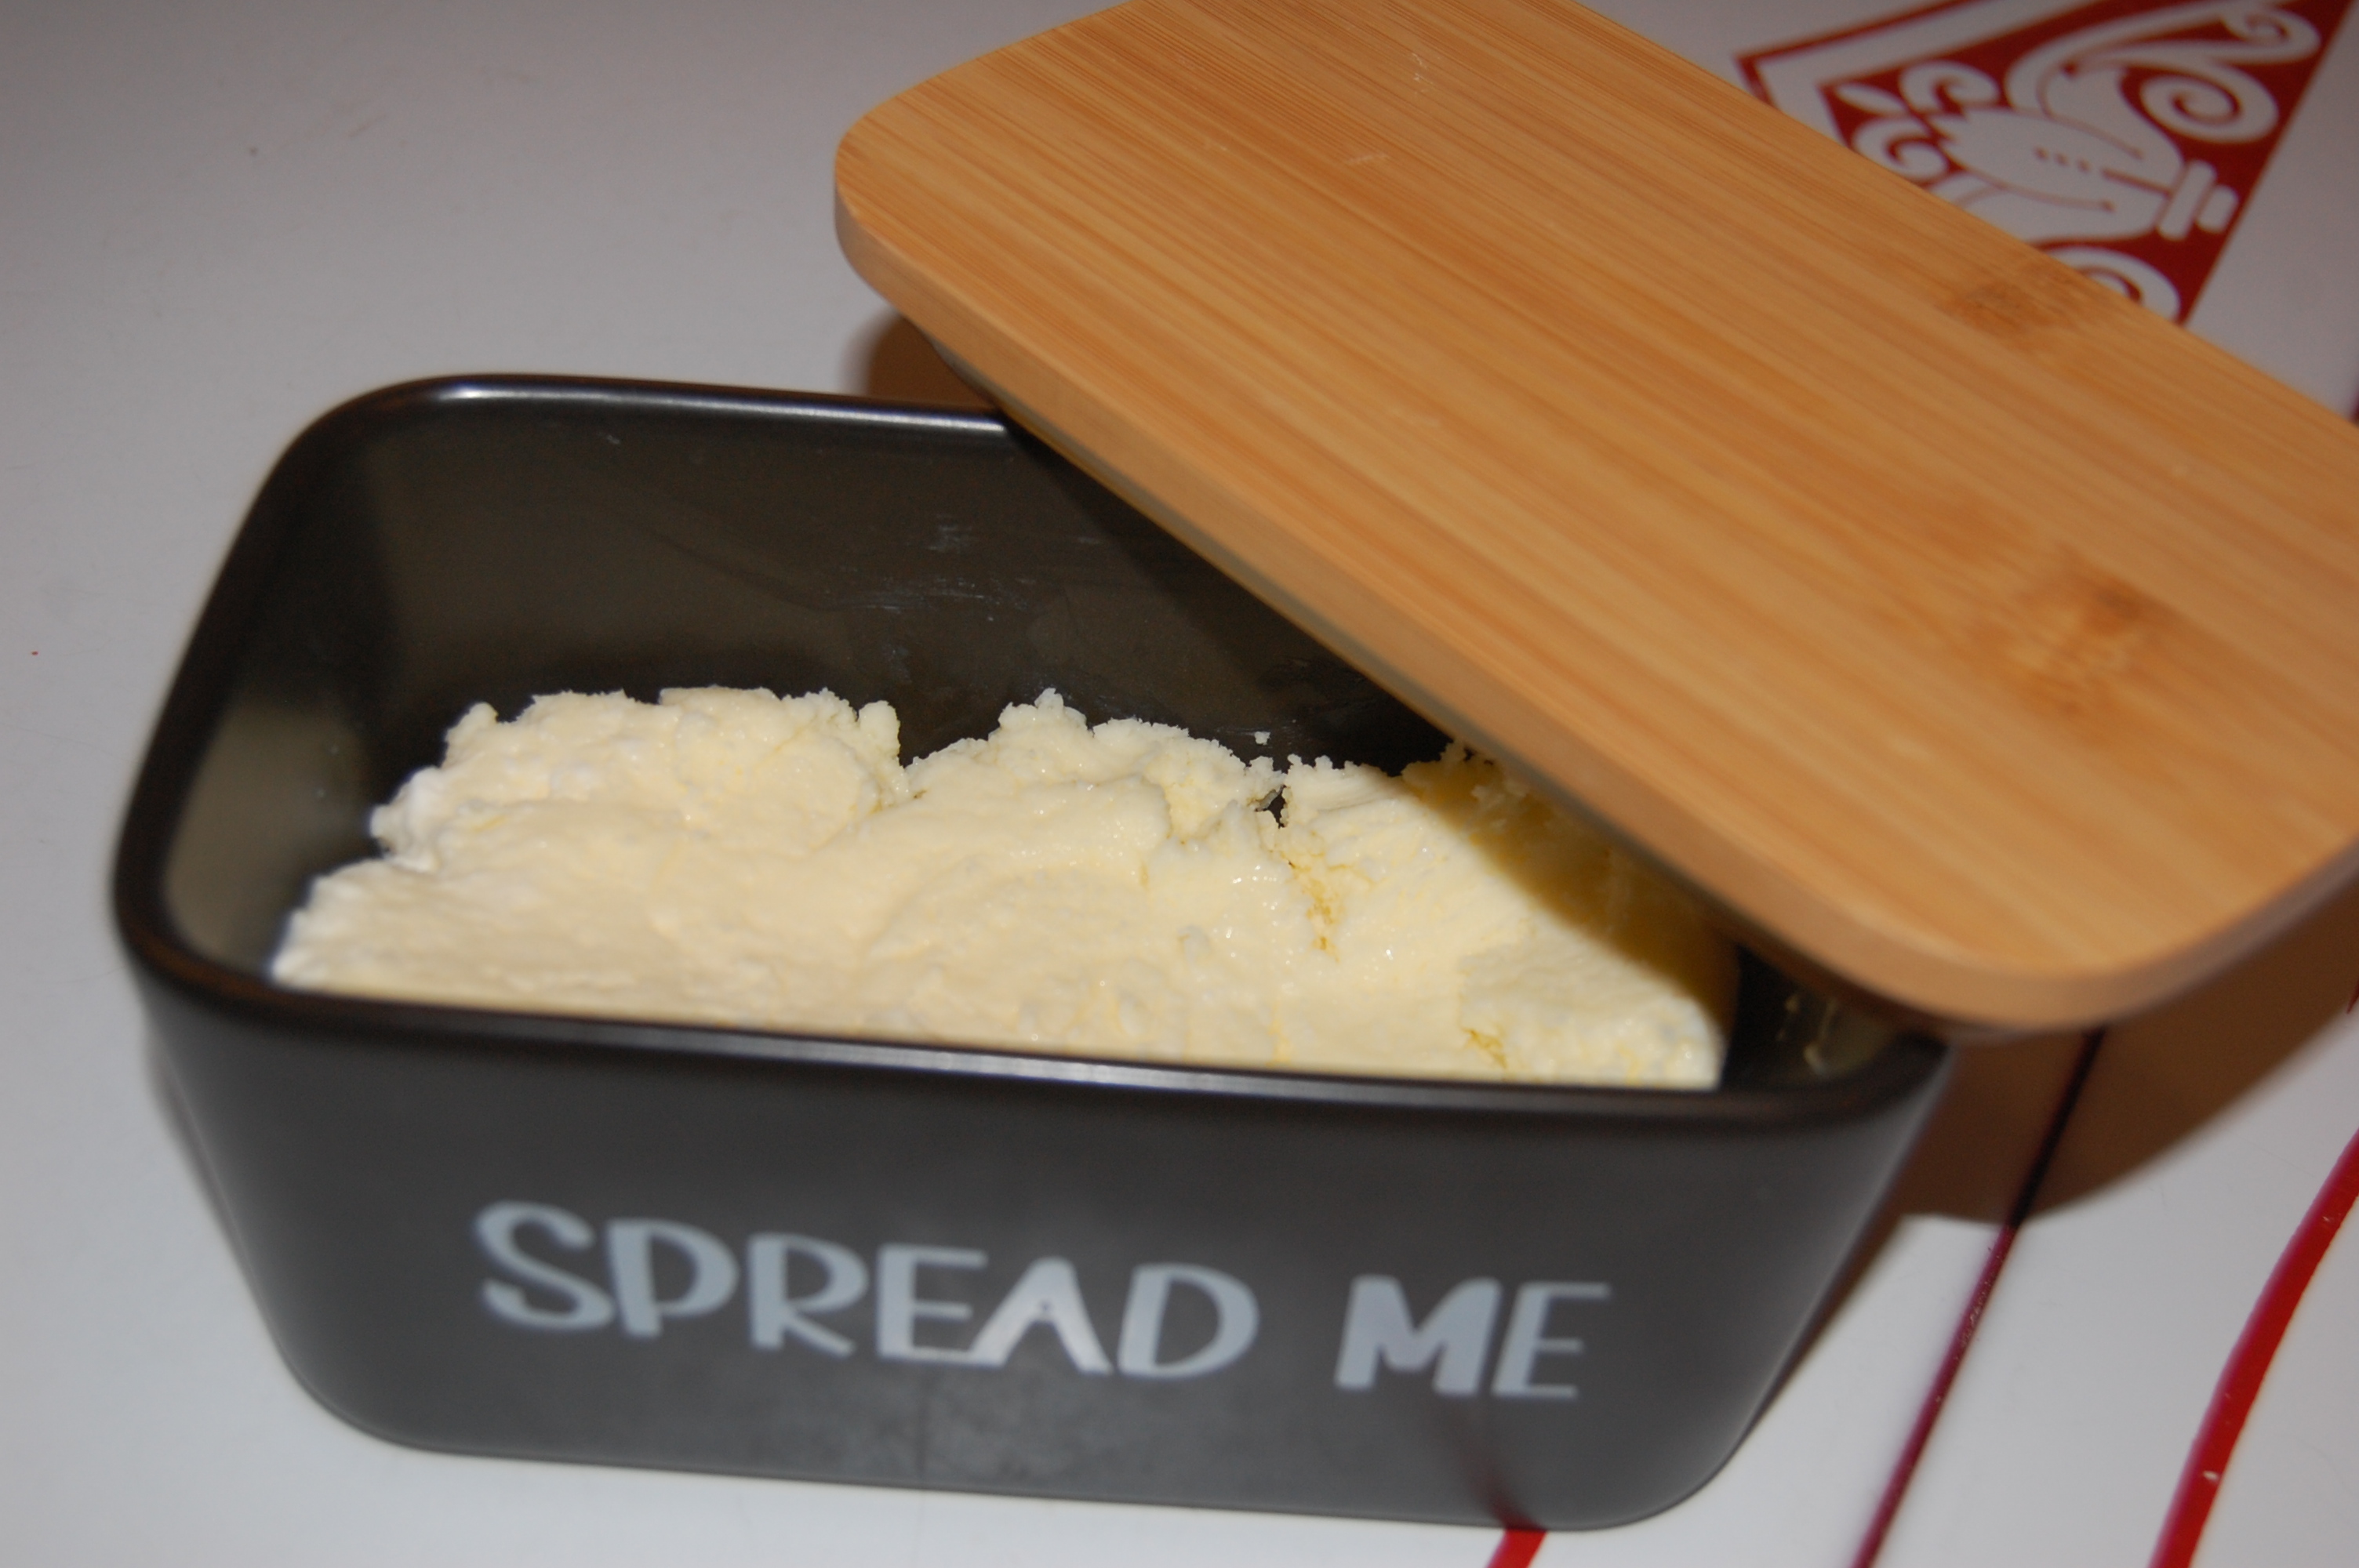
You will want to rinse the butter off with cold water to get rid of any access buttermilk that is still on the butter and to give the butter a longer shelf life. Strain the water out into the sink, at this time you can add salt and then you can put your homemade butter in a container with a lid on it.
Salt is added into the butter to help preserve the butter. It is not necessary to add the butter. It is optional. If you plan on putting salt in the butter, then you will want to store it in the fridge. That’s it! It seems like a lot but it really is not. The longest process was waiting for the mixer to finish, which was about 30 minutes from the time I poured the cream into the time it turned into butter chunks.
FUN FACTS –
- The word “butter” derives from Latin word butyrum.
- The invention of butter has been traced back to the early 2,500 B.C.. it was found on a Sumerian tablet describing the butter making process.

Leave a reply to Anonymous Me Cancel reply