Happy Saturday everyone! My last post, Aging Wood was part 1. Today I am going to show you guys what I made with the aged wood we created. Let’s start building!
Supplies:
- Your aged wood/boards
- Nail Gun
- Chicken Wire
- Staple Gun
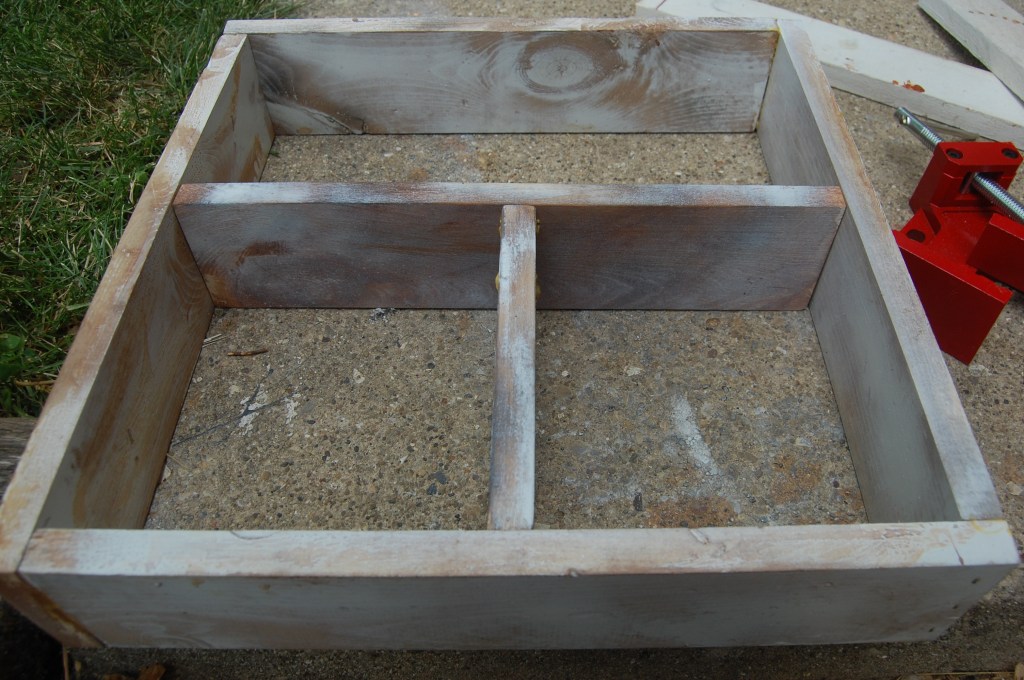
We have something called a Can Do Clamp. It helps hold your boards together when you have to glue the corners or nail them. It makes things so much easier!

We started by putting glue on the ends of 2 of the boards on the corner ends and holding them together. Now because we have the Can Do Clamp we were able to go ahead and use the nail gun on the corners. You will do the same for the other 3 corners. So you will have a box.

If you want to create a divider inside the box or little shelves inside, then you can take 2 more boards. Measure the inside of your box, Mine is 16 3/4″ both ways. So my inside boards we cut one as 15″ and the other at 7 3/4″. We added a little wood glue and used the nail gun to nail them together.

Once that was complete we put those boards inside the large frame and used the nail gun to nail the 3 sides to the frame.
The last part is adding the chicken wire to the back. We cut to size and used the staple gun to staple it into place.


That’s it. Now you can put it on your wall and decorate it as you please. 🙂 Feel free to email me photos of your completed shelves. I always love to see what everyone does! Enjoy your weekend.

