Hi everyone! I’m really in the mood for fall, it’s my favorite time of year! We have quite a bit of scrap wood so I decided to make pumpkins using the Shou Sugi Ban technique & some paint.
Shou Sugi Ban is Japanese wood burning technique for waterproofing & preserving wood. The Japanese prefer using Cedar. I have heard that there are certain woods that when burned, it will not turn out that good.
After the wood is burned & then cooled, you sand it down to get rid of the access burn flakes and tone the look down a notch. After, you will notice the burn sorta follows the grain of wood. You can leave it and put poly on or your finish of choose, or white wash the paint with your choice of color paint on there…. quite a bit you can do with it.
Please keep in mine when trying this at home, to do this outside away from the house. Making sure nothing else is around.
Affiliate link disclosure
This post contains affiliate links. If you click on the link and purchase the item, I may get a commission at no extra cost to you. All recommended products are based off of my positive experience with them.
Supplies:
- Piece of scrap wood – I used a piece of beam- Mine sized at 5 1/2 ” tall X 3 1/2″ wide. One of mine is on a slant at the top. I did it to give it some character.
- Sander & sand paper
- Paint color of choice ( I used a medium orange color)
- Paper towels
- Rag
- Paint Brush
- Spray bottle with water
- Torch or Heat Gun
- Hand Planer (optional) They have them for cheap on Amazon- https://a.co/d/inHLWBb
To begin, once you have cut your wood to size, sand it down. One of the pieces of wood I have is a little rough on top. I sanded it the best I could. If you’d like, if you have a hand Planer you can use it on the corners of the wood & then sand it down a little to round out the corners.
Now you’ll want to pick a spot outside in the driveway away from the house. You will put your wood down, get your torch or heat gun ready and start burning the wood. You’ll want to keep the flame about 6-8 ” away so you don’t over burn or make the wood go up in flames. Once you finished burning one side, give it a minute to cool off and turn the wood over and start on the next side.

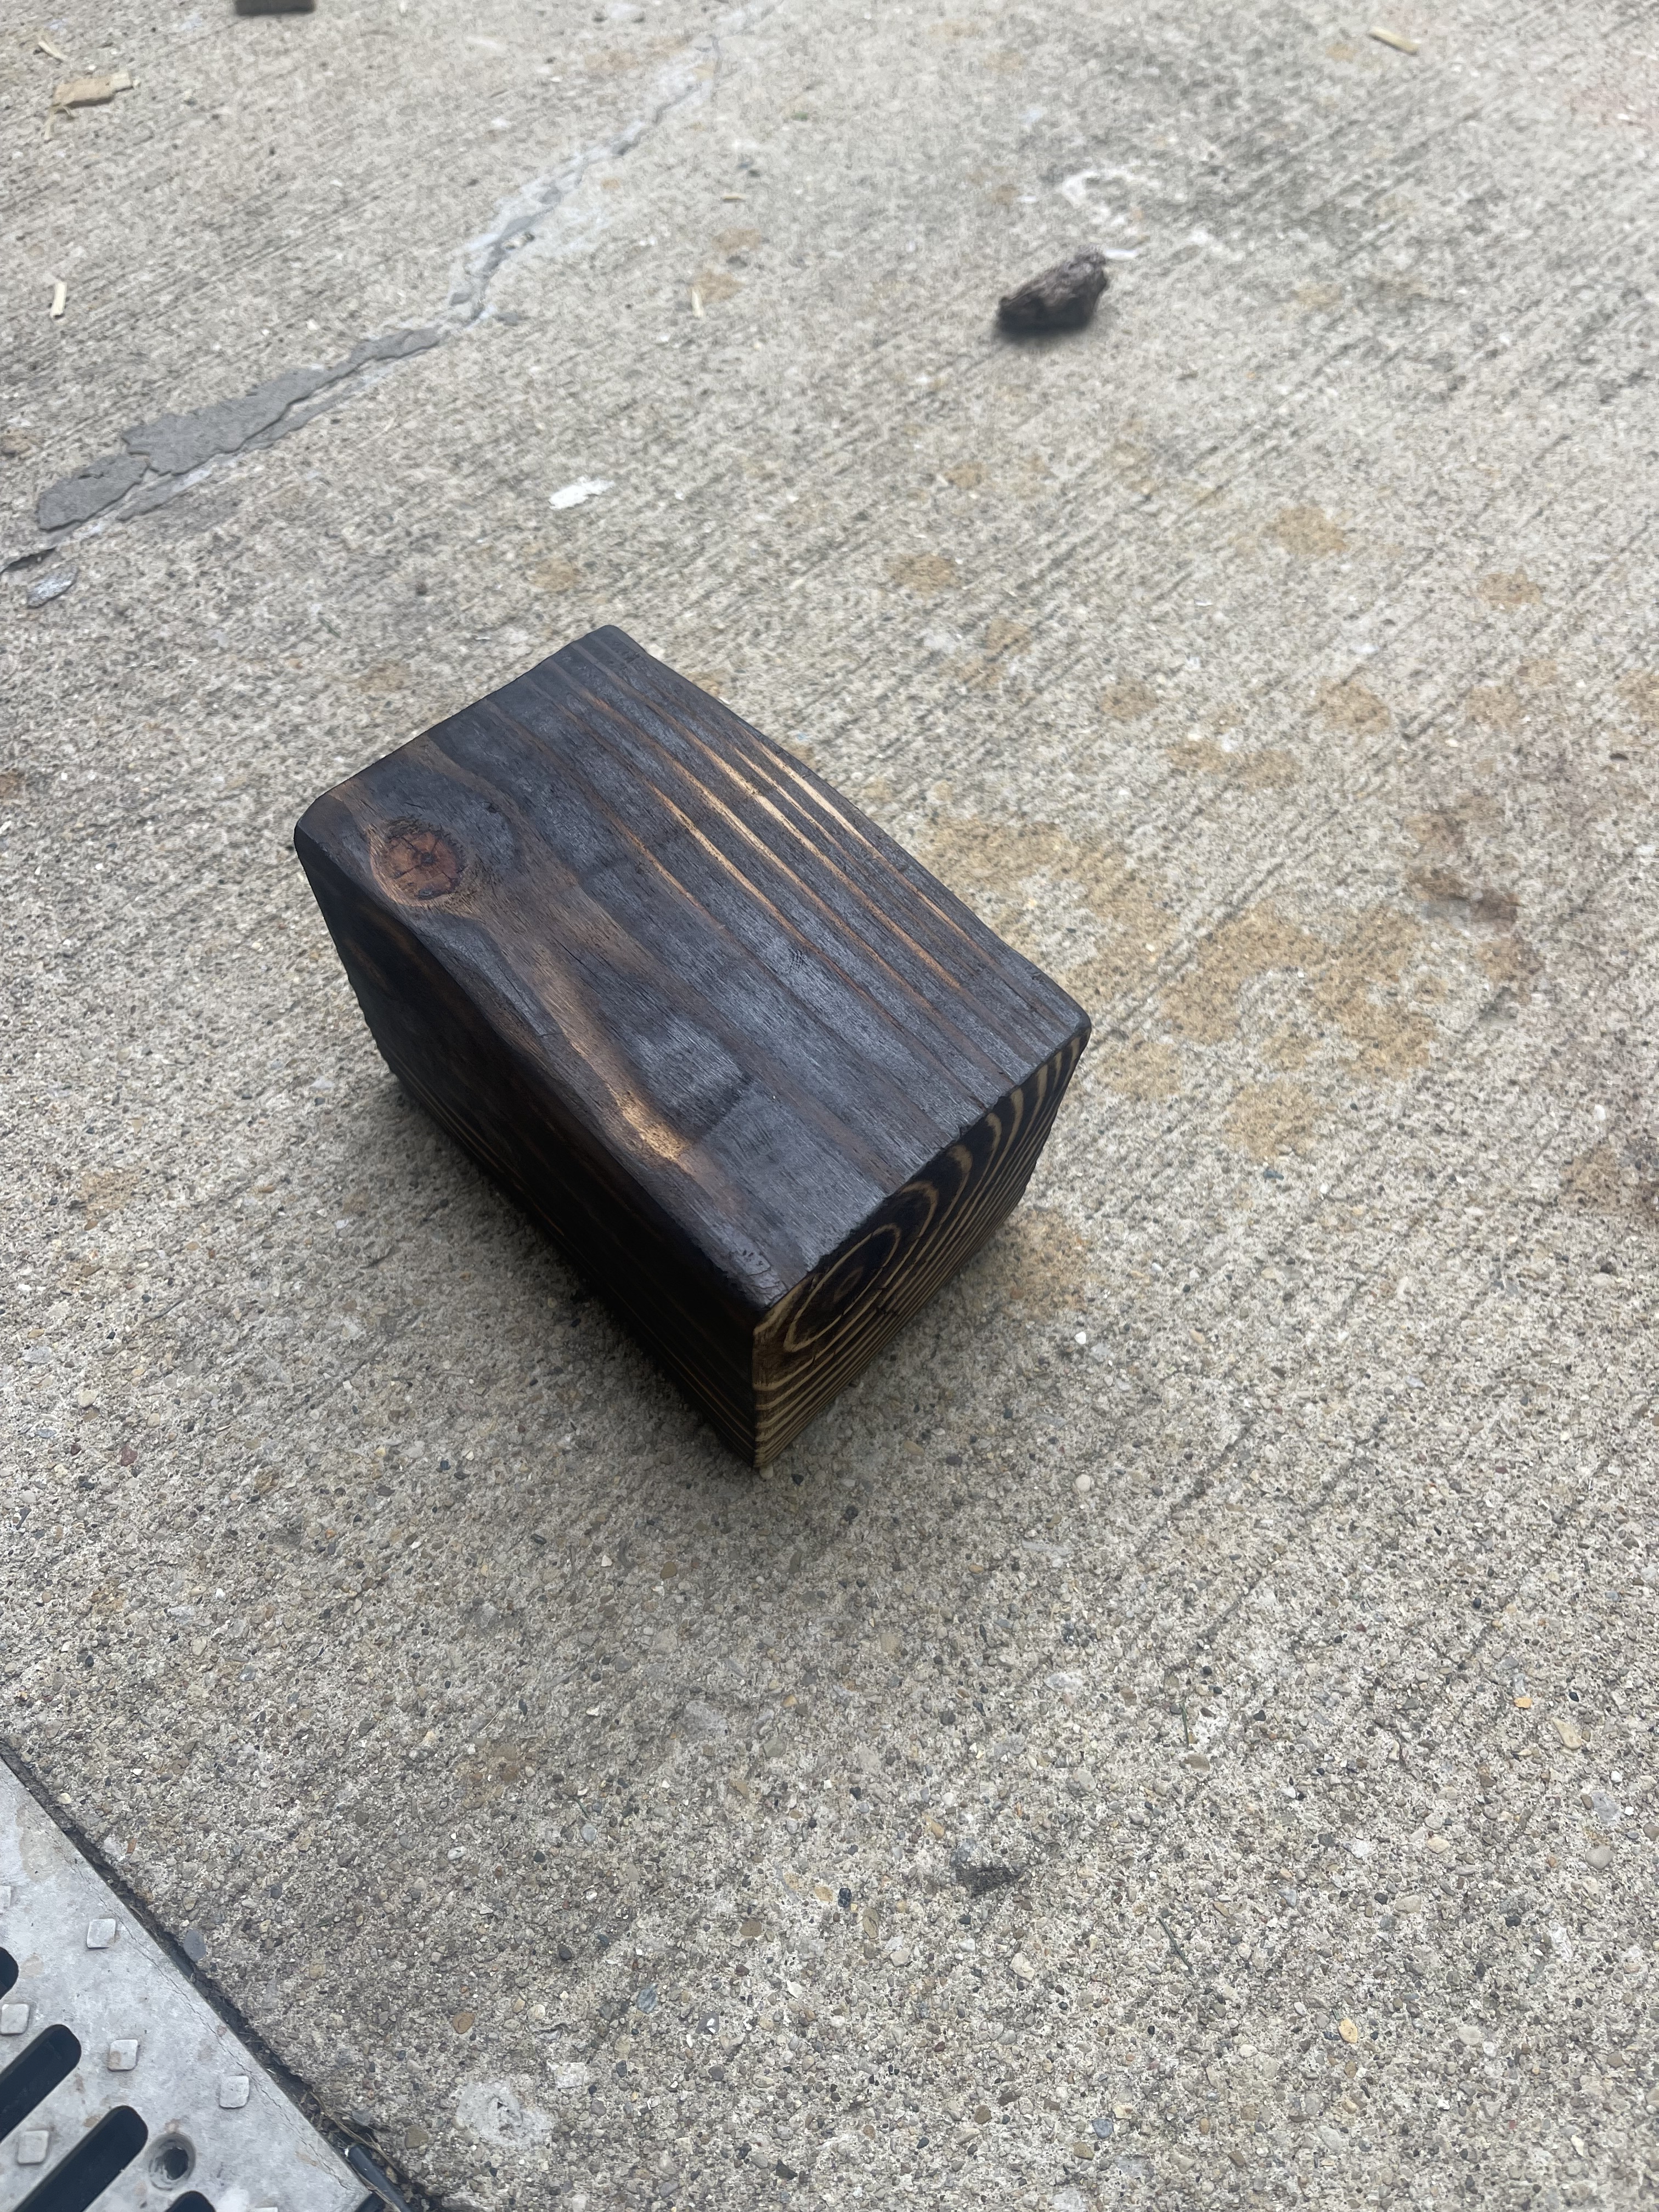
Once the wood is completely burned or burned to your liking, let it cool off completely. It’ll take a few minutes.
Once cooled, bring it to your sander and start sanding. Now I made 2. One of them I sanded too much & the other I sanded just enough so the burn marks were on the grains of wood.

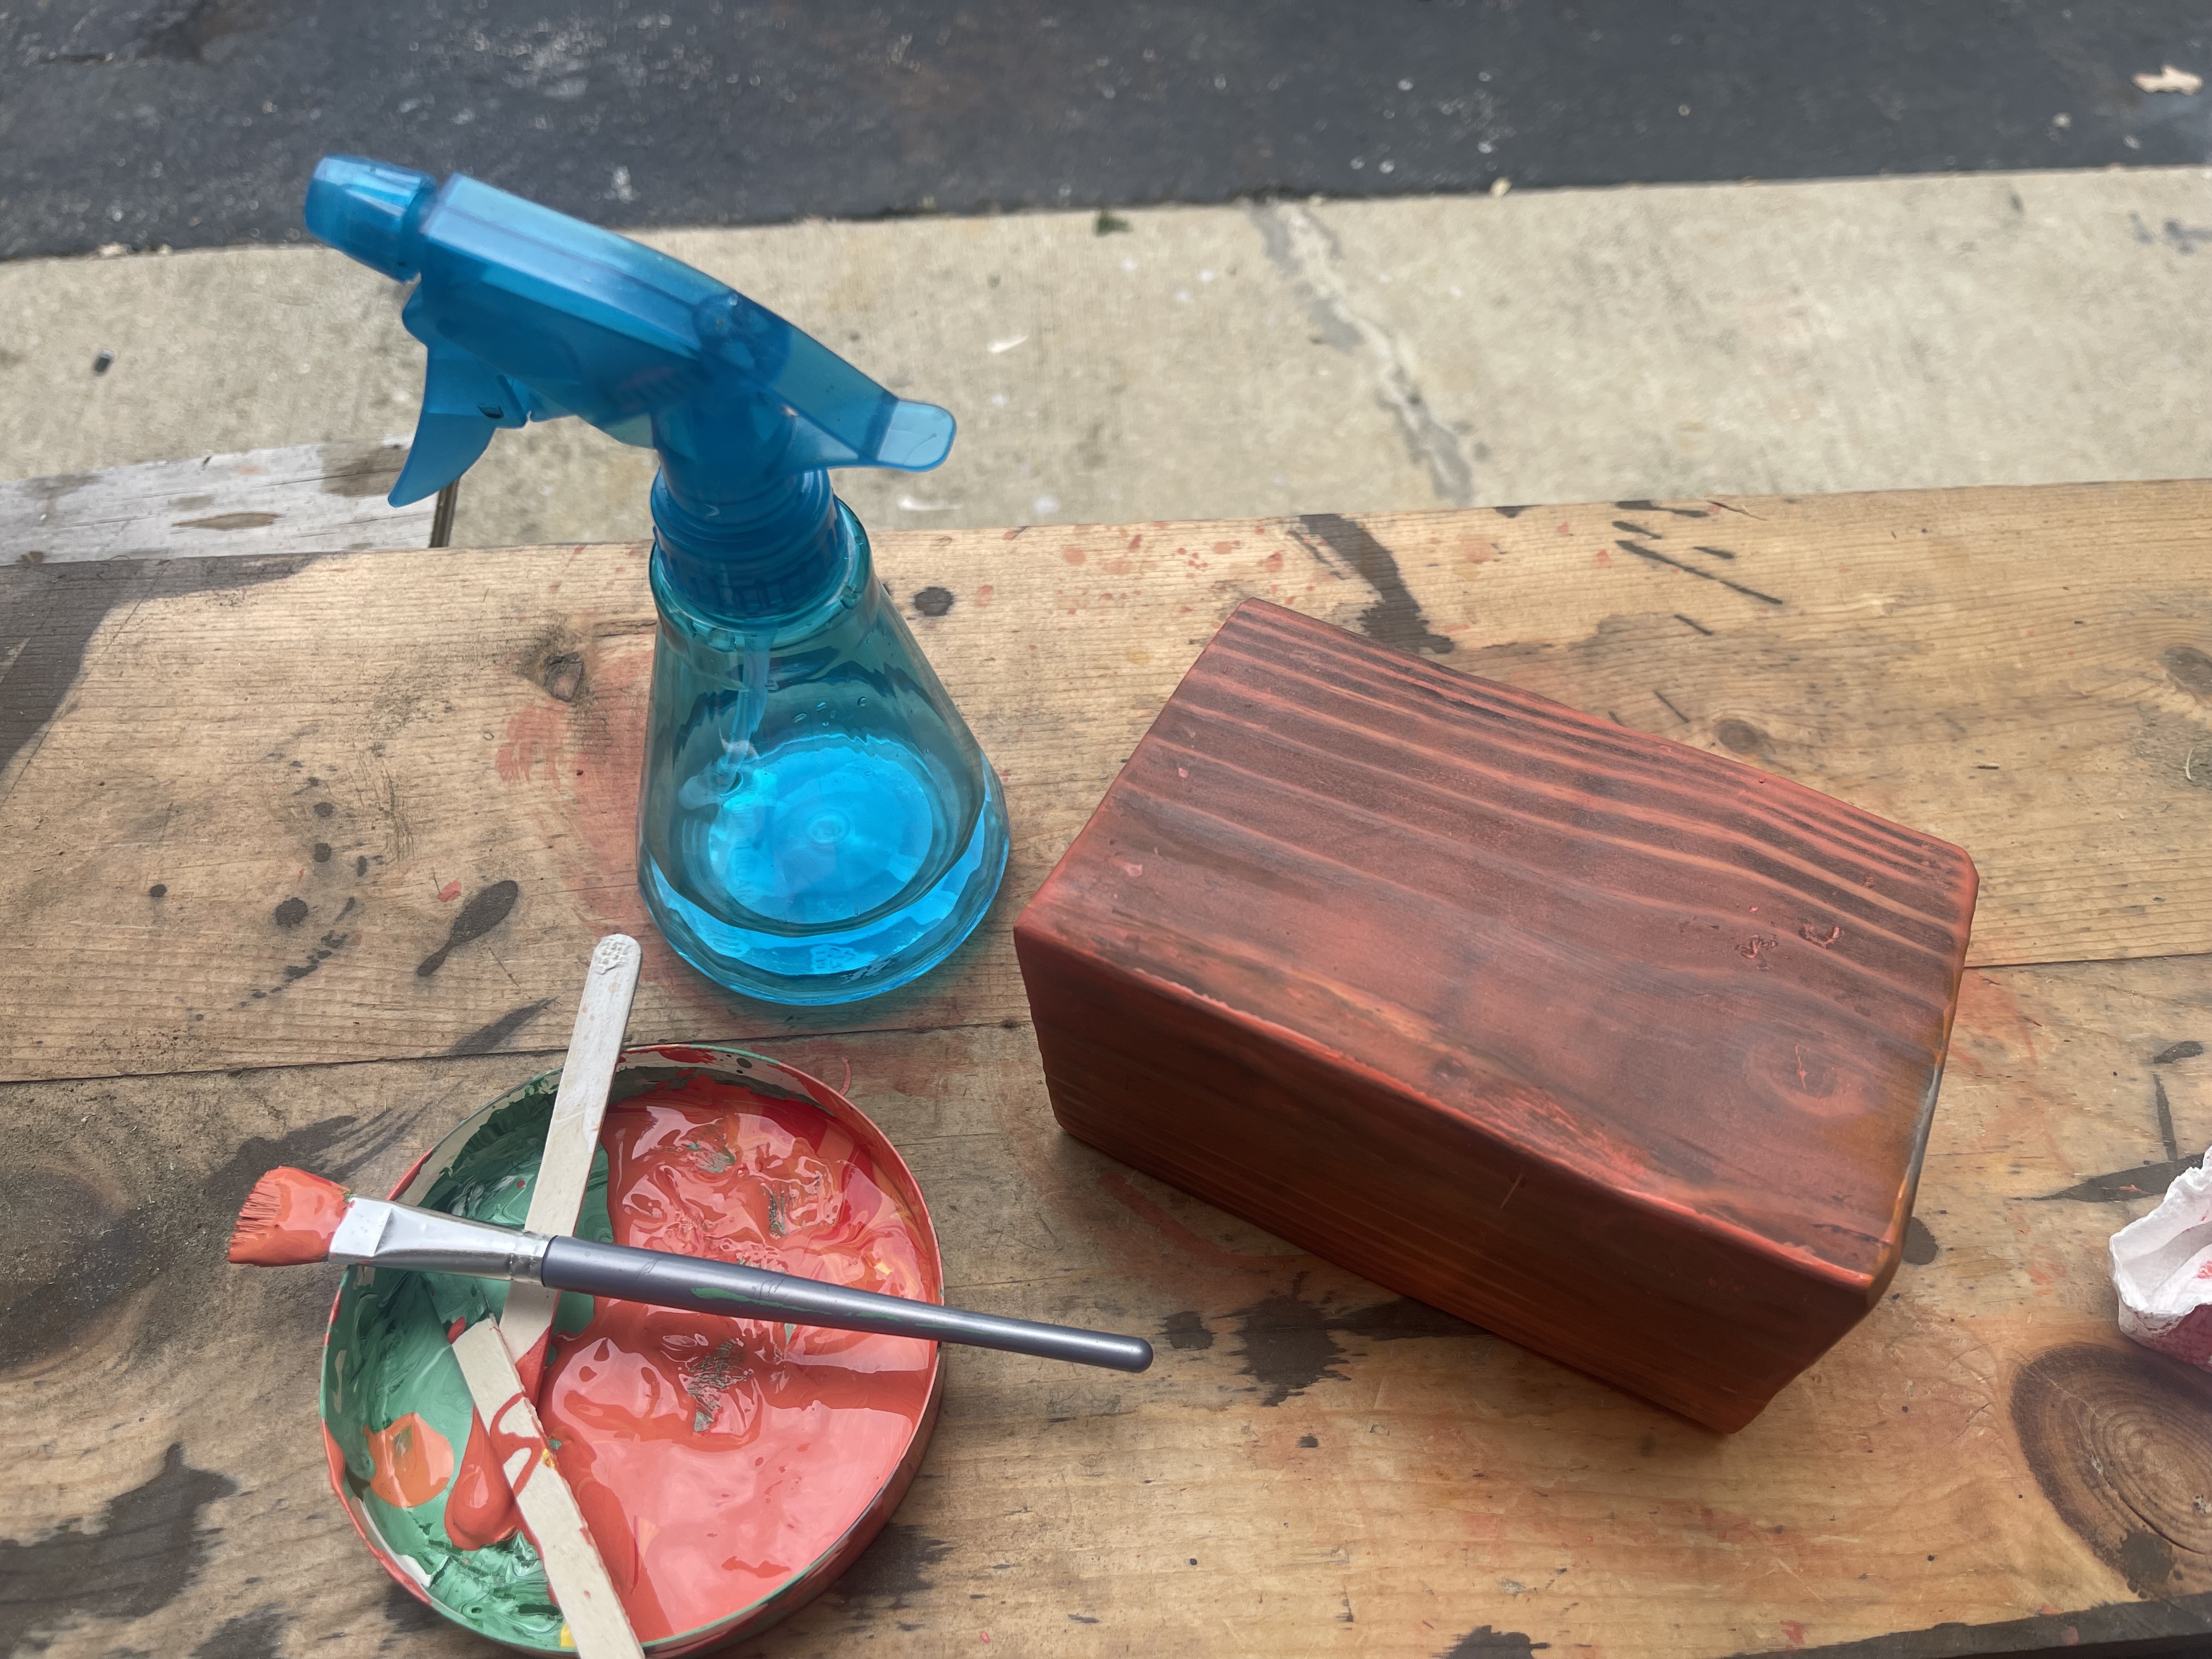
Once the sanding is complete, dust it off with a rag. I spray the rag with a little water and wipe it down that way. Now You can begin painting. I painted like a white wash but with a medium orange color. I put some paint on, then sprayed it with water a little bit and then wipe off with a rag or paper towel. You will keep doing that until the color is how you like it.


When I was finished with that we drilled a hole in the top large enough to be a little bigger than your stem. I repurposed a piece of cooper pipe for the stem. We flattened the tip of it a little with a hammer and them took the torch to it to get a couple more colors on it. Make it look older.

We also cut out a leaf out of a piece of copper sheeting I have. Put a little E6000 glue on the ends of them and attached it to the hole at the top. If you’d like to you can put some twine around the stem or hot glue it next to the stem. There’s also the vine twine where it’s already curly. Your choice. I then sprayed a couple coats of Poly on it. That’s it! It really doesn’t take long to make. The longest part was the initial cutting & sanding of it at the beginning.


Please feel free to send me your pictures. I like seeing what everyone’s done!
