Hi everyone! There are soooo many Cricut products out right now and so many different ways to do things. Some people think you need a Cricut Mug Press or a Heat Press with the mug attachment. I thought I would give a tutorial on how to make an Infusible Ink Mug pattern without the heat press machine and using your oven. It is super easy and with minimal effort you can create a great design! Let’s create-
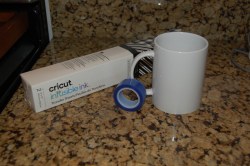
SUPPLIES:
- Cricut Machine ( one of many, on sale!)
- Infusible Ink paper – any pattern
- Heat transfer tape
- Cricut cutting mat
- Cookie sheet
- Oven
- Mug
Step 1
Preheat your oven to 420 degrees. Create your design in Cricut Design. Do not forget to mirror your image. I am using a Cricut Mug, they really are not that expensive. There is a way to make this using a regular mug BUT you would put coats of Polycrylic on the mug where the image will go. You put a coat of the Polycrylic on, then sand it, put another coat on, then sand it. Repeat those two steps about 5x’s. I did try this however the image was very faded. So I prefer using the Cricut mugs.
When you take your image off the infusible Ink paper, be careful of touching the Ink side for one, and second, there is a clear film on the back side of the paper. That stays on the image. Do not peel it off. (I learned the hard way).
Step 2


Hold your image to the mug with the ink side facing the mug. So it looks like it’s backwards. Tape the image onto your mug with the Heat Transfer Tape. I started at the outer part of the image and worked my way across. Make sure the image is taped tight to the mug. Once you have gone across the image with the tape, then you will tape in the opposite direction. I started at the left side, so now I’m going to tape it top to bottom. The Infusible Ink paper has to be flat & tight against the mug. Otherwise the image will not fully get onto the mug properly.
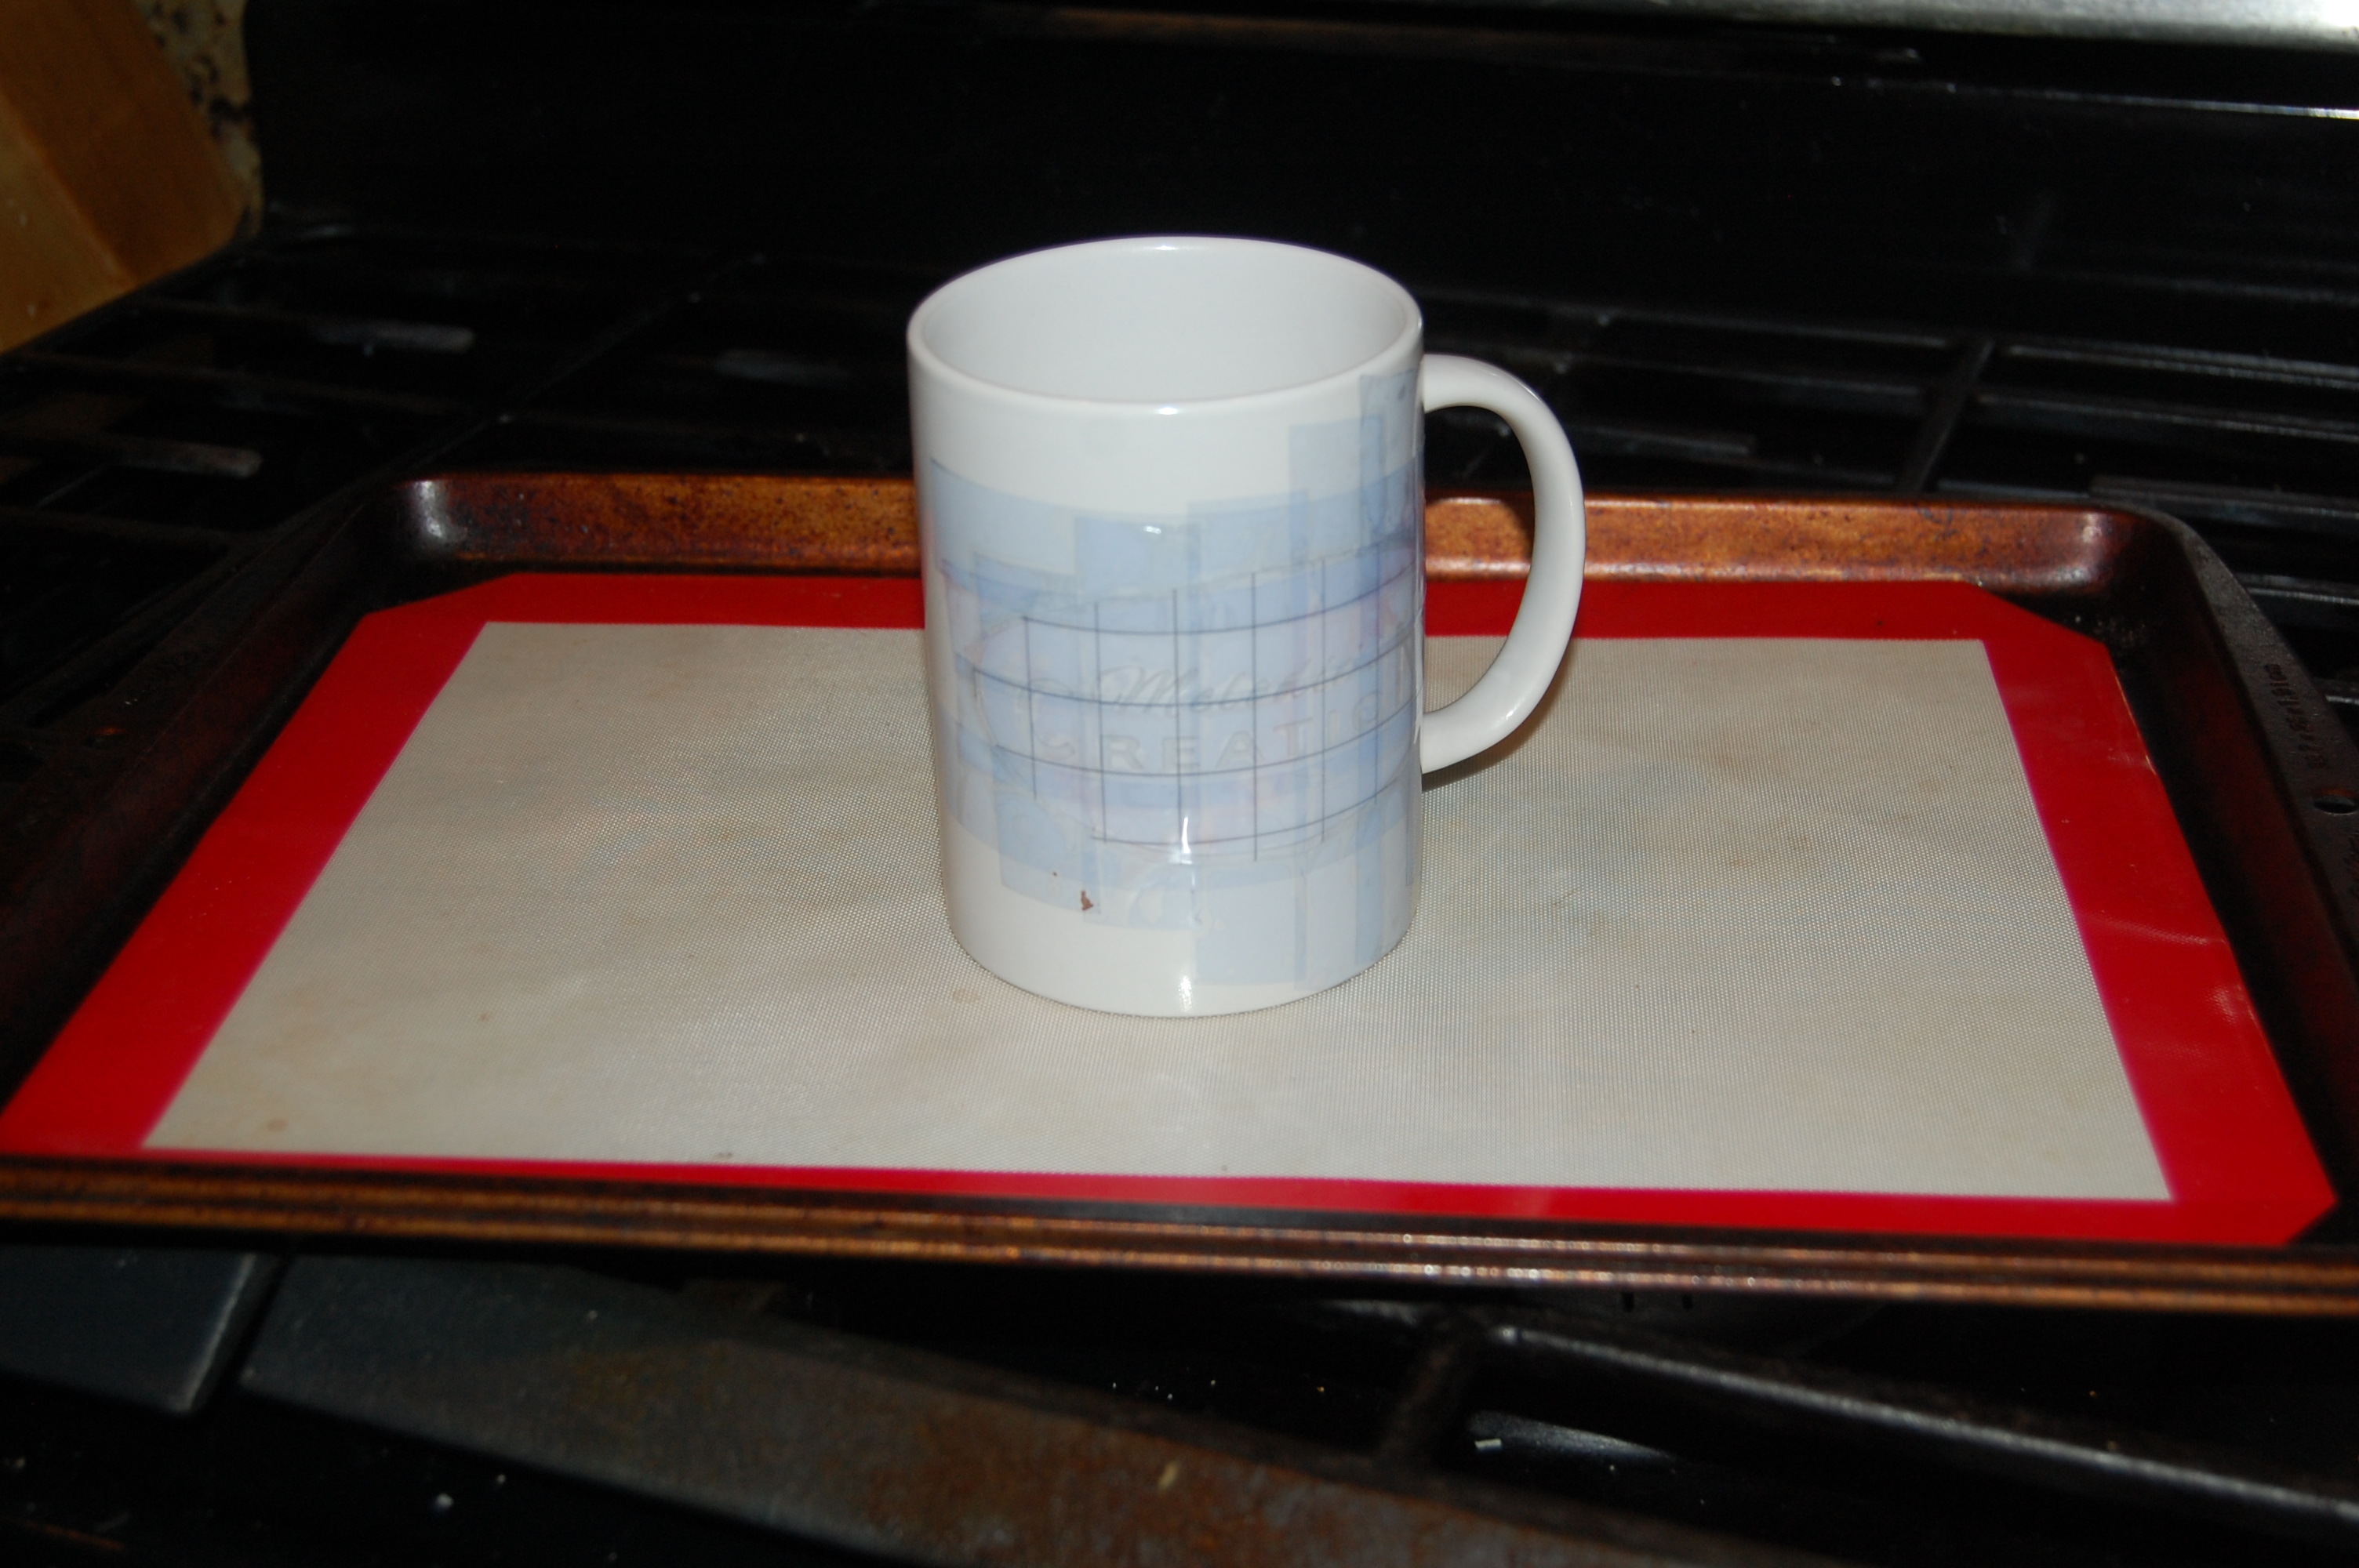
Step 3
Put a rubber silicone mat on a cookie sheet, just to protect the mug from sliding. Then put the mug on top of the mat & cookie sheet and put it in the preheated oven for 15 minutes. After the 15 minutes are up, turn the oven off and leave the mug in the oven for about 5 minutes to cool down. After 5 minutes or so take it out of the oven to cool off completely. In the picture below, this is what it looks like right out of the oven. You see the image is colored.


Step 3
Once the mug is cool, carefully remove the heat transfer tape and the rest of the Infusible Ink Paper. Voila! Your finished mug! Feel free to email pictures of your finished projects. I love to see what everyone has done!!