Hey everyone! My friend Jim reached out to me the other day saying he has a project he’s working on involving Fiber Glass and asked if I could use it on my Blog. Well Yeah!!!! Of course! I was excited. I’ve been curious as to what is all involved with Fiber Glass. Let me tell you, it was super easy! Can be Sticky… but easy. This is part 1 of his project.
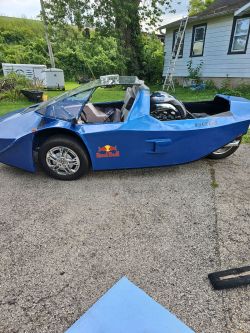
Jim has a Kit Car he has been working on. He is recreating a top for the back. This tutorial is for the inside of the top. I have provided links to Amazon if you’d like to purchase the items there. It will give you an idea of cost for this project too.
Affiliate link disclosure
This post contains affiliate links. If you click on the link and purchase the item, I may get a commission at no extra cost to you. All recommended products are based off of my positive experience with them.
It wasn’t supposed to be there.
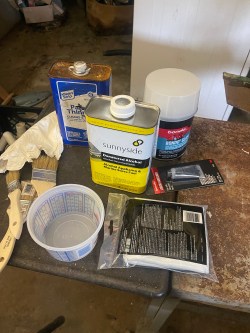
Supplies:
- Bondo Fiber Glass Resin
- Hardener
- Denatured Alcohol
- Fiber Glass Cloth ( there is cloth & mat. He used cloth for this project)
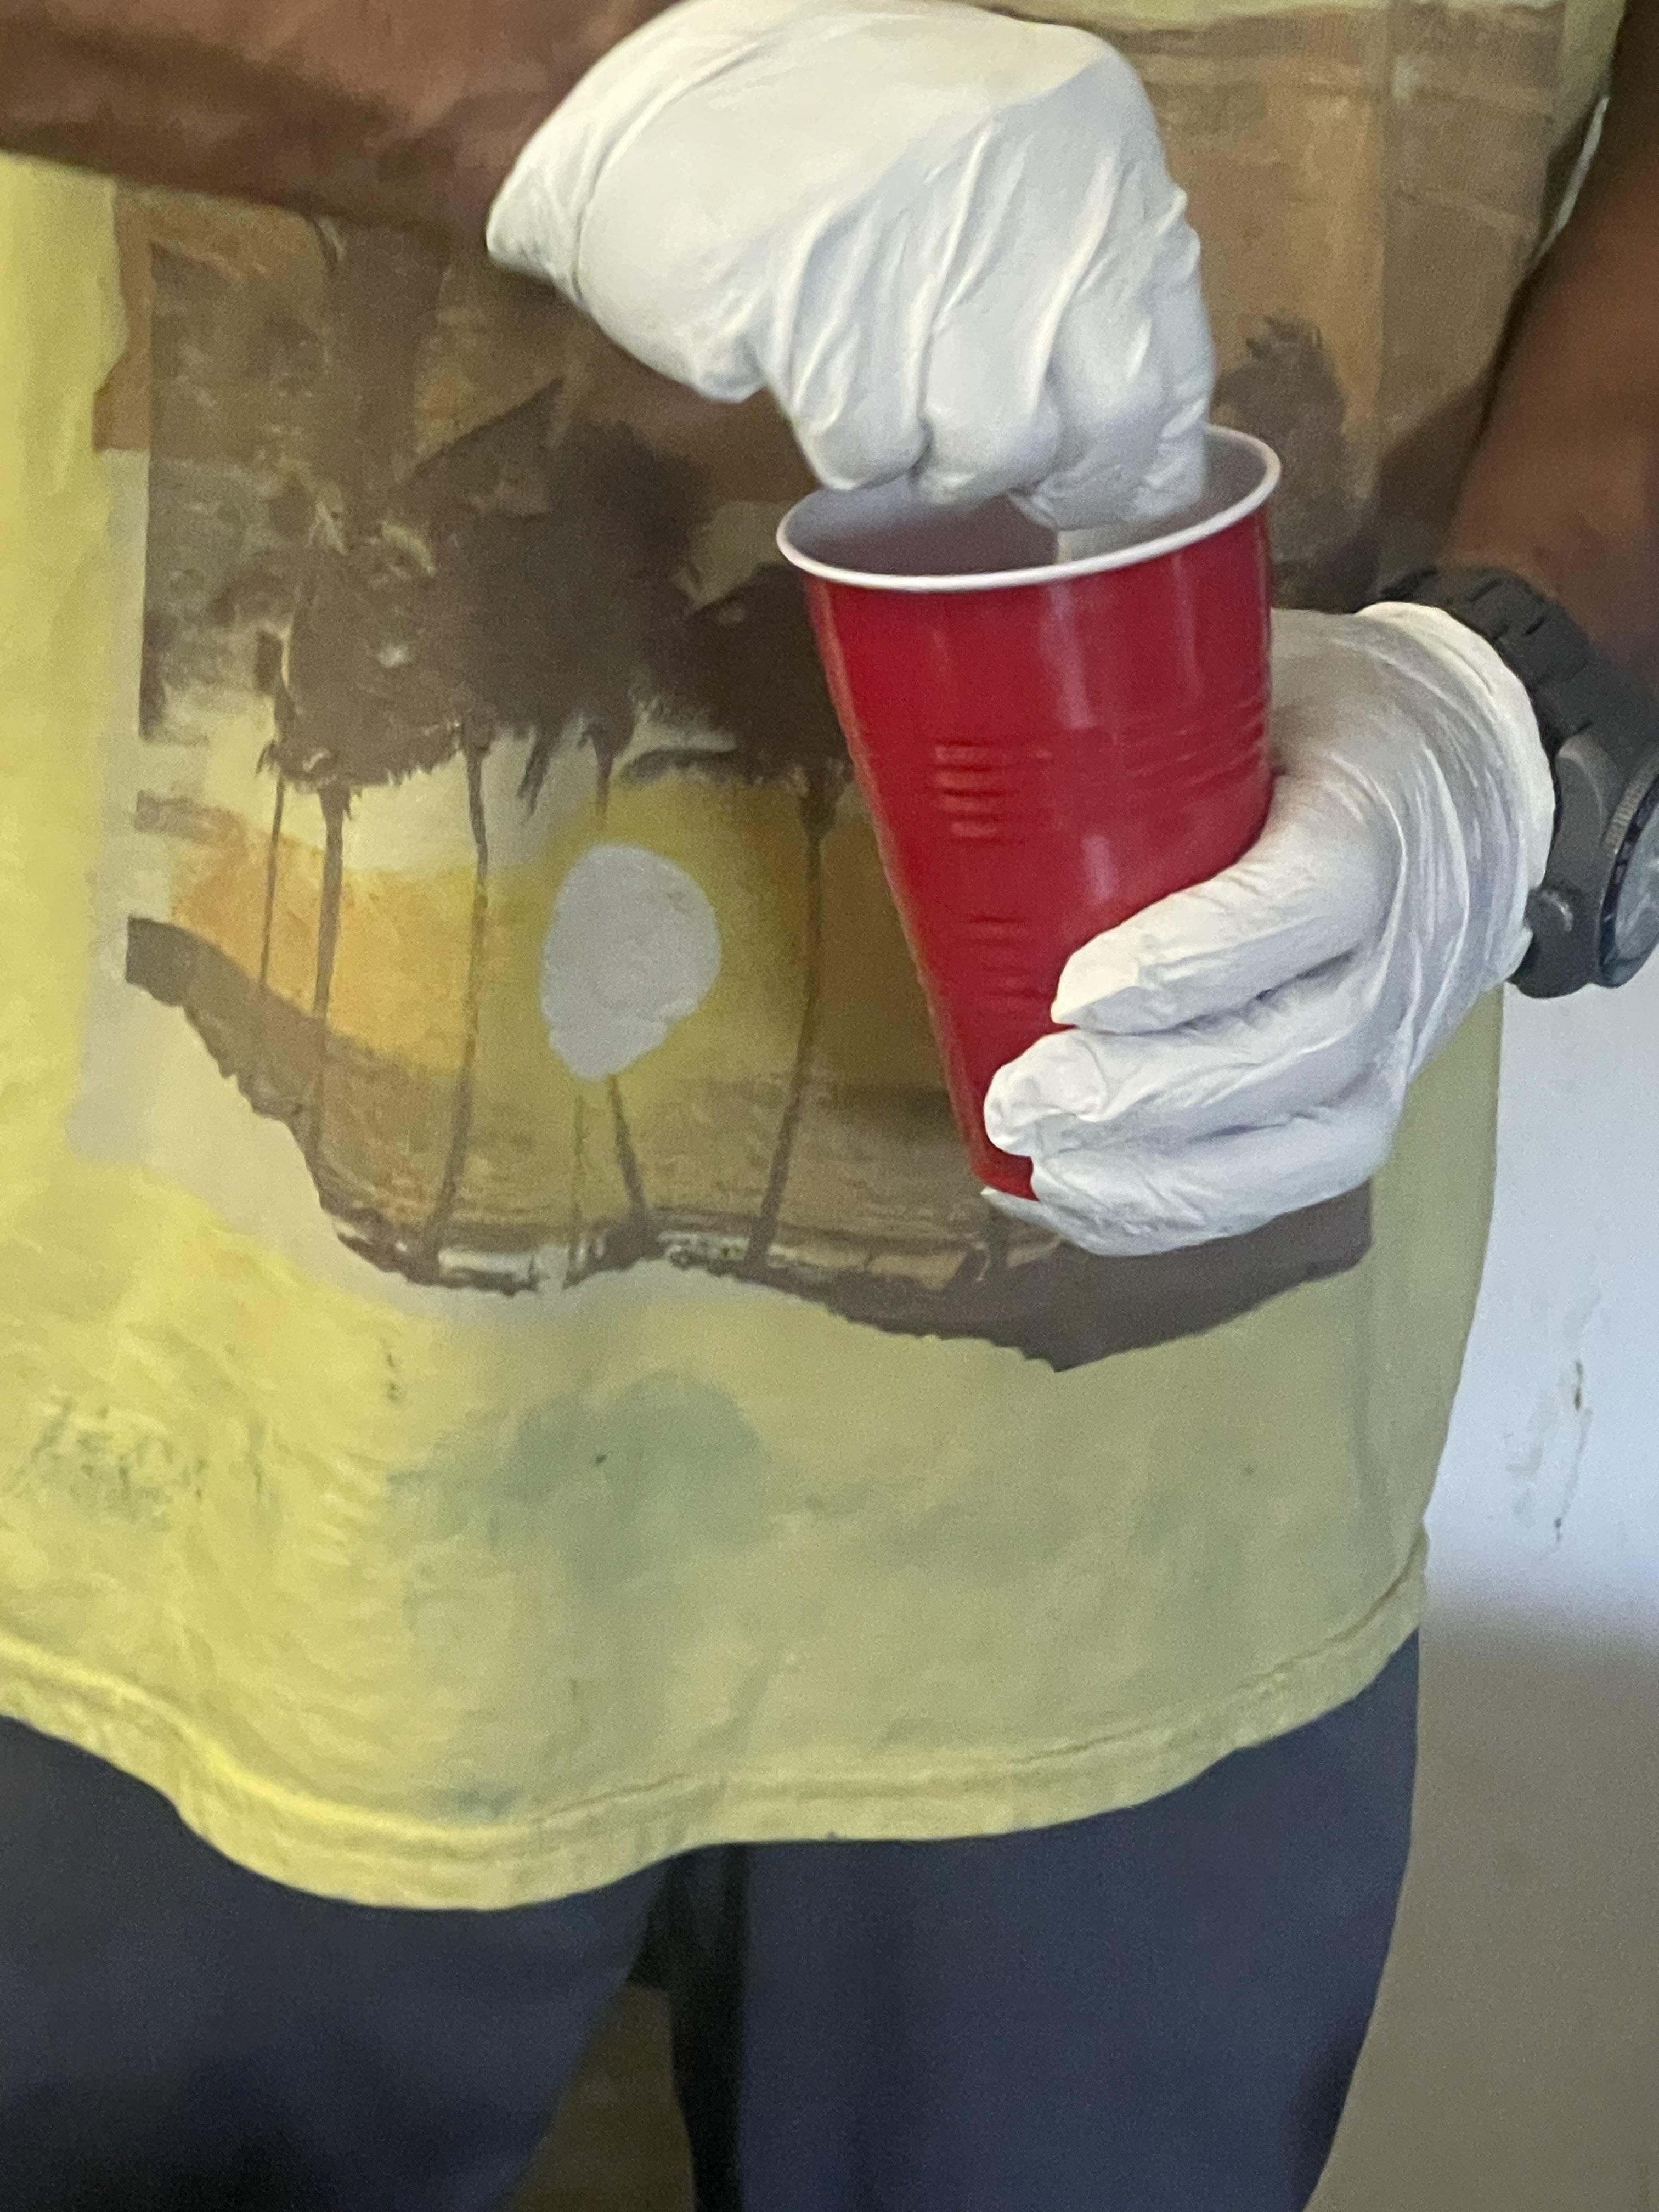
- Disposable Container to mix it in
- Something to stir with ( that you can throw away)
- Paint Brush
- Brake Part Cleaner – ( yes I know weird. BUT it cleans the Fiber Glass Epoxy off the paint brush)
- Disposable Gloves
- Mask ( it smells bad)
Tip-
Make sure you do this in a very well ventilated area. It really does give off a strong odor and gives you a headache.
Step 1
Measure out the area you will be using the Fiber Glass Cloth on. Than cut the Fiber Glass Cloth to size. He ended up needing more cloth then he thought and added more on there. Which is ok. So if you are unsure, cut the piece a little bigger than what you need.
Step 2
Follow instructions on the Fiber Glass Resin bottle. The suggested safe ratio is 15 to 20% of volume, which means that you take 30 fluid ounces of epoxy and mix it with 2 fluid ounces of solvent. So in the container you will add the resin, then the denatured alcohol. Mix well. After you mixed add in 10 drops of the liquid hardener. Mix Well.
The Denatured Alcohol thins out the resin making it easier to spread and work with.
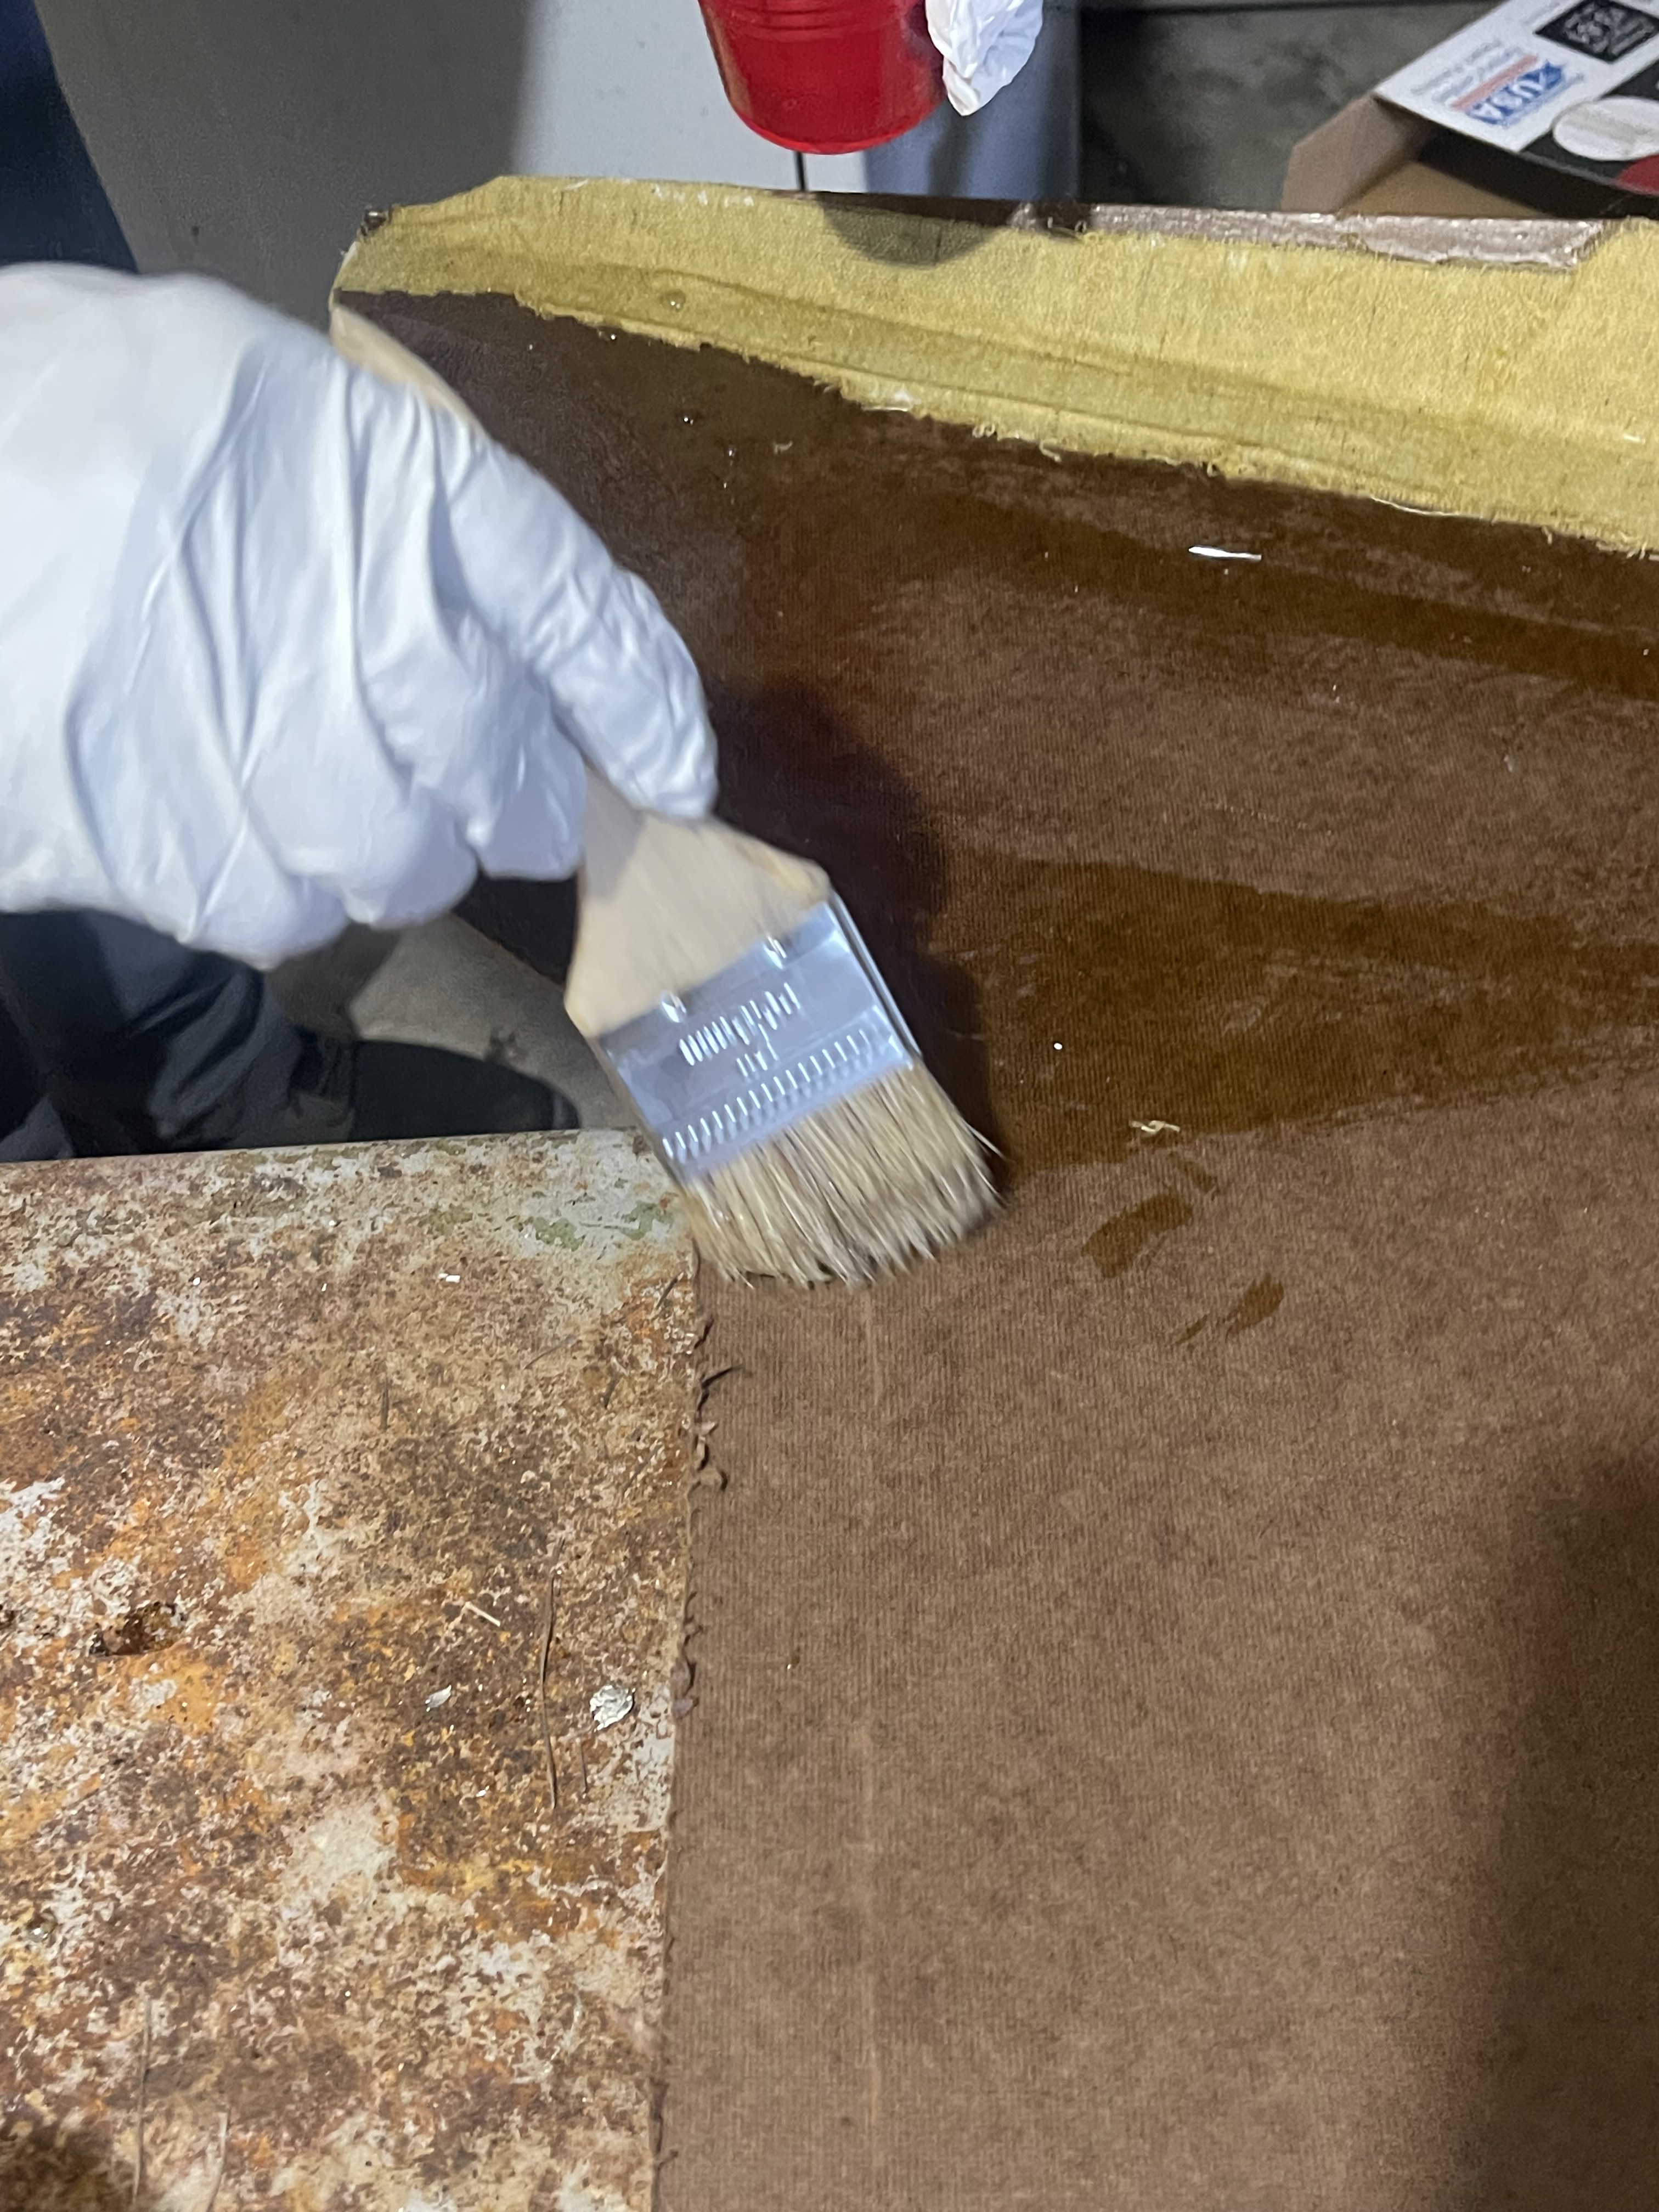
Step 3
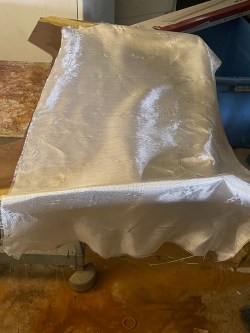
With the paint brush, apply a layer of the Fiber Glass Resin mix on the project. Once you have thoroughly brushed a layer on, take the Fiber Glass cloth and lay it on top of that. Start in the middle and work your way out, smoothing it out. Get as much of the wrinkles out as you can. It does harden a little quick. We timed it to be about 3 minutes before it starts to harden. The temperature of the room also plays a part in how quick it will harden. If it’s hot it will harden quicker.


Step 4
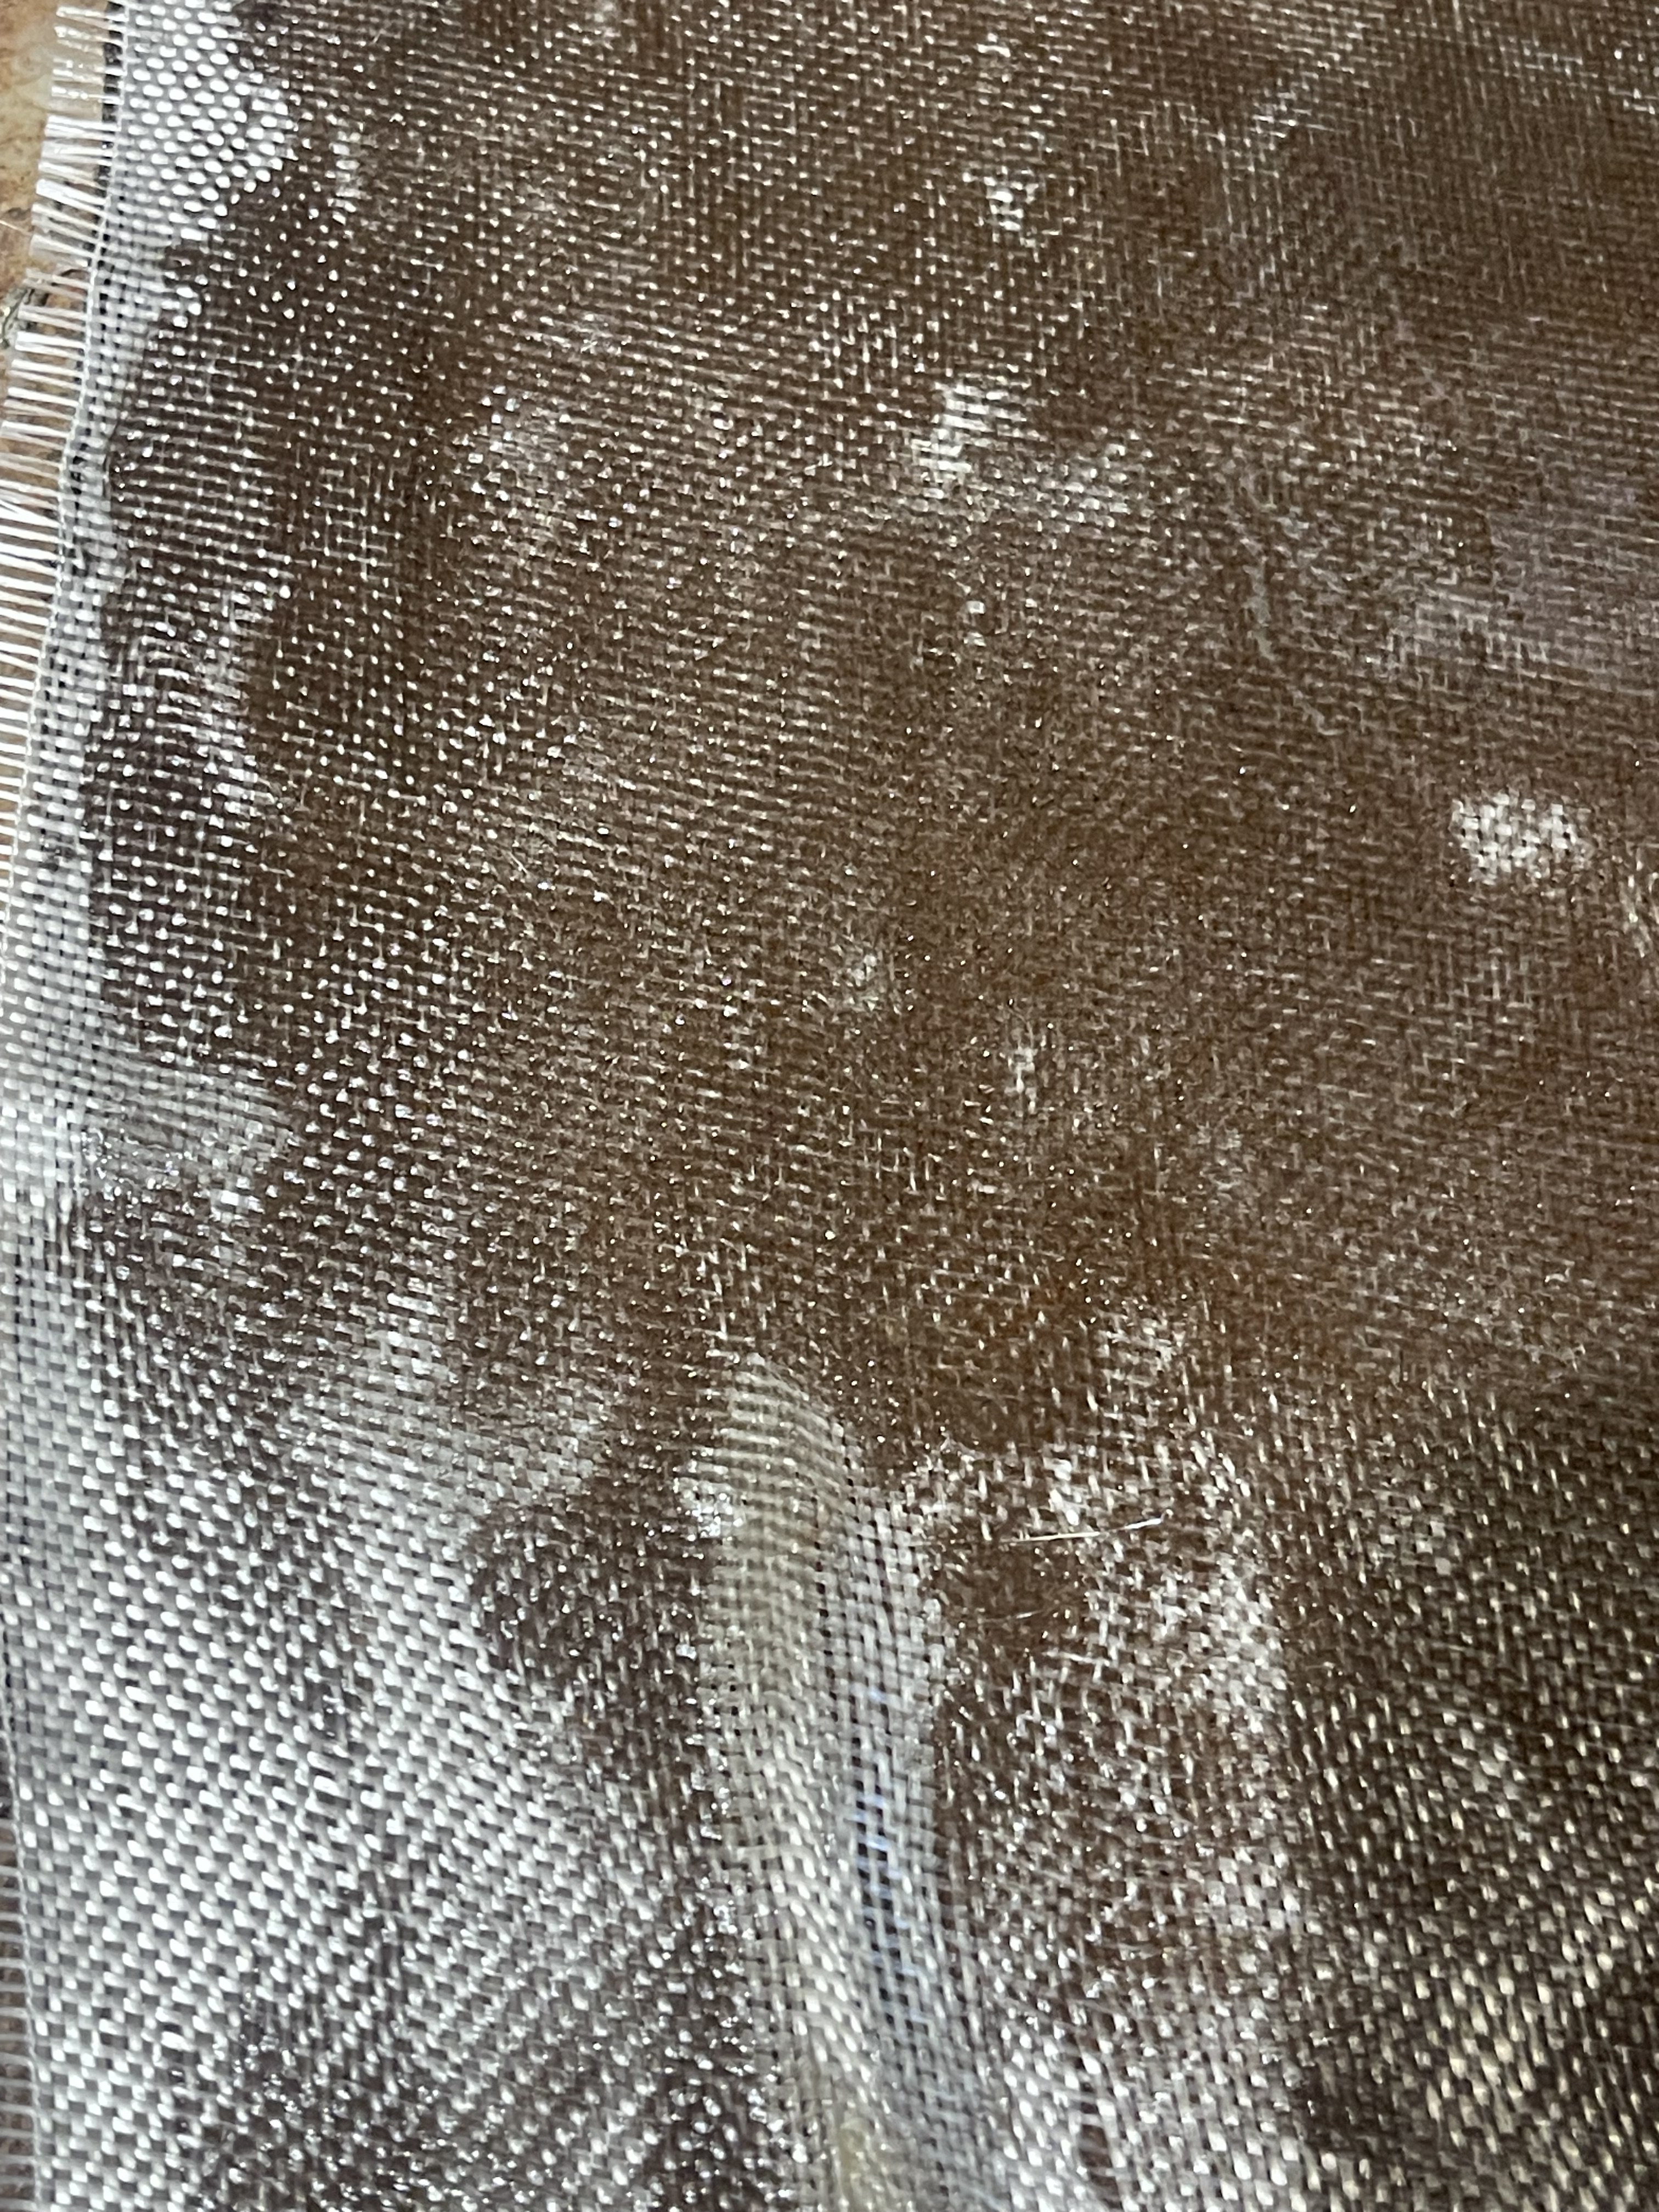
Brush another layer of the Fiber Glass Resin mix on again. You can do as many layers as you think it needs. The more layers the better. Once the Fiber Glass hardens, it becomes hard almost like plastic.
You will keep repeating these steps until you have the layers needed.
Let dry. Approx. 2 hours depending on temperature & size of project.
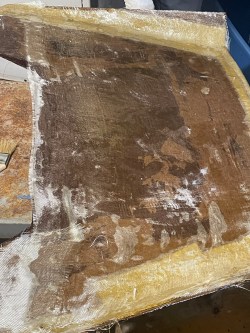
Once your project is dry, you will want to sand it down to get any bumps, unevenness out to make it smooth. Stay tuned for Part 2! As always, if you guys decide to do this please email me pictures. I love to see your projects! 🙂