I love the look of old wood. Especially barn wood, it tells a story. Up here it’s hard to get good barn wood for cheap. So when you see a good deal, you grab it! Sometimes we find ourselves in a pickle where we want to make something and all we have is regular, new wood. I have read numerous blogs from other artists, they all have great ideas. We thought we’d give it a shot.
Supplies needed ( some are optional you choose what you’d like to use):
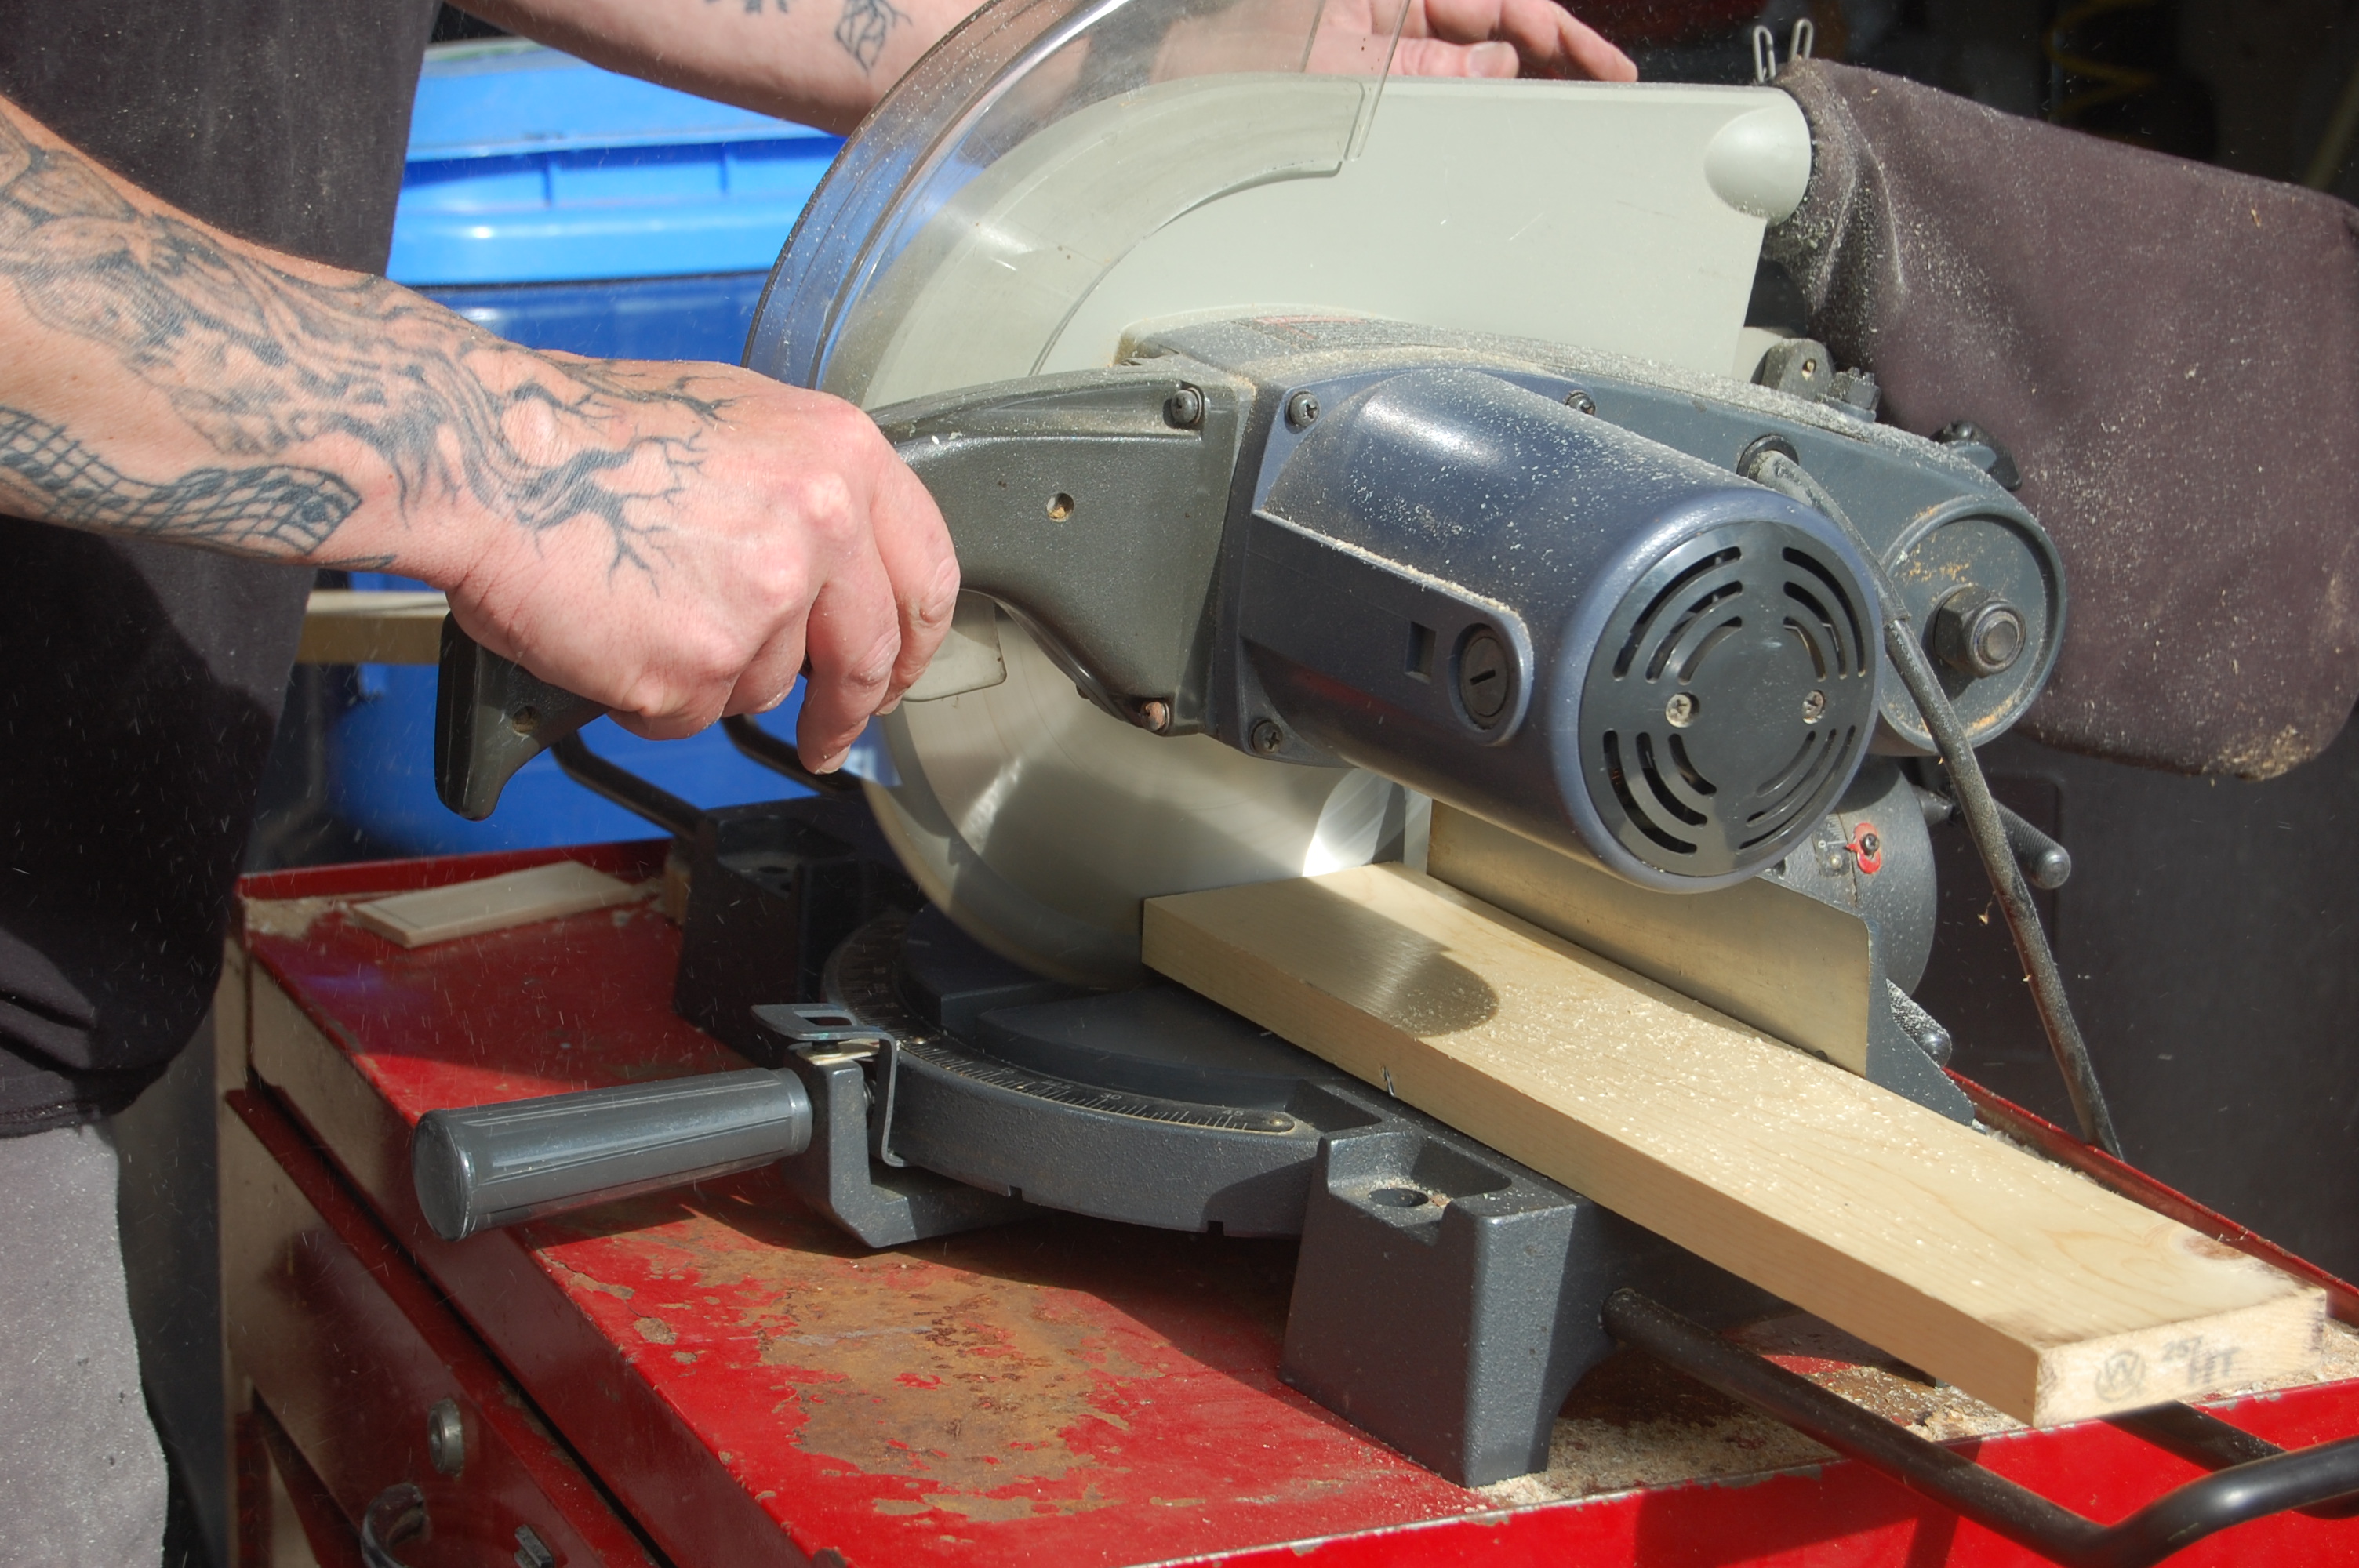
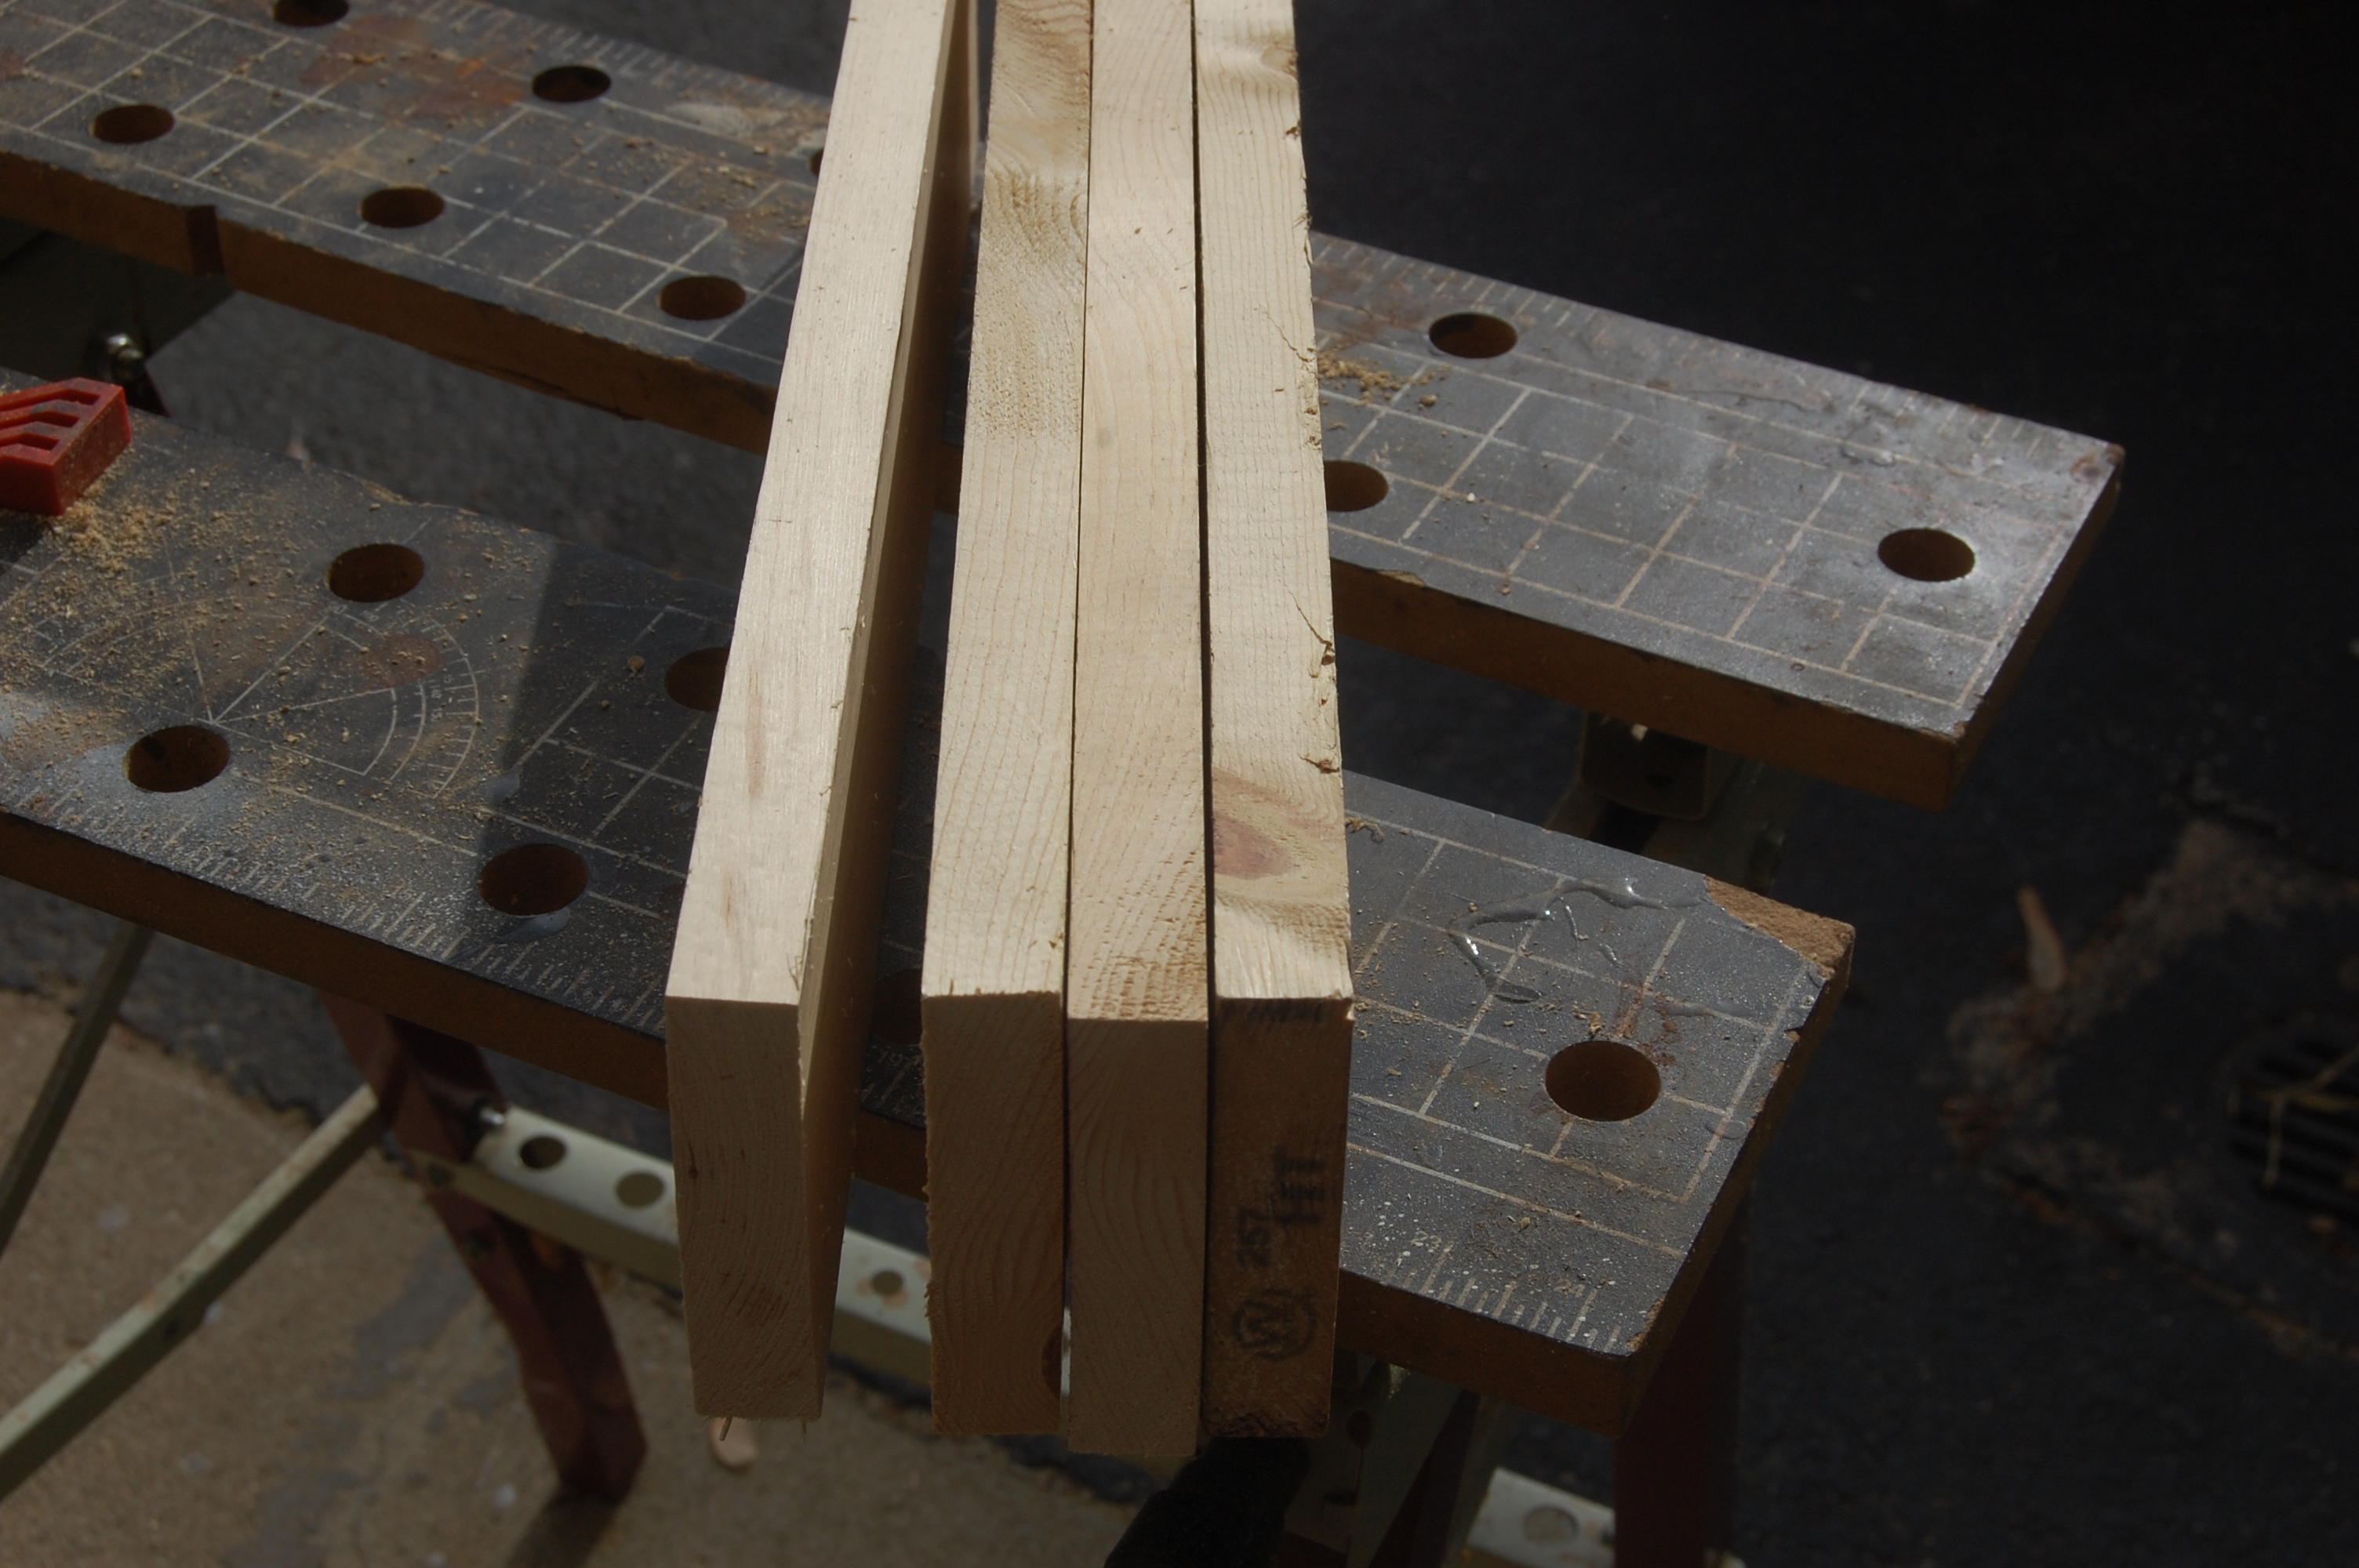
- Wood- any size, shape.
- Disposable bowl
- spoon or item of choice to mix
- Baking soda
- 2-3 Tablespoons of water
- chains
- hammer
- Sponge
We started by making a baking soda & water mixture. I added about 3 Tablespoons of baking soda. I slowly added in water, by the drops. Literally. You keep adding a tiny bit of water until you have what looks like a paste.
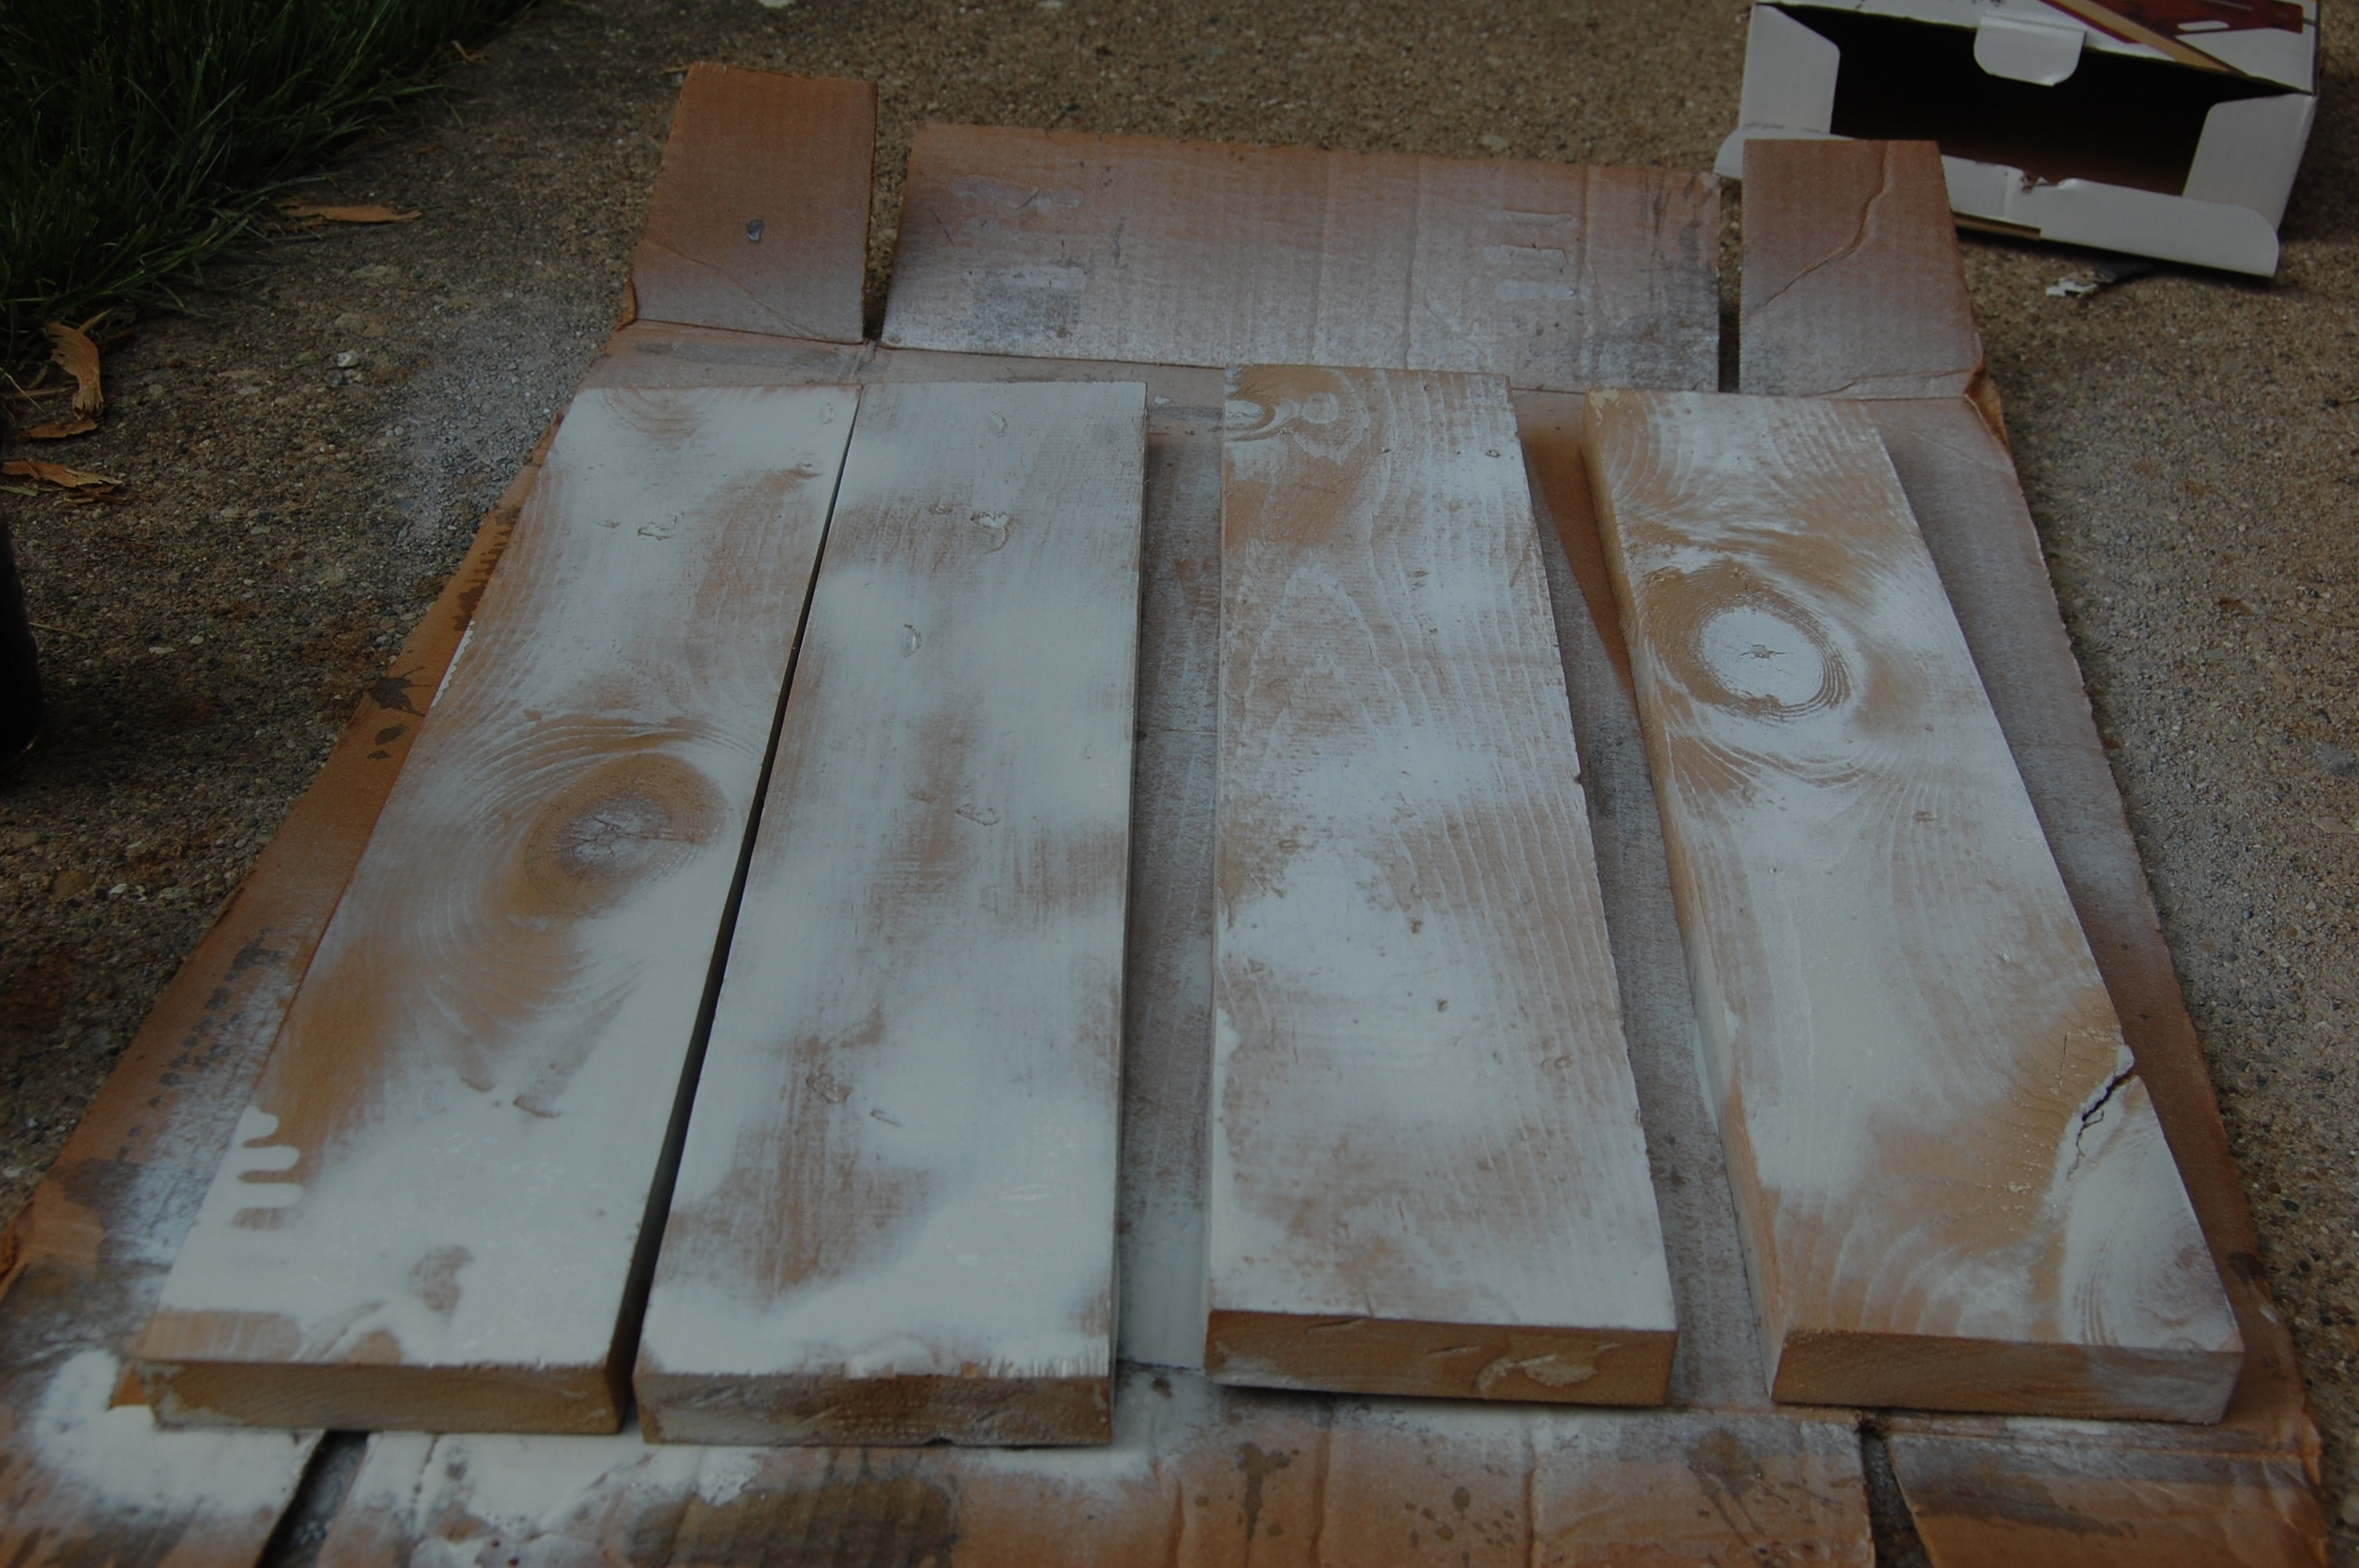
Before I put the paste on a sanded the wood first. I then took the mixture and the wood, I put a cardboard box on the driveway and laid the piece of wood on that. Then you take your mixture and put some on the wood and scrub with your sponge. All sides of the wood. When I was finished I left the wood outside for a couple of hours to let mother nature do her work. The weather seems to play a part on aging the wood. Just leave it in the sun and forget about it for a couple hours. The longer, the better.


Once it is dry, wipe the baking soda & water mixture off of it. Here’s the fun part! ( make sure no one is next to you for this part) Take the chain and start whacking the board with it, all over. Next you will take the hammer and start hammered the board in various spots to make dents. Make sure you get the edges of the wood also. If you have some other item you want to try on your wood, go for it. Some people even use nails. I personally liked the way it looked after this.
That’s it. You can stain it, paint it or even both. We did both. You will want to put a varnish or Poly over it when dry. Stay tuned for this Friday’s Blog post Part 2 – Building a shelf with the aged wood !