
Financial planners. Some of us are good at putting money aside for a special something we want to save up for. Others have to save using financial planners. They sell one that is a small leather binder. On the inside, are little envelopes. You can put as much money as you want to save in them. $1.00, $100 as much or as little as you want. If you want to add money to them daily you can or weekly, monthly even. I like to do it for vacation or for a rainy day fund.
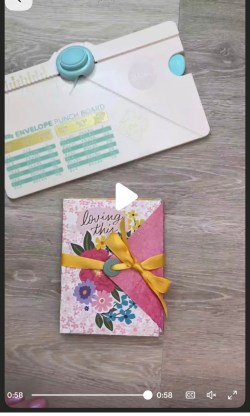
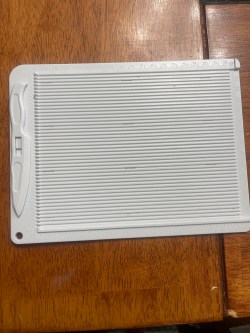
I was on Pinterest the other day and I came across a video, the lady was making envelopes just using cardstock she had. What caught my eye at first was the envelope maker she was using. I thought this was cool! I’ve been trying to make envelopes to add to the journals I make, so this is perfect.
I bought a cheaper version of hers. The one she used in the video is much nicer and you can make other things like boxes, tags, etc.
You can find the one I bought here:
It comes with a bone folder and a corner punch to round the corners of the paper.
In her video , she made a homemade version of a financial planner. I loved the idea so I made a similar one.
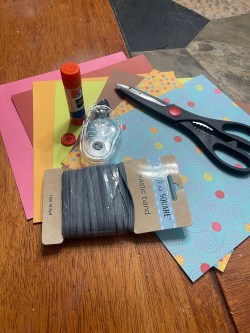
Supplies needed:
*Cardstock/paper – variety of colors & patterns of your choice
*Scissors
*Ruler
*Pencil
*Stickers/ napkins- to decorate the envelopes
*Glue – the glue that worked best for me (believe it or not) is a glue stick
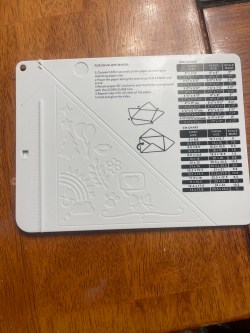
** If you use the envelope maker it does make it a bit easier. The back has instructions and a chart on sizes. You score it, make cuts for folding and then fold and glue. **
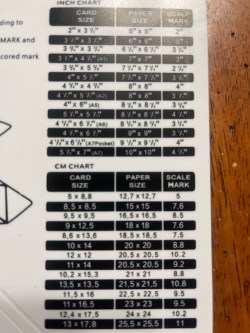
The picture above is the chart. This will help when cutting the cardstock and where to score it at. ☝️
Step 1:
Start with cutting your paper into an even square . For example- 5×5 or 6×6, etc.
Place the paper with what would be the outside of the envelope, face down.
For a 5×5 square- You will start at a corner- measure 2” in. Now draw a line across. Unless you have a bone folder or another way to score a mark instead of using a pencil. For a 6×6 you will measure 3” in then mark /score.
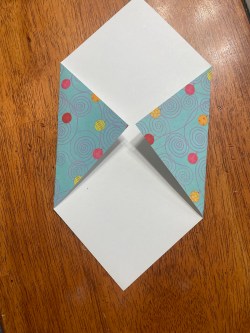
You will do the same for all 4 corners.
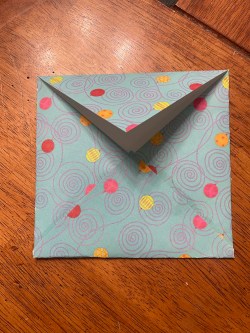
Step 2:
Fold and glue 3 of the 4 sides.
REPEAT FOR THE REMAINING ENVELOPES.
Step 3:
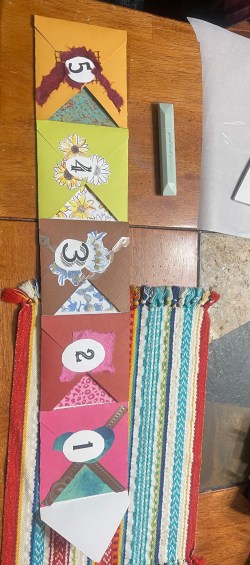
I made 5 envelopes. You can make as many as you want. In the end we are gluing them together. You’ll see 😉
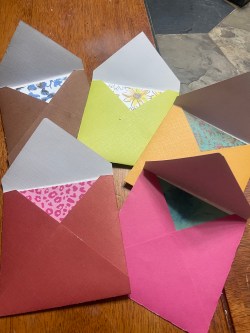
Now that you have your envelopes made, you can decorate them.

Step 4:
Once the envelopes are decorated the way you want them, we are going to put them together.
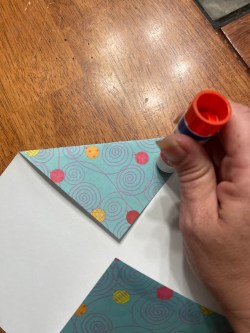
Grab your glue stick….
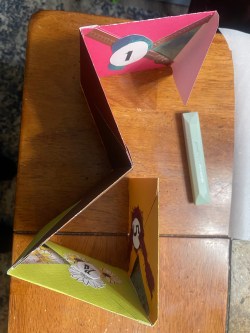
Now take 1 envelope, with the top flap open, glue the flap to the back of another envelope. See picture ☝️
Leaving the top flap open on the last envelope. ☝️
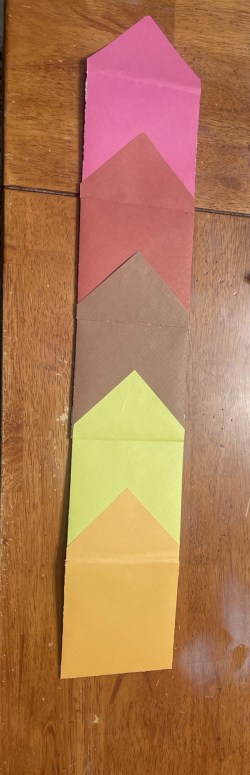
Once you have all your envelopes glued together in a row, you are going to fold them. An accordion fold. 👇
Step 5:
In the last flap, I punched a small hole. Then attached a brad I tied elastic, wrapped it around the planner to keep it closed.
Pretty easy! The hardest part is the drying time. (I’m not patient)
Pro’s ~
*Saved money by using the supplies you have at home.
*You can put money aside for a vacation or a special something you want to save for.
*A fun way to teach your kids to save.
Happy planning!
Till next time,
~Mel

Leave a comment