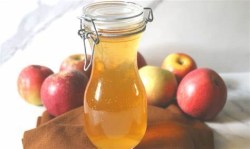
Apple cider vinegar, a natural probiotic that has many benefits! Such as helps relieve symptoms of arthritis, cools fevers or hot flashes, helps athletes foot, may help improve insulin sensitivity and lower blood sugars, also aides in weight loss, helps digestive health and the list goes on.
Fall season is here which brings along apple picking ! Take some of those apples and make your own apple cider vinegar.
Tip– you can save your apple scraps and store them in the freezer to use when you are ready to make apple cider vinegar.
Supplies Needed:
• Apples – washed and cut up ( you can also use the apple scraps)
• 1 Tablespoon of sugar for every 1 cup of filtered water OR 1 cup of sugar for every gallon of filtered water
• Cheesecloth, muslin or fermenting lid
• Mason Jar (s) with lids
• Cutting board & knife
• Spoon
Optional:
• A splash of apple cider vinegar.
*Before starting, wash your apples.
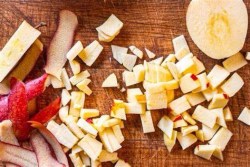
Step 1:
If not already done, wash your apples and start dicing them up. Fill the jar till it’s about half way full with apples & apple scraps.
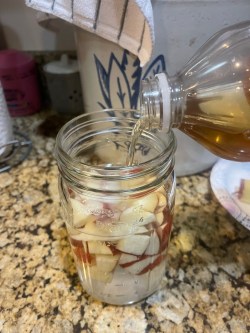
Step 2:
Pour lukewarm water over the apples in the jar until it’s not quite full. You will want to leave a little room at the top.
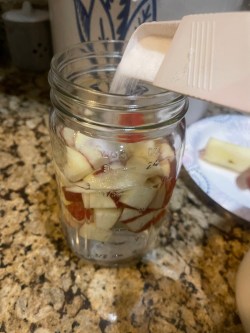
Step 3:
Stir the sugar in ratios of 1 tablespoon of sugar per cup of water added, or for larger batches, 1 cup of sugar per gallon of water added.
Step 4:
If you’d like, you can add a splash of regular apple cider vinegar into the jar. Yes it sounds silly because you’re making apple cider vinegar. By doing so it inoculates the culture and encourages the fermenting process.
Stir the ingredients in the jar.
Cover the top of the jar with a piece of cheesecloth or muslin, then place the screw on part of the lid on or you can also use a rubber band.
Store the jar in a warm ( about 70-75 degrees F) dark place for approximately 2 weeks to ferment.

Step 5:
Check the jar every day. Stir it daily to prevent mold. If any brownish grayish scum has formed on top just skim it off.
Step 6:
After 2 weeks has passed, strain the apples & apple scraps from the liquid and put the liquid back into the jar.
Cover the jar again with the cheesecloth and screw on the lid or rubber band.
Return the jar to the warm dark place for another 2-4 weeks.
Step 7:
The apple cider vinegar is ready when it has the unmistakable vinegary smell and taste. Try it.
If it’s not quite there yet, no worries. Just put it back and keep checking every couple weeks.
Once your apple cider vinegar is complete and you’re happy with it, put the regular lid on. It does not go bad so you can store it for as long as you’d like.
Step 8:
If a gelatinous blob develops on the top of your vinegar, congratulations! You have created a vinegar “mother”. This mother can be used to jump-start future vinegar batches. You can remove it and store it separately and start another. Some people leave it in there.
Enjoy your homemade batch of apple cider vinegar!
Till next time,
~Mel

Leave a comment