Looking for an easy craft project to do with kids, then you’ve found the right one!
This colorful sun catcher is the perfect project to do on a rainy day or on a day if the kids are bored.
Supplies needed:
• Glue – clear or white. (I used white glue only because I have a big giant jug of it).
• Food coloring or alcohol inks
• Cookie cutters – for the mold (ones you won’t want to use for baking) OR some people use plastic lids for the mold
• Tape – I used painters tape
• Paper plate or tray to work on
• Toothpick or end of a paintbrush
• Parchment paper
Step 1:
Start by getting your things ready. Line a paper plate or tray with parchment paper. You can tape the corners down to keep it from curling.
Step 2:
Take the tape and tape all the way around the bottom edges of the cookie cutter so it sticks to the parchment paper.
If you want this to be a fun fall project, you could use a leaf cookie cutter or pumpkins.
See image 👇
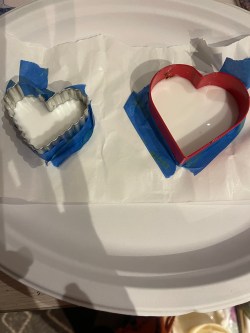
Step 3:
Pour your glue into the cookie cutters. You don’t want too little or too much. I made them 1/4” thick. See image above
The thicker the layer of glue, the longer it will take too dry.
- If the glue leaks out, no worries! You can cut it to whatever shape you want once dry.
Step 3:
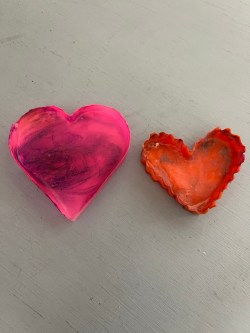
Now the fun part! Add your colors to the glue. You can make it a solid color, or one color and swirl it around with a toothpick. You can do multiple colors.
You could even add glitter or confetti.

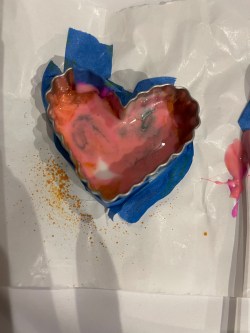
Now you just wait for it to dry.

Part 2
Supplies needed:
• String or ribbon
• Drill or something to make the hole to hang the sun catcher.
Step 4:
Once the sun catcher is dry, Gently move the plate a little and see if the glue moves. You can take a tooth pick also and poke it gently to see if it’s hard.
If your project is hard, remove the tape along the bottom of your cookie cutter.
It took mine 3 days to dry. It is chilly in my home though. Once I moved them upstairs where it’s a little warmer, it dried pretty quickly.
Gently lift the cookie cutter off your shape. You might need to give it a little push or tap.
Drill the hole in the top of it and add your string/ribbon.
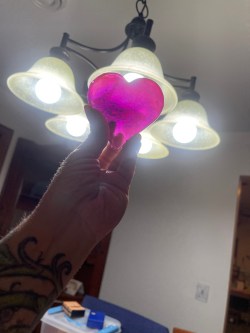
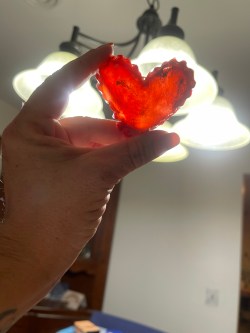
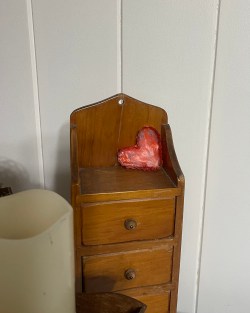
That’s it, if you want to put a hole towards the top and attach a string. You can hang them in the windows or outside or you can use them as decor around the home.
Till next time,
~ Mel

Leave a comment