
Shredding paper really gets tiring. On one hand, you don’t want your information getting out. So we shred, bag or box it up and it sits till recycling day. On the other hand, sometimes you can’t keep up with the pile of paper documents, old bills and what not that you get annoyed with it.
So instead of boxing it up to go to goodness knows where, I decided to up cycle it. I made a basket out of paper clay. Like the other day I posted on up cycling egg cartons. Almost the same thing.
Supplies needed:
Shredded paper
Flour
Glue (school glue, PVA, craft glue)
Salt – a pinch of
Tub or container filled with water
Blender
Screen window or anything to drain the water out of the paper
Mod Podge or varnish
Mold/container
Optional:
Food coloring
Paint
Step 1:
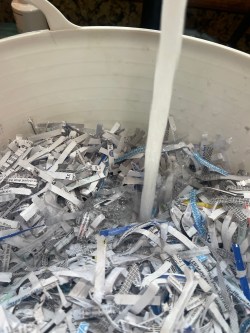
First figure out what you’d like to make out of paper clay, then shred as much paper as you’d think you’d need to fill the mold. I used a small plastic wash tub. ($1.25 at the dollar store)
Once your paper is shredded, soak it in a tub of water. Making sure you have enough water to cover the paper.
Let this sit over night.
Step 2:
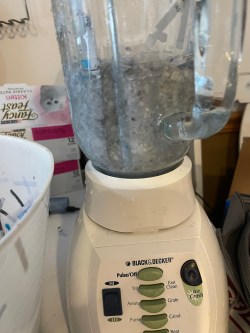
You want to put about 1-2 cups of the shredded paper at a time, with enough water to almost cover the top of the paper. At this point you can add food coloring if you’d like. Start pulsing. This will turn the shreds of paper into mush. once done dump that pile into a container/bowl and repeat this until all the shreds are mushed up.
Step 3:
Now, I took a big Rubbermaid bin and put an old screen window over the top of it. Then I repeatedly put small piles of the mushed paper on top of the screen and pushed down on the paper over the screen until all the water drains out of the paper. You can also use a sponge and push down on the paper with that.
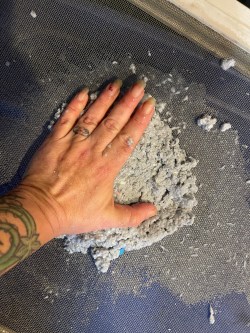
Again, repeat this till all the shreds are drained. (Yes I know this seems like a lot but honestly from start to finish it took me approximately 40 minutes total. )
Step 4:
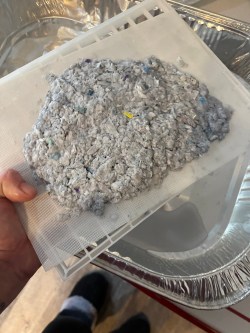
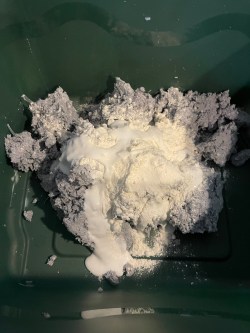
Once you’ve completed step 3, put the paper mush into a bowl or container. Now you will add the glue, flour and salt. Depending on what you are making will depend on how much glue and flour to add.
I made a basket about 20” x 10-12” approximately.
So got me, I added about 2 cups of flour, 1 -2 cups of glue and a pinch of salt. I am told the salt helps the paper clay keep its shape. You add more or less as you go until the mush turns into paper clay. If it’s still sticky then add a little more flour.
Step 5:
Turn your clay into a masterpiece!
Form the clay around the mold. So if you are making a bowl, turn the bowl upside down, cover with plastic wrap and start putting your clay onto that. Keep at it until you have covered the bowl. Smoothing it down with your hands. Try to smooth over any cracks you see. If you have extra clay you can make something else or store it for a couple days in a container with lid.

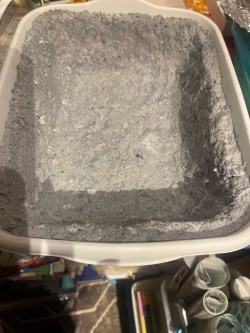
It took my clay basket about 4 days to dry. I did make the basket thick though.
After the clay piece you made is dry, carefully take it out/off of the mold. When the paper clay is dry it literally feels like a hard hollow plastic.
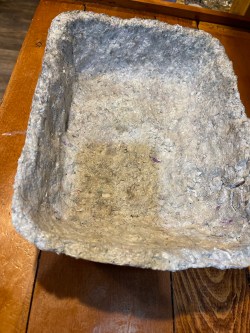
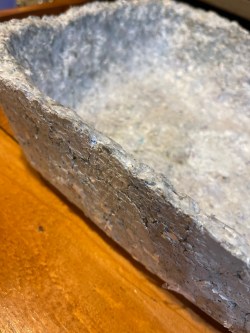
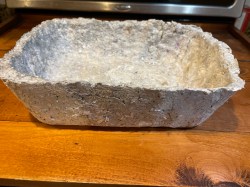
Mines not perfect but it turned out really sturdy. I love the natural color of mine so I won’t paint it. I do plan on doing this again. I haven’t decided on what yet though. Maybe add in flower petals….Maybe a bowl…. 🤔
Hope you have some fun with this! 😊

Leave a comment