Lately I have been seeing other Bloggers making rope baskets. I absolutely love the looks of them! So I thought I’d make one. I’m glad I did, it was fun to make. Let’s get started!
Supplies Needed:
Small Rope ( I bought mine at the Dollar store)
Twine
Hot glue gun & glue sticks
Scissors
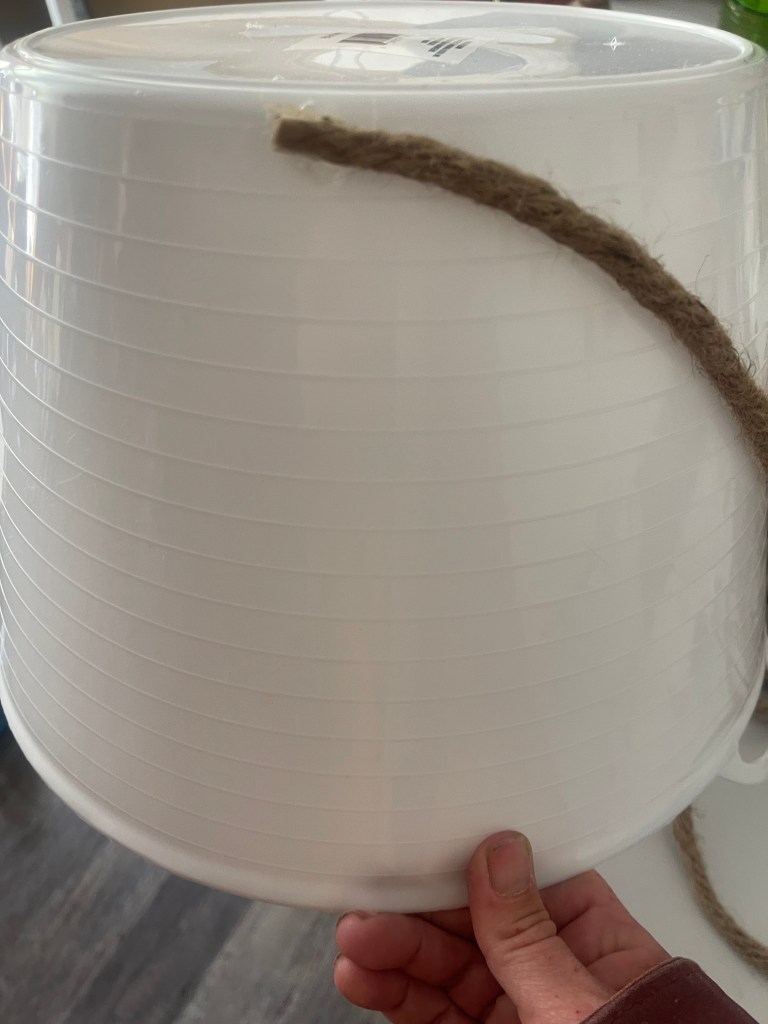
Bucket


We will start at the bottom of the basket. Add a little bit of hot glue, then put the beginning of your rope on top of the hot glue being careful not to burn ourselves. Then add a little more hot glue, and put the next section of your rope on top of that and we will continue around the bucket.
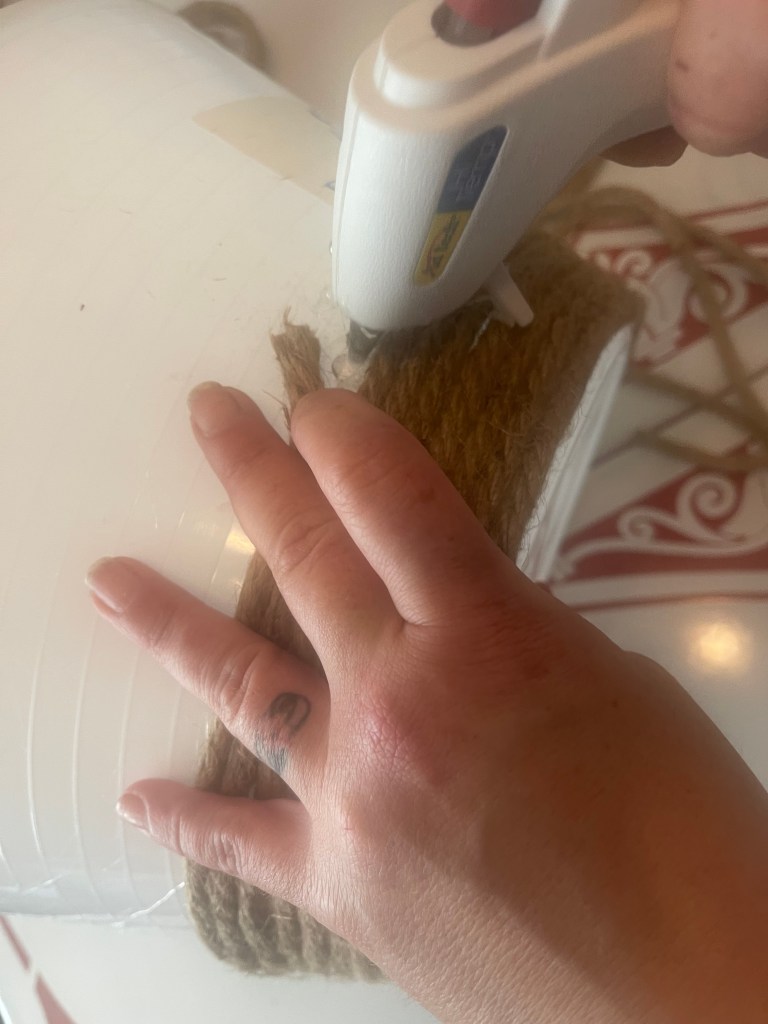
We will keep going all the way around.

As you go around the basket with the rope, make sure you are pulling the rope a little bit so it is tight and each strand of rope is directly next to the other. So the basket is not showing through.
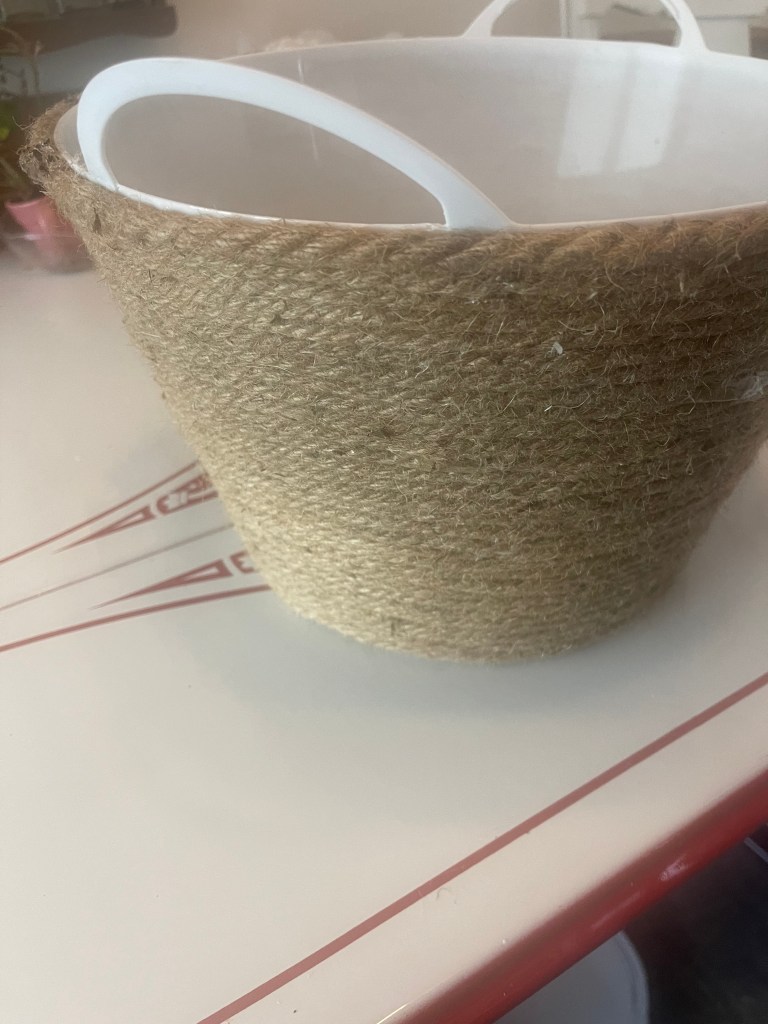
Now on my basket, there is a tiny bit of the white showing. You can add more rope or any other embellishments to your liking.
On the handles I took the twine and wrapped it around the handles adding hot glue every so often.

Voila! The completed basket. Feel free to add any embellishments. Fake flowers, beads, etc. Personally I like mine as is. I’m unsure if I want to use it to store my yarn, or for blankets. The possibilities are endless!

Leave a comment